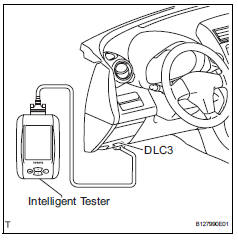
Select the following menu items: data list / a/fs b1 s1 and o2s b1 s2.
Warm up the a/f sensor with the engine speed at 2,500 rpm for approximately 2 minutes.
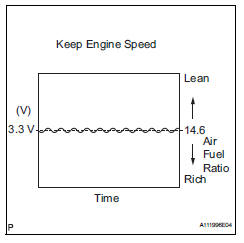
Keep the engine speed at 2,500 rpm and confirm that the display of "a/fs b1 s1" is as shown in the illustration.
Hint:
The illustration may slightly differ from the display on the intelligent tester.
Only the intelligent tester displays the waveform of the a/f sensor.
Confirm that the display of "o2s b1 s2" changes between 0 to 1 v with the engine speed at 2,500 rpm.
Ok: the voltage output oscillates more than 8 times in 10 seconds.Notice:
Perform the check immediately after warming the engine up.
If the voltage variation could not be verified, warm up the a/f sensor again. If it could not be verified even after warming up the sensor again, check for dtcs (see page es-292).
Removal
Disconnect cable from negative battery terminal
Caution:Wait at least 90 seconds after disconnecting the cable from the negative (-) battery terminal to prevent airbag and seat belt pretensioner activation.
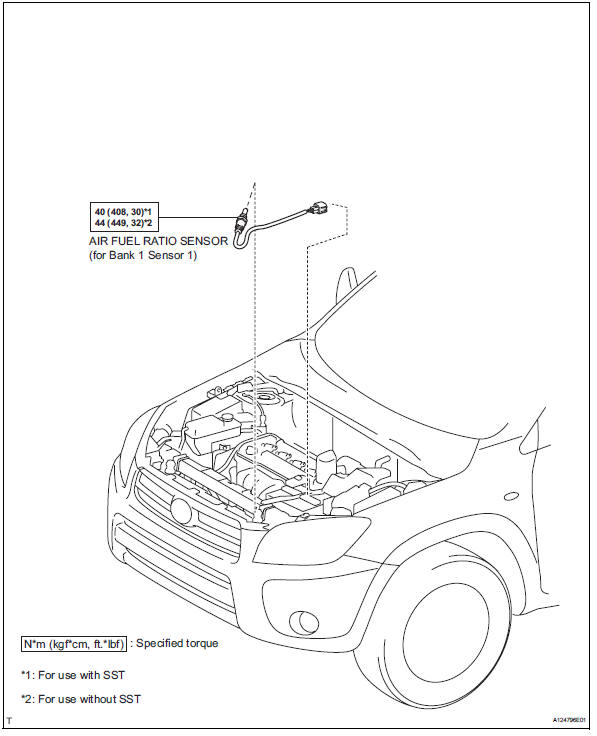
Remove air fuel ratio sensor (for bank 1 sensor 1)
Disconnect the sensor connector.
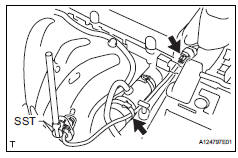
Using sst, remove the sensor from the exhaust manifold.
Sst 09224-00010 Inspection
Inspect air fuel ratio sensor (for bank 1 sensor 1)
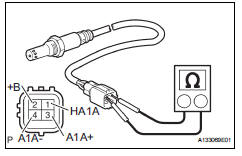
Measure the resistance of the sensor.
Standard resistance
If the resistance is not as specified, replace the sensor.
Installation
Install air fuel ratio sensor (for bank 1 sensor 1)
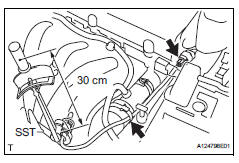
Using sst, install the sensor to the exhaust manifold.
Sst 09224-00010Torque: 40 n*m (408 kgf*cm, 30 ft.*Lbf) for use with sst44 N*m (449 kgf*cm, 32 ft.*Lbf) for use without sstHint:
Use a torque wrench with a fulcrum length of 30 cm (11.81 In.).
Make sure sst and wrench are connected in a straight line.
Connect the sensor connector.
Connect cable to negative battery terminal
Check for exhaust gas leaks
?
Test yourself
A quick Toyota RAV4 quiz: every answer comes with an explanation and a link to the manual page.