Disassembly
1. INSPECT UNDERDRIVE PACK CLEARANCE
HINT: (See page AX-262)
2. REMOVE UNDERDRIVE CLUTCH FLANGE NO.2 HOLE SNAP RING
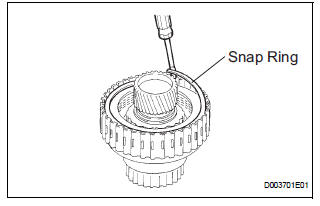
a) Using a screwdriver, remove the underdrive clutch flange No.2 snap ring.
3. REMOVE UNDERDRIVE CLUTCH DISC NO.1
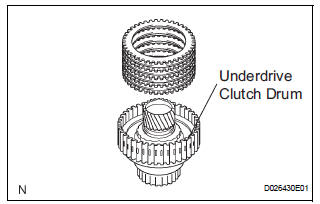
(a) Remove the flange, 4 discs and 4 plates from the underdrive clutch drum.
4. REMOVE UNDERDRIVE CLUTCH RETURN SPRING SUB-ASSEMBLY
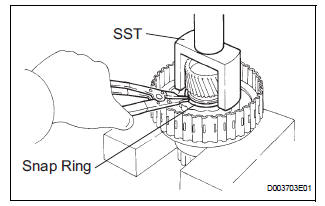
(a) Place SST on the clutch balancer and compress the spring with a press.
SST 09350-32014
(b) Using a snap ring expander, remove the snap ring.
NOTICE:
- Stop the press when the spring seat is lowered to the place 1 to 2 mm (0.039 to 0.078 in.) from the snap ring groove.
- This prevents the spring seat from being deformed.
- Do not expand the snap ring excessively.
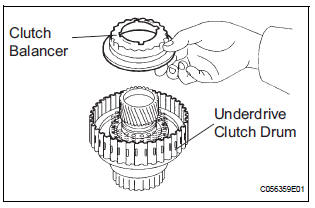
(c) Remove the clutch balancer from the underdrive clutch drum.
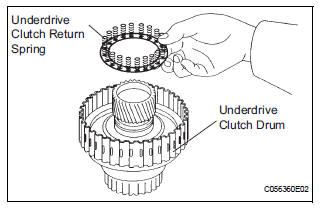
(d) Remove the return spring from the underdrive clutch drum.
5. REMOVE UNDERDRIVE CLUTCH PISTON SET

(a) Install the underdrive clutch to the transaxle case.
NOTICE: Be careful not to damage the oil seal ring.
(b) Holding the underdrive clutch piston by hand, apply compressed air (392 kPa, 4.0 kgf/cm2, 57 psi) to the transaxle case to remove the underdrive clutch piston.
6. REMOVE UNDERDRIVE CLUTCH DRUM O-RING
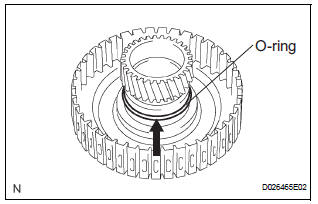
(a) Using a screwdriver, remove the O-ring from the underdrive clutch drum.
Test yourself
A quick Toyota Sienna quiz: every answer comes with an explanation and a link to the manual page.