Auxiliary heater
Dismantling and assembling auxiliary heater
Tightening torque found on this page
Special tools and workshop equipment required |
|
|
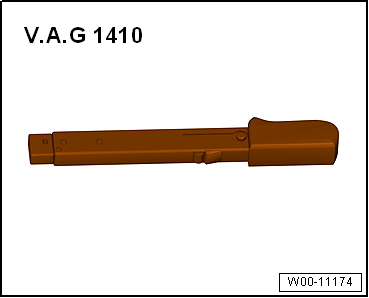
Torque wrench -V.A.G 1410- (4…20 N·m) |
|
 |
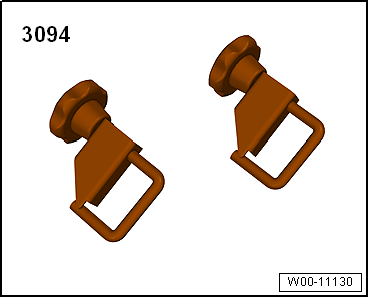
Hose clamps, up to 25 mm -3094- |
|
 |
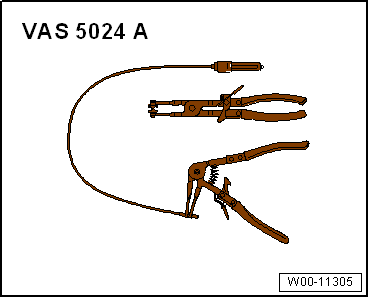
Pliers for spring-type clips -VAS 5024A- |
|
 |
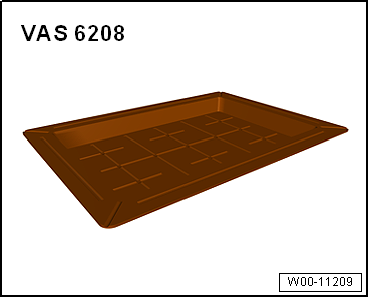
Drip tray for workshop hoist -VAS 6208-
- Remove auxiliary heater → Chapter.
- Remove covers → Chapter.
- Remove bracket for circulation pump -V55- and air intake silencer → Chapter.
|
|
 |
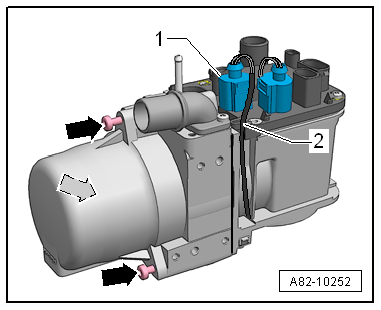
- Release catch and unplug connector -1-.
- Release wire from clamp -2-.
- Unscrew bolts -arrows- and remove heat exchanger from blower housing by pulling it in axial direction of threaded connection.
- Clean inside and outside of heat exchanger.
Dismantling and assembling burner unit → Chapter
Assembling
- Install in reverse order.
Specified torque
→ Chapter „Assembly overview - auxiliary heater attachments“ |
|
 |
?
Test yourself
A quick Volkswagen Golf quiz: every answer comes with an explanation and a link to the manual page.
Was this page helpful?