Heating, air conditioning
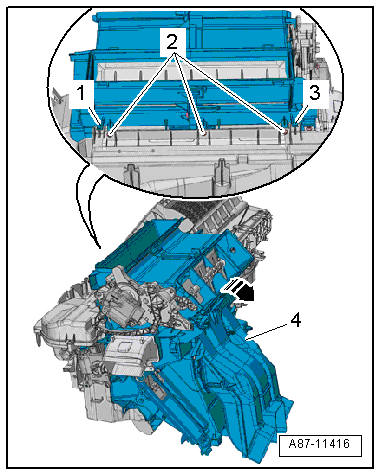
Removing and installing air distribution housing
In this manual: Heating, air conditioning
~1min read
 Note The illustration shows a left-hand drive vehicle. The removal and installation procedure is identical for both versions. |
Removing
InstallingInstallation is carried out in the reverse order. When installing, note the following:Specified torque→ Chapter „Dismantling and assembling heater and air conditioning unit“ Note Even minute leakage at the tongue-and-groove joint between the air distribution housing and the evaporator housing can lead to whistling noise as a result of escaping air. Therefore lightly coat joints with silicone grease to fully seal the joints. Silicone grease → Electronic Parts Catalogue. |
 |
Test yourself
A quick Volkswagen Golf quiz: every answer comes with an explanation and a link to the manual page.
Was this page helpful?