General body repairs, exterior
Removing and installing door
In this manual: General body repairs, exterior
~1min read
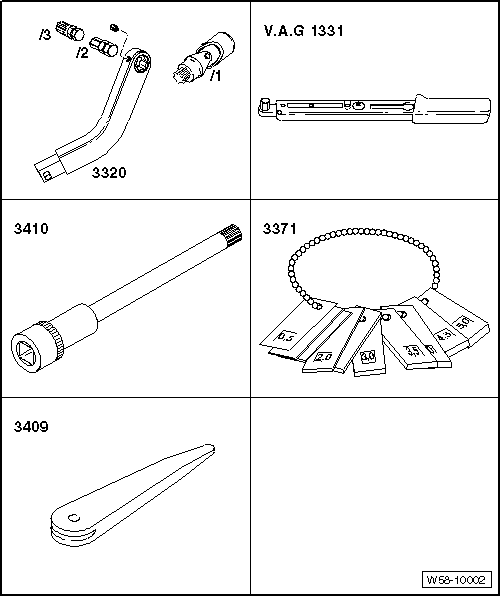
Special tools and workshop equipment required
|
 Note The removal and installation sequence is for the front left door. Removal and installation of the front right door are similar. Removing |
|
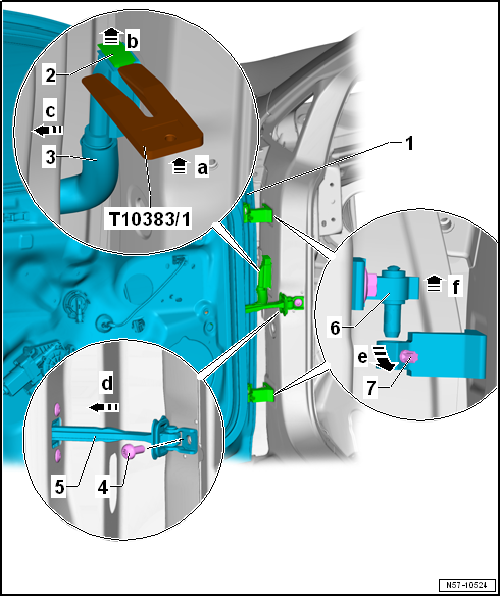
- Press wedge -T10383/1- between bellows -3- and locking mechanism -arrow a-.
- Push locking mechanism upwards -2- with wedge -T10383/1--arrow b- and separate electrical connector -3- from coupling station -arrow c-.
- Undo screws -7- from hinges.
- Unscrew bolt -4- for door retaining strap -5-.
- Push door arrester -6- inwards -arrow d-.
- Lift front door -1- upwards -arrow f- so that hinge -6- is released from hinges -7-.
Installing |
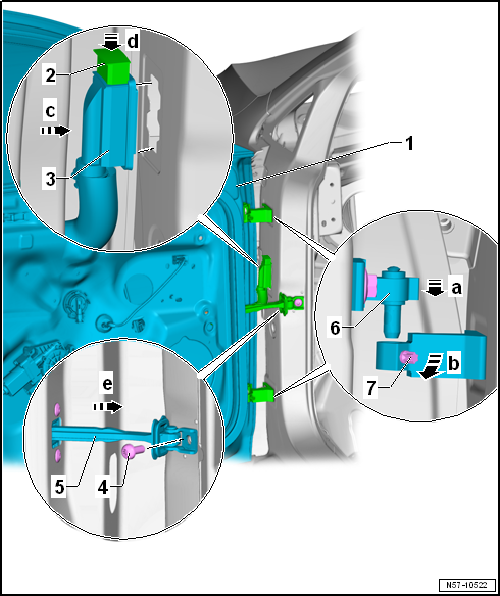
 Caution Prior to installing the front door, the door retaining strap must be folded towards the inside of the vehicle in order to avoid damage to the paintwork. |
Note After door installation the hinge arms must be flush one above the other.
- Adjust front door -1- → Chapter.
- Observe front door shut lines -1- → Rep. gr.00.
Specified torques
Door arrester and hinges → Chapter „Assembly overview - door“
Test yourself
A quick Volkswagen Golf quiz: every answer comes with an explanation and a link to the manual page.
Was this page helpful?