General body repairs, exterior
Removing and installing door inner seal
In this manual: General body repairs, exterior
~1min read
During production, a sealant is applied to the door inner seals, which are then placed on the door flange and rolled on.  Note
Removing |
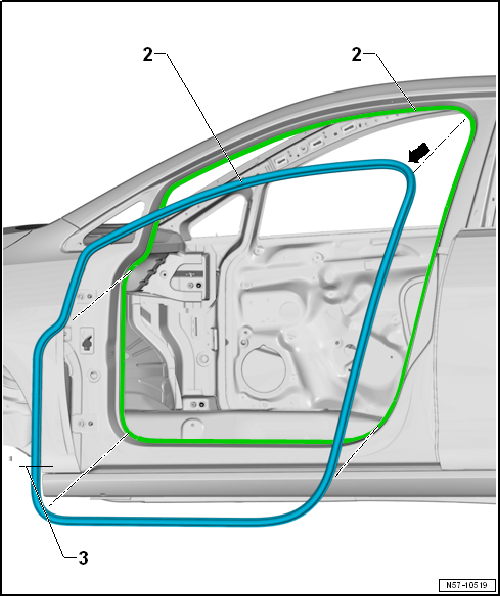
- Remove sill panel moulding → General body repairs, interior; Rep. gr.70.
- To remove door inner seal, remove pillar trims as required → General body repairs, interior; Rep. gr.70.
- Pull door inner seal -1- off body flange -2-.
Installing |
- Start installing door inner seal -1- at top radius of door aperture -arrow b-.
- Align vulcanised point -3- above lower hinge.
- Install pillar trims → General body repairs, interior; Rep. gr.70.
- Install sill panel strip → General body repairs, interior; Rep. gr.70.
Test yourself
A quick Volkswagen Golf quiz: every answer comes with an explanation and a link to the manual page.
Was this page helpful?