General body repairs, interior
Removing and installing wheel housing trim, saloon
In this manual: General body repairs, interior
~1min read
 Note Removal and installation are described for the left vehicle side. Follow same instructions for the right side as appropriate. Special tools and workshop equipment required |
|
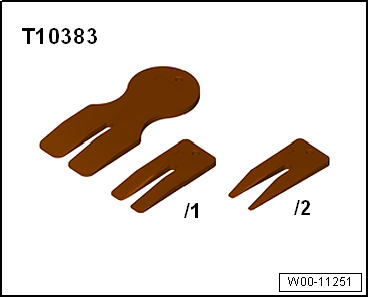
|
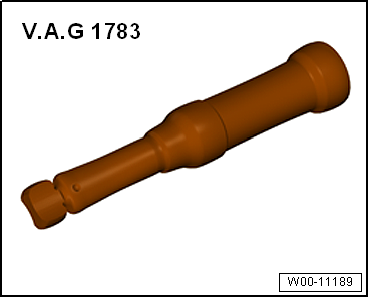
Removing
Vehicles with side padding
- Remove side padding → Chapter.
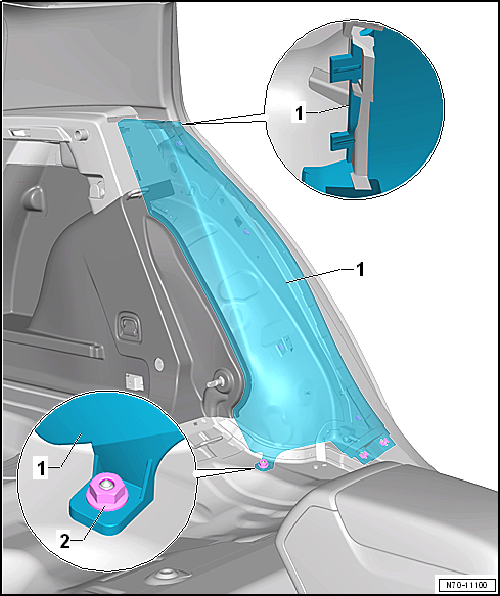
Vehicles without side padding
- Remove bench seat → Chapter.
- Unscrew nut -2-.
Continued for all vehicles
- Release sill panel moulding in area of overlap to wheel housing trim from body and from wheel housing trim → Chapter.
- Fold down rear seat backrest.
- Release wheel housing trim -1- from C-pillar trim using wedge -T10383-.
- Release wheel housing trim -1- in area of retaining clips from body mountings using wedge -T10383-.
Installing Note
Specified torques
|
Test yourself
A quick Volkswagen Golf quiz: every answer comes with an explanation and a link to the manual page.
Was this page helpful?