Exhaust pipes/mufflers
Assembly overview - muffler
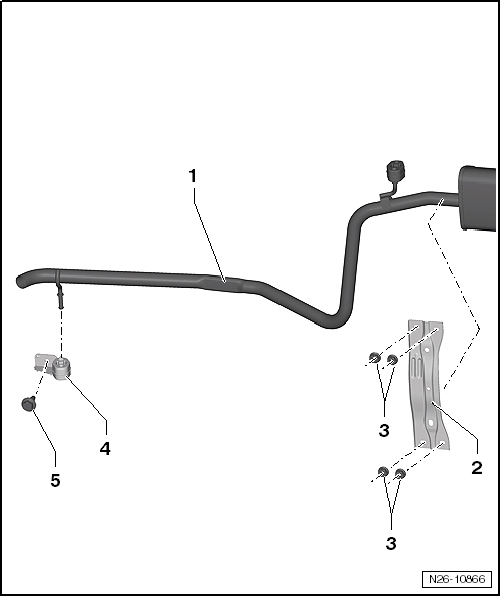
- Muffler with exhaust tailpipe
- Tunnel bridge
- Note installation position (mark before removal if necessary)
- Nut
- 20 N·m
- Rear mounting
- Replace if damaged
- Bolt
- 23 N·m
Separate exhaust pipes/mufflers

Note
- After installation work on the exhaust system, make sure the exhaust system is not under stress.
- Make sure there is sufficient clearance to the body.
- If necessary, loosen the double clamp(s). Align the muffler and exhaust pipe so that there is sufficient clearance to the body everywhere and the mountings are evenly loaded.
- Replace self-locking nuts.
- Before installing the lock nuts, treat the stud bolts with high-temperature bolt paste -N 052.112.00- according to TL 521 12.
Required Special Tools, Test and Measuring Equipment and Auxiliary Items
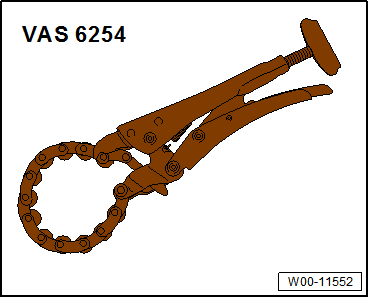
- Chain pipe cutter -VAS 6254-
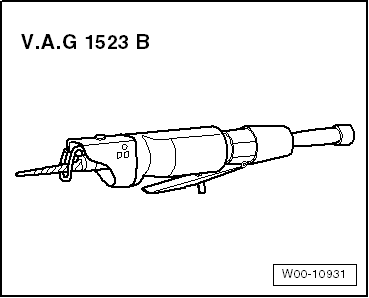
- Body saw -V.A.G 1523A-
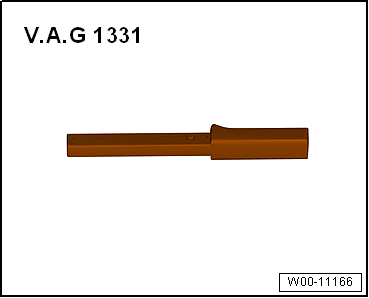
- Torque Wrench -V.A.G 1331-
WARNING: To avoid injury from metal shavings, wear safety goggles and protective clothing.
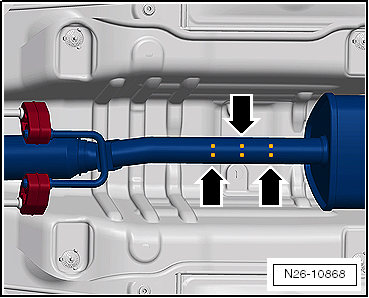
- Separation points are provided in the exhaust system for removing individual exhaust components.
- The separation points are marked by lines on the circumference of the exhaust pipe.
Separation point at front silencer
- Cut the exhaust pipe at right angles at the middle separation point -arrow at top- using e.g. body saw -V.A.G 1523A- or chain pipe cutter -VAS 6254-.
- Position the repair double clamp centrally between the outer marks -arrows at bottom-.
- Observe the installation position of the clamp "Installation position of clamp sleeve".
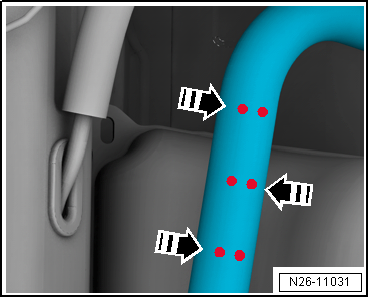
Separation point at exhaust tailpipe
- Cut the exhaust pipe at right angles at the middle separation point -arrow on right- using e.g. body saw -V.A.G 1523A- or chain pipe cutter -VAS 6254-.
- Position the repair double clamp centrally between the outer marks -arrows on left-.
- Observe the installation position of the clamp "Installation position of clamp sleeve".
Removing and installing muffler
Required Special Tools, Test and Measuring Equipment and Auxiliary Items
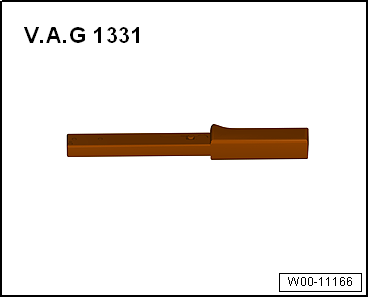
- Torque Wrench -V.A.G 1331-
Removing
- If necessary, separate the exhaust system "Separating exhaust pipes/mufflers".
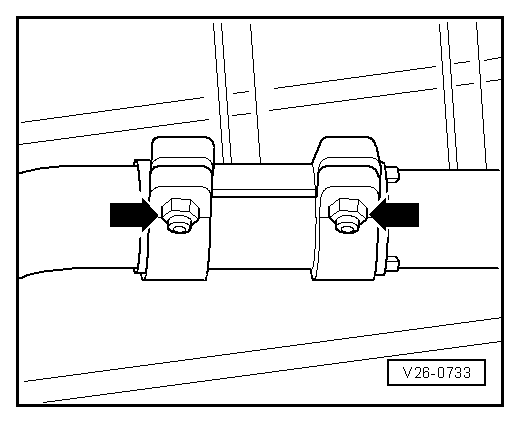
- If fitted, loosen clamp sleeve -arrows-.
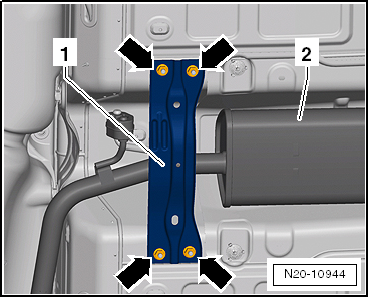
- Remove cross brace -1- from underbody -2-.
- Unscrew nuts -arrows-.
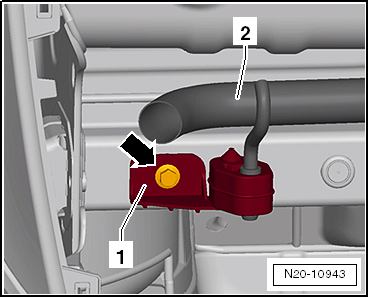
- Remove rear bracket -1- for the exhaust system -2-.
- Unscrew bolt -arrow-.

Note
A second mechanic is required to remove the muffler.
- Remove muffler.
Installing
Installation is carried out in the reverse order. Observe the following:
Observe the installation position of the clamp sleeve "Installation position of clamp sleeve".

Note
- After assembly work on the exhaust system, make sure that the exhaust system is not under tension and has sufficient clearance to the body. If necessary, loosen the double clamp and align the muffler and exhaust pipe so that there is sufficient clearance to the body everywhere and the mountings are evenly loaded.
- Replace self-locking nuts.
- Before installing the lock nuts, treat the stud bolts with high-temperature bolt paste -N 052.112.00- according to TL 521 12.
Tightening torque:

Check exhaust system for leaks
Work sequence
- Start engine and let it run at idle.
- Close the exhaust tailpipes for the duration of the leak test, e.g. with rags or plugs.
- Check connection points of exhaust manifold to cylinder head, turbocharger to front exhaust pipe, etc. for leaks by listening.
- Rectify any leaks found.
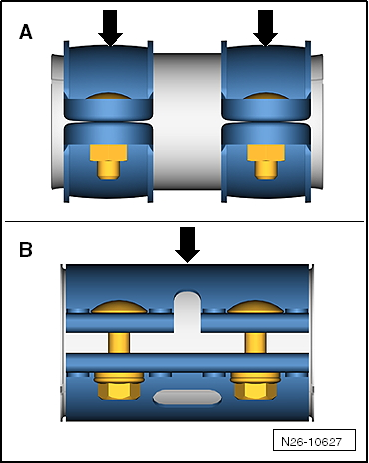
Installation position of clamp sleeve

Note
Observe use of clamp sleeves with continuous clamp.
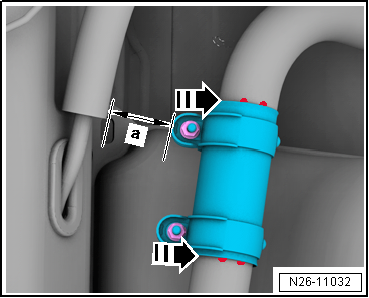
Tightening torque and installed dimension of clamp sleeve
Clamp sleeve -A- with 2 individual clamps.
- Tightening torque 25 N·m.
- Installed dimension -a- 5 mm (front clamp sleeve only)
Clamp sleeve -B- with continuous clamp.
- Tightening torque 35 N·m
- Installed dimension -a- 8.5 mm (front clamp sleeve only)
Installed dimension -a- for vehicles with marking -A- on the front exhaust pipe
- Clamp sleeve
- Exhaust front pipe
- Mounting nut
- Mounting nut
- a - Installed dimension
- A - Marking
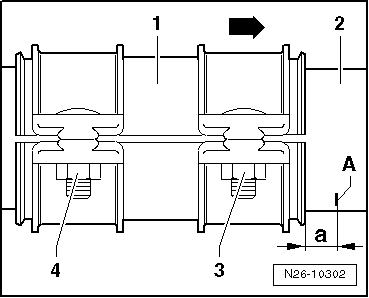
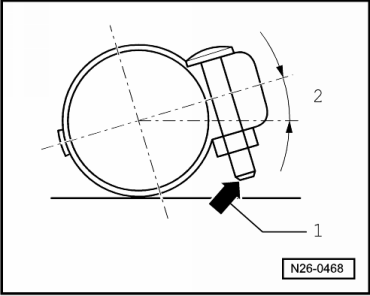
Installation position of front clamp sleeve
- Install clamp sleeve so that the screw end -arrow- does not protrude beyond the lower edge of the clamp sleeve.
- Fastener points to the right
Installation position of rear clamp sleeve
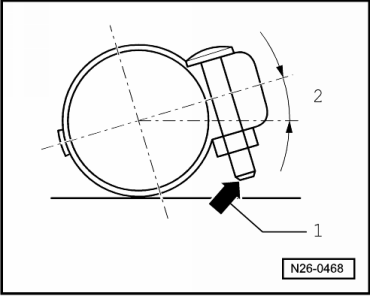
- The clamp sleeve must be installed so that the marks on the exhaust pipe -arrows- are aligned with the ends of the clamp sleeve.
- Fastener must point in direction of travel.
- Dimension -a- = 26.5 mm must be maintained.