Lights
Removing and installing passenger airbag OFF indicator lamp
The passenger airbag OFF indicator lamp -K145- is part of the center dash switch module and cannot be replaced separately.
Removing and installing center dash switch module.
Removing and installing indicator lamp for SAFE function of central locking
Removing
- Switch off ignition and all electrical consumers and remove the ignition key.
- Remove the cover of the door trim in the mirror triangle → Body assembly work interior.
- Squeeze the locking tabs -arrows- together and pull the indicator lamp for SAFE function of central locking -K133--1- out of the door trim cover.
Installing
Installation is performed in the reverse order.

Checking indicator lamp for SAFE function of central locking
The indicator lamp for SAFE function of central locking -K133- can be checked using the actuator diagnosis of the on-board supply control module -J519-.
Removing and installing front interior and reading lamp
Removing and installing front interior and reading lamp, vehicles without panoramic roof
Required Special Tools, Test and Measuring Equipment and Auxiliary Items
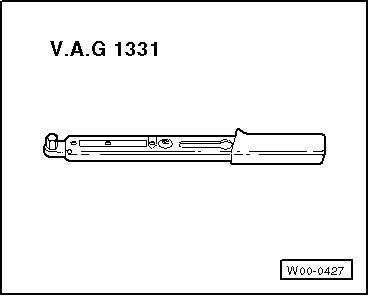
- Torque Wrench -V.A.G 1331-
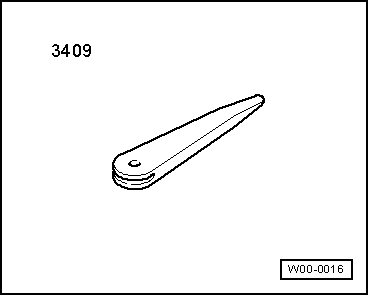
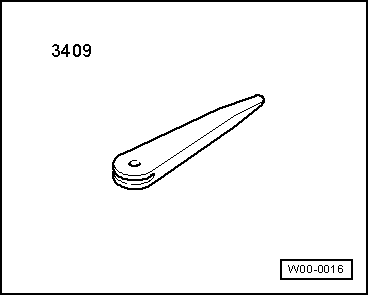
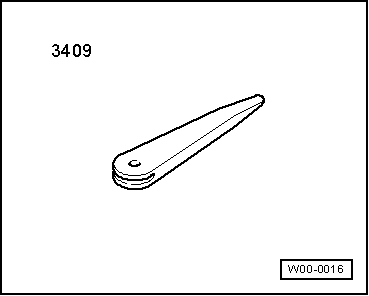
- Removal wedge -VAS 3409-

Note
When removing and installing components in visible areas (switches, covers, trim panels, etc.), mask the areas where a lever tool (removal wedge -VAS 3409-, screwdriver) will be applied with commercially available adhesive tape.
Removing
- Switch off the ignition and all electrical consumers and remove the ignition key.
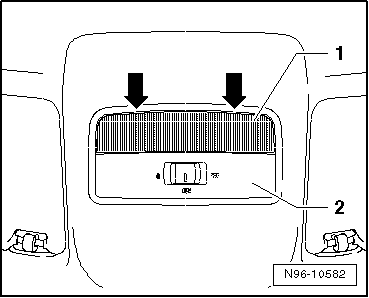
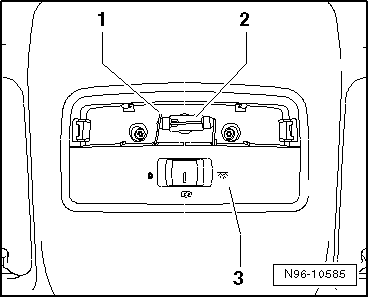
- Carefully pry the lens -1- out at its clips -arrows- using removal wedge -VAS 3409- or a suitable screwdriver and remove it from the front interior lamp -W1--2-.
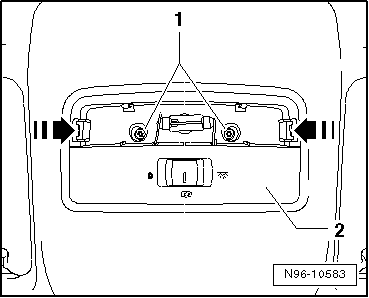
- Unscrew the retaining screws -1-.
- Release the locking tabs in the direction of the -arrows- and remove the front interior lamp -W1--2- from the roof lining, taking into account the connected cable lengths.

- Unlock and disconnect connector -1-.
Installing
Installation is carried out in the reverse order, observing the following:

- Screw in the retaining screws -1-.
Tightening torques

Removing and installing front interior and reading lamp, vehicles with panoramic roof
The front interior and reading lamp includes the following components:
- Front interior lamp -W1-
- Passenger-side reading lamp -W13-
- Driver-side reading lamp -W19-
- Sliding roof adjustment -EX4-
Required Special Tools, Test and Measuring Equipment and Auxiliary Items
- Removal wedge -VAS 3409-

Note
When removing and installing components in visible areas (switches, covers, trim panels, etc.), mask the areas where a lever tool (removal wedge -VAS 3409-, screwdriver) will be applied with commercially available adhesive tape.
Removing
- Switch off the ignition and all electrical consumers and remove the ignition key.
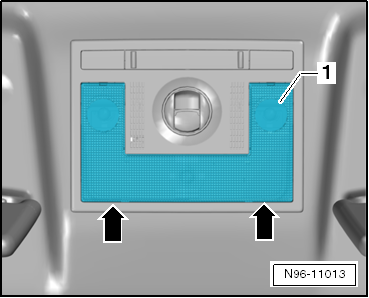
- Carefully pry the lens -1- of the front interior and reading lamp off at the clips -arrows- using removal wedge -VAS 3409-.
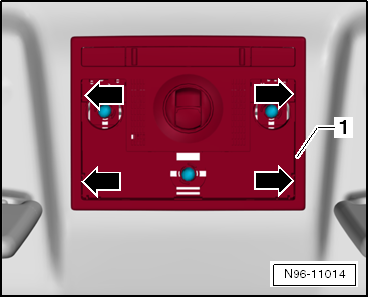
- Release the locking tabs -arrows- and remove the front interior and reading lamp -1- from the roof lining, taking into account the connected cable lengths.
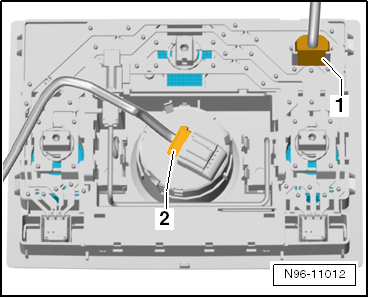
- Unlock and disconnect connectors -1- and -2- and remove the front interior and reading lamp.
Installing
Installation is carried out in the reverse order.
Remove and install bulbs for front interior and reading lamp
Remove and install bulbs for front interior and reading lamp, vehicles without panoramic sunroof

Note
To replace the bulb, the front interior lamp -W1- does not need to be removed.
Removing
- Switch off the ignition and all electrical consumers and remove the ignition key.
- Remove the lens cover.
- Remove bulb -2- from socket -1-.
Bulb for front interior lamp -W1-: festoon bulb 12V, 10W
Installing
Installation is carried out in the reverse order.
Remove and install bulbs for front interior and reading lamp, vehicles with panoramic sunroof
Required Special Tools, Test and Measuring Equipment and Auxiliary Items
- Removal wedge -VAS 3409-

Note
- When removing and installing components in visible areas (switches, covers, trim panels, etc.), mask the areas where a lever tool (removal wedge -VAS 3409-, screwdriver) will be applied with commercially available adhesive tape.
- To replace the bulb of the front interior lamp -W1-, the interior lamp must be removed.
Removing
- Switch off the ignition and all electrical consumers and remove the ignition key.
- Remove the front interior and reading lamp.
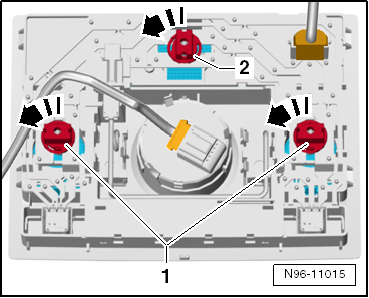
- Turn the bulb holder -2- together with the bulb of the front interior lamp -W1- in the direction of the arrow and remove it.
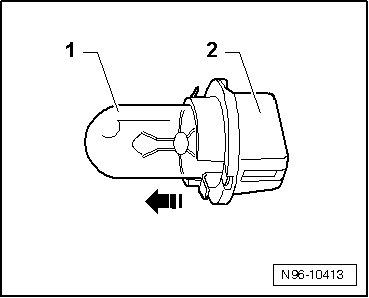
- Pull bulb -1- out of bulb holder -2- in the direction of the arrow.
Bulb for front interior lamp -W1-: capsule bulb 12V, 5W
Installing
Installation is carried out in the reverse order.
Remove and install front reading lamps
Required Special Tools, Test and Measuring Equipment and Auxiliary Items
- Removal wedge -VAS 3409-

Note
When removing and installing components in visible areas (switches, covers, trim panels, etc.), mask the areas where a lever tool (removal wedge -VAS 3409-, screwdriver) will be applied with commercially available adhesive tape.
Removing
- Switch off the ignition and all electrical consumers and remove the ignition key.
- Remove the front interior and reading lamp.

- Turn the bulb holder -1- to be removed together with the reading lamp bulb in the direction of the arrow and remove it.

- Pull bulb -1- out of bulb holder -2- in the direction of the arrow.
Bulb for passenger-side reading lamp -W13- or driver-side reading lamp -W19-: capsule bulb 12V, 5W
Installing
Installation is carried out in the reverse order.
