Lock carrier
Assembly overview - lock carrier
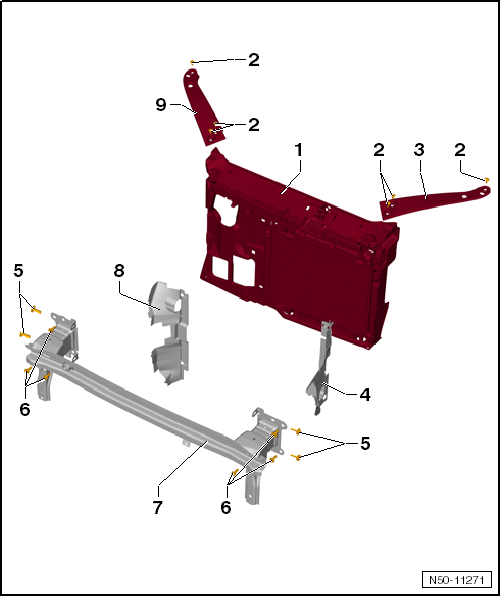
- Lock carrier with attached parts
- Remove and install
- Service position
- Bolt
- 3 pieces per side
- Tightening torque: 8 N·m
- Carrier part
- left
- Air duct
- left
- Bolt
- 2 pieces per side
- Tightening torque: 8 N·m
- to attach the bumper support -9- to the lock carrier -1-
- Bolt
- 3 pieces per side
- Tightening torque: 20 N·m
- Bumper support
- Air duct
- right
- Carrier part
- right
Service position
Required Special Tools, Test and Measuring Equipment and Auxiliary Items
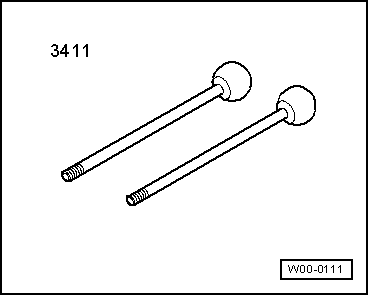
- Guide pins -3411-
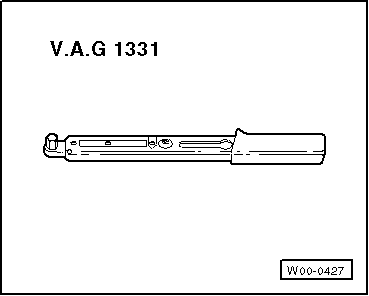
- Torque Wrench -V.A.G 1331-
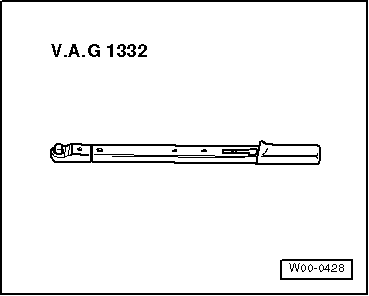
- Torque Wrench -V.A.G 1332-
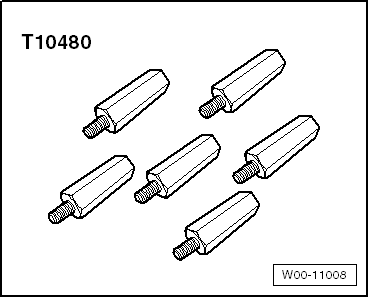
- T10480 -Adapter-
Move to service position

Note
- There is very little clearance between the lock carrier and the fender.
- There is a high risk of damaging the fenders.
- Be sure to protect the fender edges from damage.
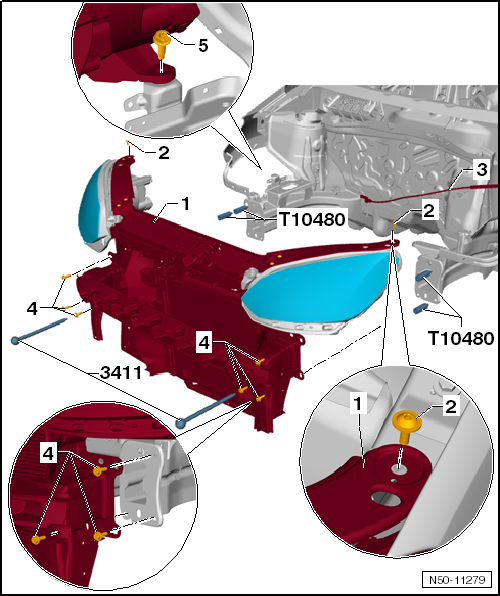
- Remove the front bumper cover.
- Unscrew bolt -5- from the headlight.
- Disconnect Bowden cable -3- from the hood latch.
- Loosen the washer fluid reservoir filler neck → Electrical System.
- Unscrew only one bolt -4- from each side member, left and right.
- Instead of these bolts, screw guide pins -3411- into the left and right side members.
- Unscrew bolts -2-.
- Unscrew the remaining bolts -4- from the left and right side members.
- The lock carrier with attached parts -1- can be pulled forward approx. 10 cm on guide pin -T 10093-. Watch for electrical wiring to the lock carrier and disconnect plug connectors if necessary.
- To secure, install special tool T10480 -Adapter- on the left and right between the bumper support and side member.
Return from service position
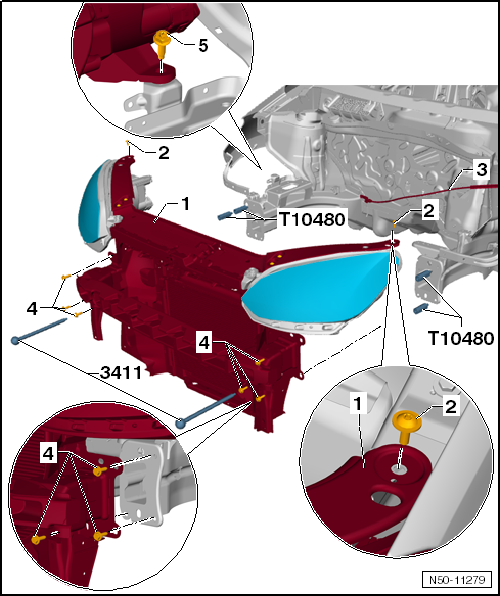
Carry out the following work:
- Remove special tool T10480 -Adapter- on the left and right between the bumper support and side member.
- Push the lock carrier with attached parts -1- onto the side members along guide pins -3411-.
- Start bolts -2 and 4-.
Installation is carried out in reverse order.
- Center the lock carrier with attached parts -1- on the side members and between the fenders.
Tightening torque, bolts -2 and 4-.
- Adjust headlights → Electrical System.
Removing and installing lock carrier
Removing

Note
- The lock carrier is a safety-relevant component. For this reason, the lock carrier must not be repaired.
- If damaged, replace the lock carrier.
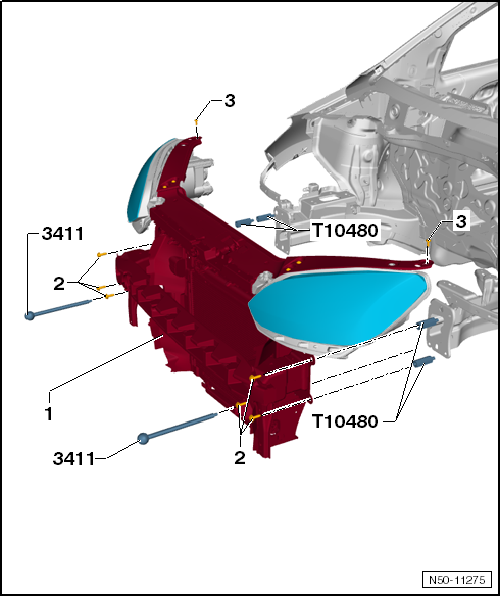
Carry out the following work:
- Move to service position.
- Disconnect existing electrical plug connectors.
- Drain coolant and disconnect coolant lines.
- Disconnect refrigerant lines for the condenser → Heating, Air Conditioning.
- Unscrew special tool T10480 -Adapter-.
- With a second mechanic, unscrew guide pins -3411- from the left and right side members -2-. Lift the lock carrier with attached parts -1- out.

WARNING!
If the air conditioning and/or coolant lines are disconnected, the drive unit must not be started.

Note
- The condenser and hydraulic oil cooler must not be hung from their lines.
- The condenser and hydraulic lines must not be kinked.
Installing
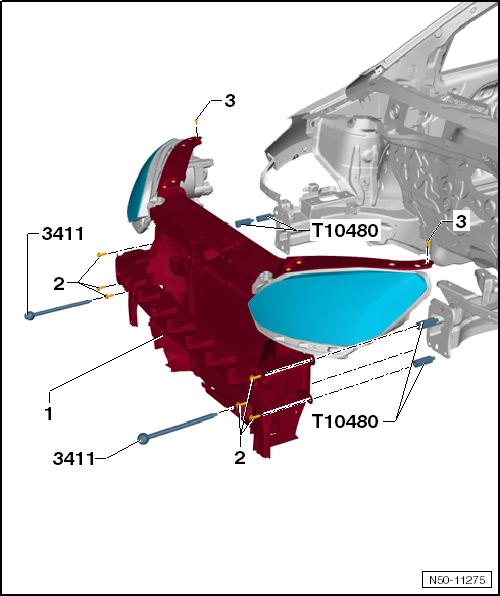
Carry out the following work:
- Position lock carrier -1- on the side members -2-.
- Screw guide pins -3411- in on the left and right.
- Return from service position.
Installation is carried out in reverse order.
- Make sure that all plug and hose connections are correctly reconnected during assembly.
- Center the lock carrier with attached parts -1- on the side members and between the fenders.
- Adjust headlights → Electrical System.