Chevrolet Cruze Repair Manual
Installation Procedure
In this manual: Chevrolet Cruze Repair Manual
35steps
~210min
4/5difficulty
Done 0 of 35
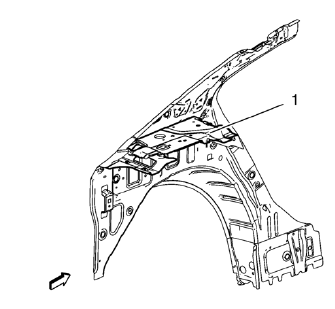
- Remove rear end upper panel extension (1) from service part.
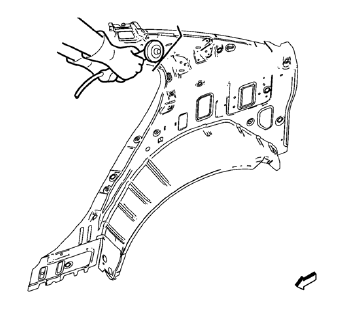
- Cut the body side inner panel in corresponding locations to fit the remaining original panel. The sectioning joint should be trimmed to allow a gap of one-and-one-half-times the metal thickness at the sectioning joint.
- Create a 50 mm (2 in) backing plate from the unused portion of the service part.
- Create 5 x 18 mm (4/16 x 11/16 in) slots for MIG-brazing along the sectioning cut on the remaining original part. Locate these holes 13 mm (1/2 in) from the edge of part and spaced 40 mm (1 1/2 in) apart.
- Prepare all mating surfaces as necessary.
- Fit the backing plates halfway into the sectioning joints, clamp in place and plug weld to the vehicle.
- Align the body side inner panel.
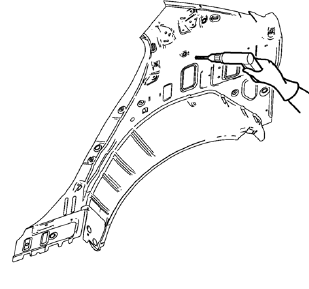
- Create 6 x 20 mm (4/16 x 12/16 in) slots for MIG-brazing in locations where you can not apply a resistance spot welder.
- Clean and prepare the attaching surfaces for spot welding and brazing.
Note: In MIG-brazing areas 50 mm (2 in) must be kept clear of structural adhesive.
- Apply structural adhesive to all attaching surfaces
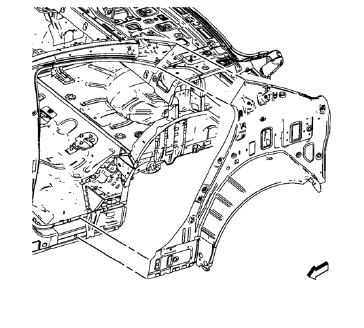
- Position the body side inner panel.
- Verify the fit of the panel.
- Clamp the body side inner panel into position.
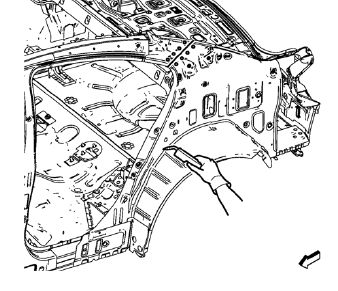
- Braze accordingly.
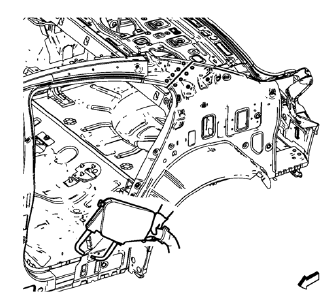
- Spot weld accordingly
- To create a solid braze with minimum heat distortion, make 25 mm (1 in) stitch brazes along the seam with 25 mm (1 in) gaps between them. Then go back and complete the stitch braze.
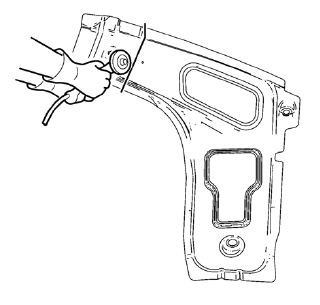
- Cut the body lock pillar upper reinforcement in corresponding locations to fit the remaining original panel. The sectioning joint should be trimmed to allow a gap of one-and-one-half-times the metal thickness at the sectioning joint.
- Create a 50 mm (2 in) backing plate from the unused portion of the service part.
- Create 5 x 18 mm (4/16 x 11/16 in) slots for MIG-brazing along the sectioning cut on the remaining original part. Locate these holes 13 mm (1/2 in) from the edge of part and spaced 40 mm (1 1/2 in) apart.
- Prepare all mating surfaces as necessary.
- Fit the backing plates halfway into the sectioning joints, clamp in place and braze to the vehicle.
- Align the body lock pillar upper reinforcement.
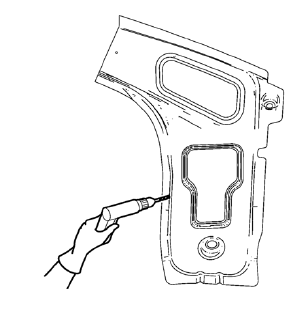
- Create 6 x 20 mm (4/16 x 12/16 in) slots for MIG-brazing in locations where you can not apply a resistance spot welder.
- Clean and prepare the attaching surfaces for spot welding and brazing.
Note: In MIG-brazing areas 50 mm (2 in) must be kept clear of structural adhesive.
- Apply structural adhesive to all attaching surfaces
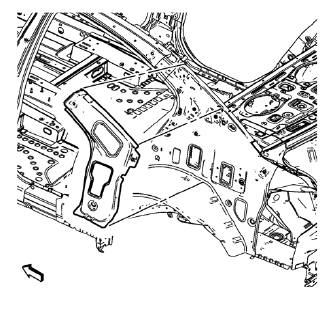
- Position the body lock pillar upper reinforcement.
- Verify the fit of the panel.
- Clamp the body lock pillar upper reinforcement into position.
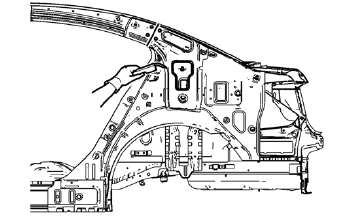
- Braze accordingly.
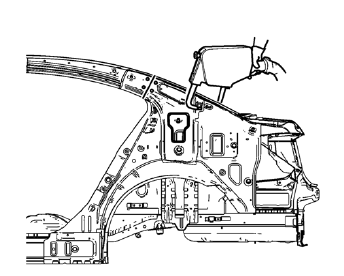
- Spot weld accordingly.
- Apply the sealers and anti-corrosion materials to the repair area, as necessary. Refer to Anti-Corrosion Treatment and Repair.
- Paint the repaired area. Refer to Basecoat/Clearcoat Paint Systems.
- Install all related panels and components.
- Connect the negative battery cable. Refer to Battery Negative Cable Disconnection and Connection.
- Enable the SIR system. Refer to SIR Disabling and Enabling.
Test yourself
A quick Chevrolet Cruze quiz: every answer comes with an explanation and a link to the manual page.
Was this page helpful?