Using the Navigation System
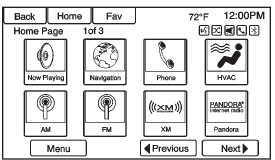
Use the NAV button on the faceplate or Home Page to access the navigation map.
Press the NAV button again to change between alternative views of the normal split and full map views.
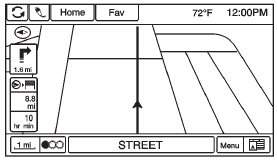
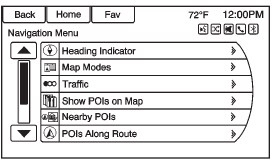
The Menu screen button at the bottom right side of the display accesses the Navigation Menu.
The touch-sensitive buttons available are:
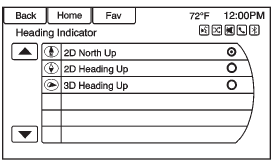
• 2D Heading Up: Displays the direction the vehicle is traveling.
The shaded triangle icon points North.• 3D Heading Up: Is the same as 2D Heading Up, but the map is in 3D.
Map Modes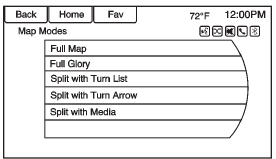
Press to change the view of the maps while using the navigation function. The system offers a variety of full and split views. Some views are only selectable when route guidance is active.
An alternative method to change the view of the maps would be to press the map mode icon.
Traffic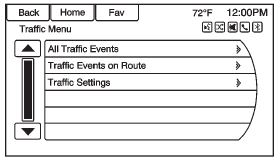
Press Traffic to display the Traffic Menu. Press the desired option.
Options available are: • All Traffic Events: Press to view all reported traffic events while on or off a planned route. • Traffic Events on Route: Press to view traffic events while on a planned route.• Traffic Settings: Press to customize traffic options. This feature can also be accessed by pressing the traffic light screen button displayed at the left lower side of the map screen.
POIs Nearby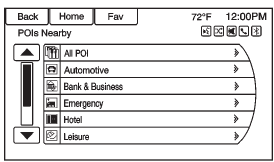
Press to display a search list of nearby POIs. Select the desired POI.
POIs Along RoutePress to display a search list of POIs that lie along or near the route to the destination. Select the desired POI.
Show POIs on Map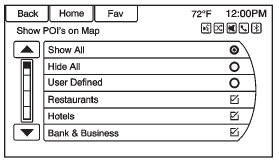
Press to customize which major POI categories are displayed on the map.
Switch Route Time/DestinationPress to customize the Arrival/ Travel time and Waypoint/ Destination information displayed in the main map screen.
Current Position InformationPress to display a split screen showing detailed information about the vehicle position. This feature can also be accessed by pressing the vehicle information tab on the lower center of the display. The location can be saved to the Address Book by pressing Save in the split screen.
Destination InformationPress to display a split map screen showing the next waypoint/ destination. The location can be saved to the Address Book by pressing Save in the split screen.
Map AdjustmentsThe system lets you adjust the scale of view on the map. Also, as you drive, the map scrolls automatically based on the direction of travel.
Map Scales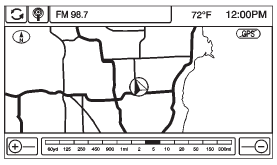
• Press the Map Scale + or − button on the bottom corners of the map screen to change the zoom level.
The map scale bar times out if the zoom level is not changed within a few seconds.
The scale can be configured for English or metric units. To change from English to metric, see “Driver Information Center (DIC)” in the owner manual.
Scroll Features
• Press NAV on the faceplate to exit map scrolling and return to the current vehicle location on the map.

Press the cycling arrows located at the top of the map screen to toggle from the normal top bar (Home and Fav) to the audio information bar.
Test yourself
A quick Chevrolet Cruze quiz: every answer comes with an explanation and a link to the manual page.