Removal and Installation - Brake Booster
Removal
- Remove the battery tray.
Refer to: Battery Tray — 1.5 L EcoBoost (132 kW/180 L hp) — I3 (Y1)/2 L EcoBoost (177 kW/240 L hp) — MI4 (Battery 414-01, Battery Mounting and Cables, Removal and Installation). - Remove the brake master cylinder.
Refer to: Brake Master Cylinder - Vehicles With: Vacuum Brake Booster (206-06 Hydraulic Brake Actuation, Removal and Installation). - Disconnect the vacuum check valve from the booster and set aside.
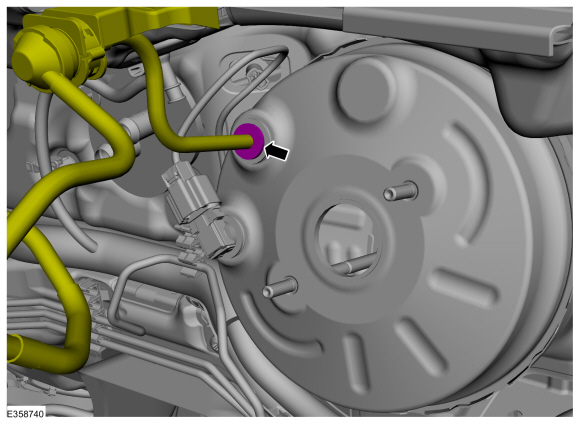
- If equipped.
Disconnect the electrical connectors from the brake vacuum sensor.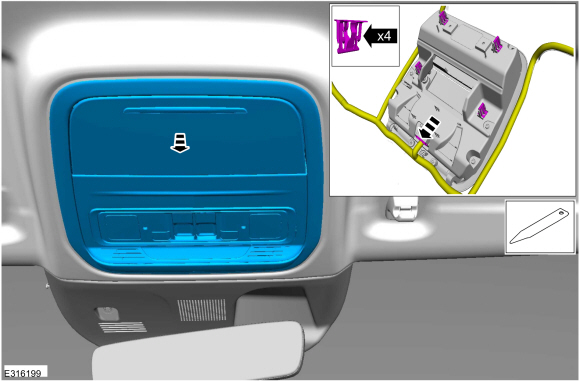
NOTICE: Do not service the brake pedal or brake booster without first removing the brake light switch. This switch must be removed with the brake pedal in the rest position. The switch plunger must be compressed so the switch can rotate out of the bracket. Attempting to remove the switch when the plunger is extended (while the pedal is depressed) will damage the switch.
Remove the brake light switch.
Refer to: Brake Light Switch (417-01 Exterior Lighting, Removal and Installation).- Remove and discard the booster pushrod retaining clip.
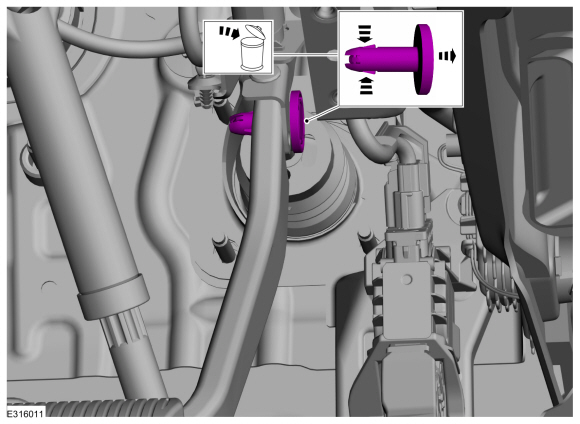
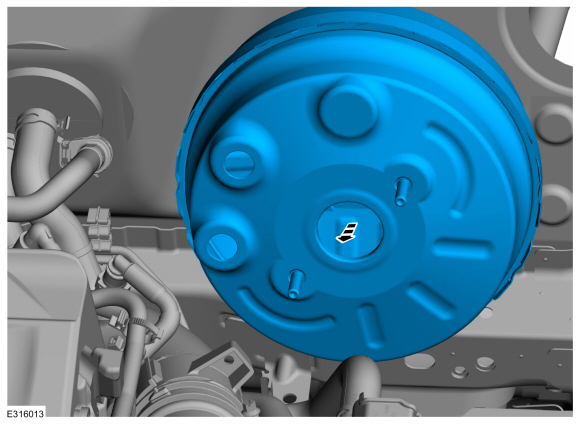
- Remove the nuts.
Torque: 18 lb-ft (25 N·m)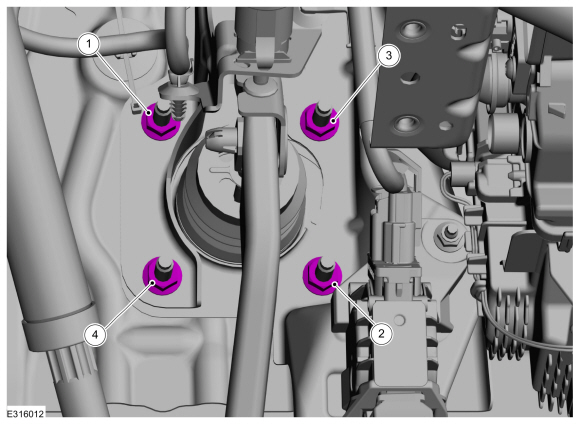
- Remove the brake booster.
Installation
NOTICE: Do not press, pull or otherwise move the brake pedal when installing the stop lamp switch. The switch must be installed with the booster pushrod attached to the brake pedal and with the brake pedal in the rest position. Installing the switch with the brake pedal in any other position will result in incorrect adjustment and may damage the switch.
To install, reverse the removal procedure.
Test yourself
A quick Ford Escape quiz: every answer comes with an explanation and a link to the manual page.