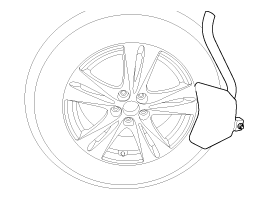
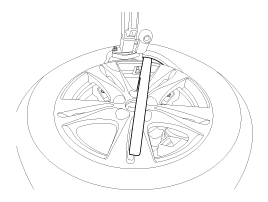
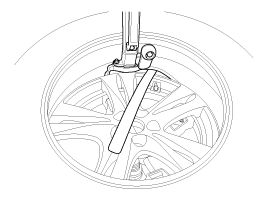
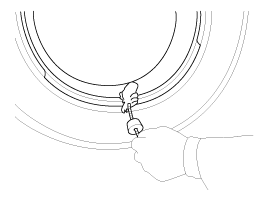
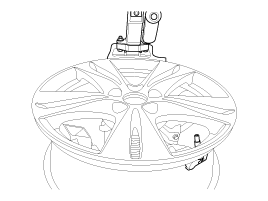
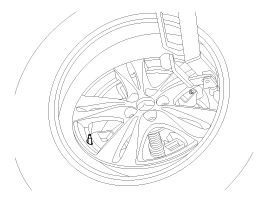
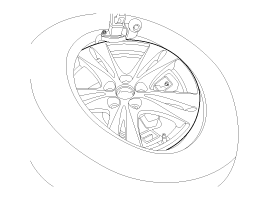
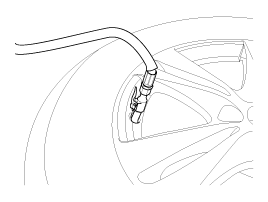
Remove the tire bead from the wheel using a tire changer.
The tire bead should be broken approximately 90° from the valve side of the wheel. The bead breaker should not be set too deep.
Avoid contact between the tire/tool and the valve when dismounting.
Dismounting should end near the valve.
Rotate the wheel clockwise.
During transport, the valve (air intake part, silver) may have shifted from its original position. Be sure to check that the valve's original position (metal brackets) is assembled in the indented state.
When tightening the valve nut, do not move from the fixed position. Rotate the valve into the fixed position (metal brackets must fit inside) and press. Tighten the nut to the specified torque (8 N·m). Do not reuse the nut.
Touch the rim so that the valve washer covers the inserted valve hole.
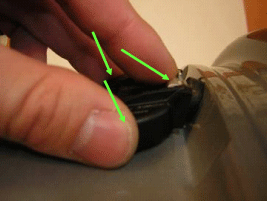
Hold the housing with two fingers to keep the valve axially in place, and push the valve with one finger.
Housing condition: the laser marking must be visible.
When the valve is fully inserted so that the sensor contacts the rim, begin tightening the wheel nut while holding the hands in position.
While maintaining the position of the valve and sensor, install the nut.
Apply soap or tire lubricant to the upper and lower tire beads.
To install the lower bead, position the sensor at the 5 o'clock position relative to the head on the tire changer.
Place the tire on the rim so that the lower bead touches the rim edge past the sensor (6 o'clock). Rotate the rim clockwise and press the tire at the 3 o'clock position to seat the lower bead.
Once the lower bead is on the tire, rotate the rim until the sensor is at the 5 o'clock position relative to the head when changing the tire. Press the tire at the 3 o'clock position and rotate the rim clockwise to fit the upper bead.
Inflate the tire until both beads are seated.
If a TPMS sensor malfunctions, the TPMS sensors must be registered. Replace the faulty sensor with new units and perform TPMS sensor registration.
Inspection
After Installing TPMS Sensors: Verification Procedures
Sealing washer on the outer edge of the compressible hole.
The lower part of the valve body must be in the fixed position (without metal brackets).
The housing must contact the wheel surface at at least one or more points.
The installation height of the housing bead must not exceed the chin height. [Typical][Malfunction]
Connect the diagnostic link connector (16-pin), located in the lower cover on the driver's side, to the scan tool, then turn the scan tool on after switching the ignition on.
On the GDS vehicle selection screen, select "Vehicle Model" and "TPMS", then press "OK".
Diagnostic Procedure Using the Scan Tool: The main contents of the scan tool diagnostic procedures are as follows:
Diagnostic Procedure Using the Scan Tool
The following section describes how to diagnose malfunctions using the scan tool.
Connect the scan tool to the diagnostic link connector (16-pin) under the protective cover on the driver's seat side, then turn the ignition on to activate the scan tool.
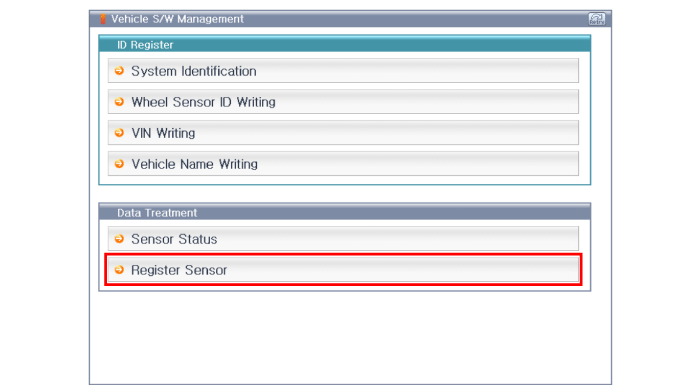
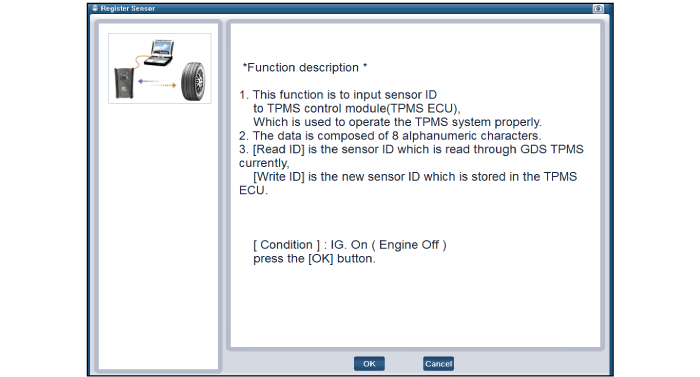
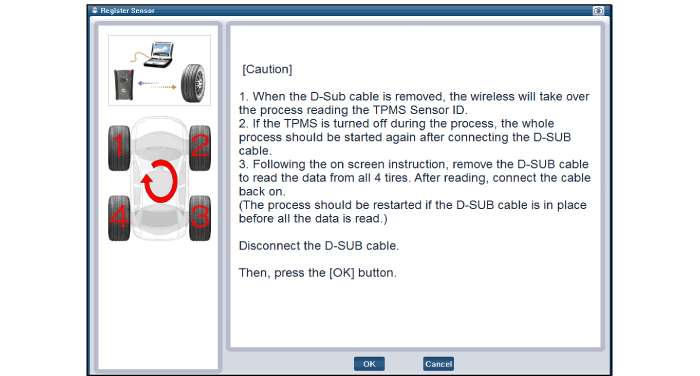
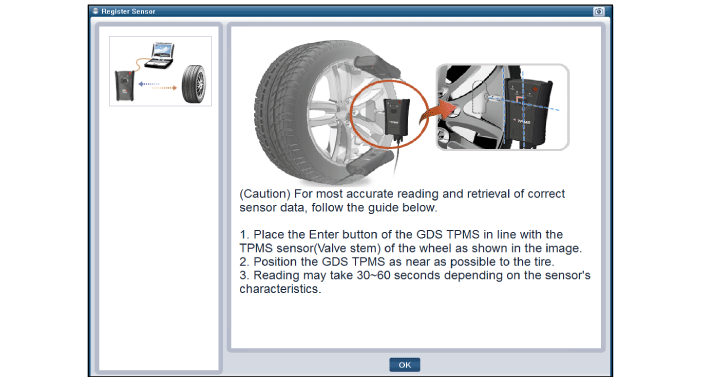
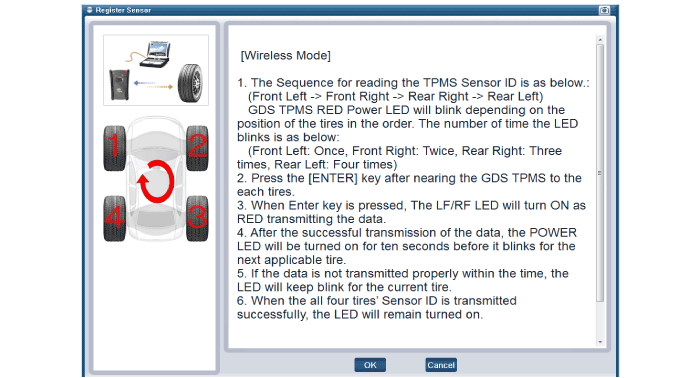
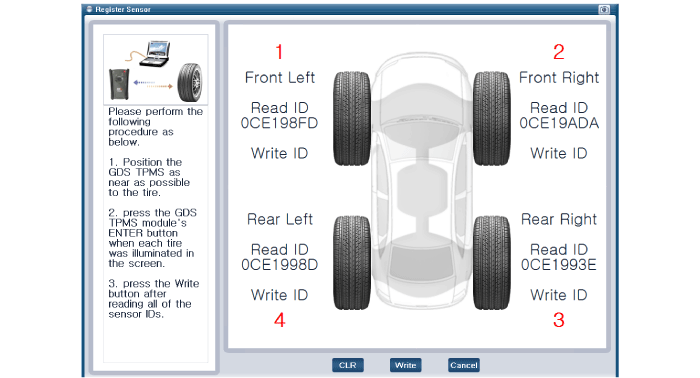
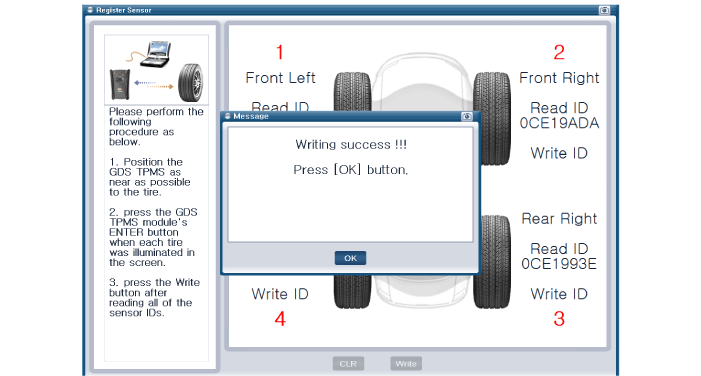
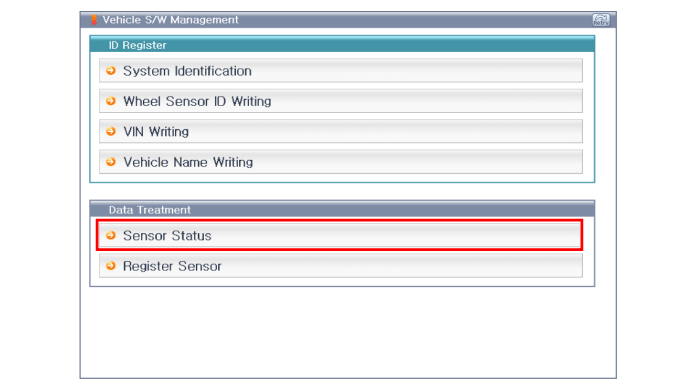
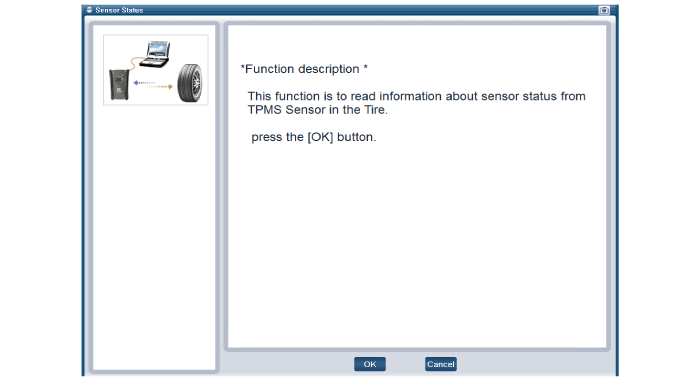
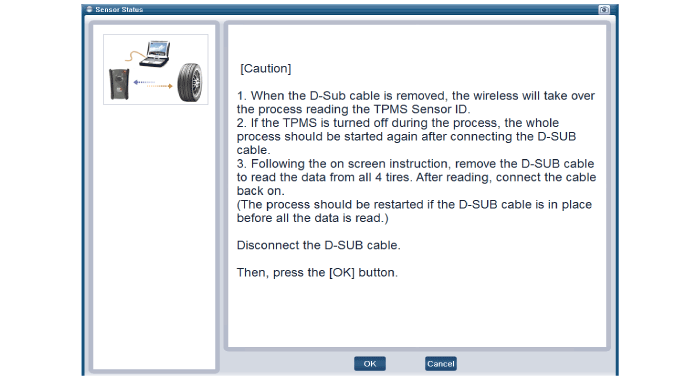
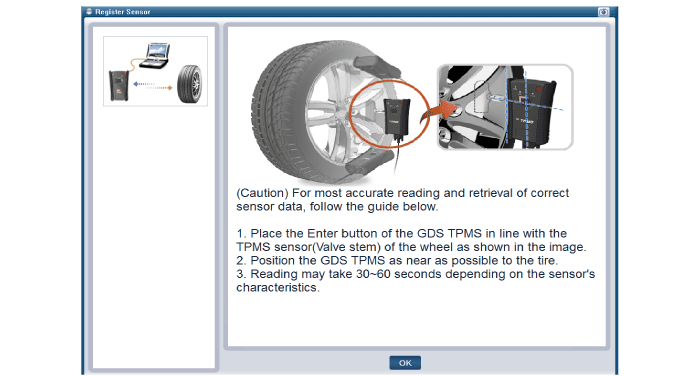
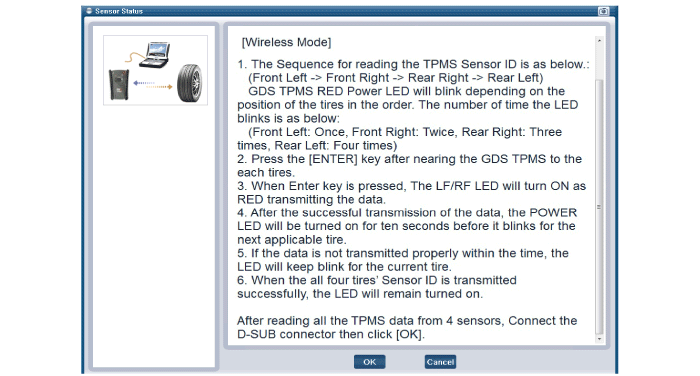
In the GDS vehicle type selection menu, select "Vehicle Type" and "TPMS System", then select "OK". [Initial screen for sensor ID registration][Sensor Registration Function Description][Sensor Measurements during Preparation][Sensor Registration Method 1][Sensor Registration Method 2][Sensor Registration Method 3][Sensor Registration Method 4][Sensor Registration Method 5]
Make sure the sensor ID read matches the recorded sensor ID.
After the sensor is successfully registered, go to the "Sensor Wireless Information" item to confirm that the sensor is operating correctly.
[Sensor Status Initialization][Sensor Function Description][Sensor Measurements during Preparation]
In North America, the cable is measured separately.
In the domestic/common (European) area, the cable is measured without separation.