Lower Arm - Component Replacement
LOWER ARM BALL JOINT AND DUST BOOT
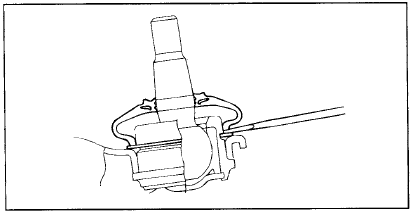
1. Using a flat-blade screwdriver, remove the dust boot from the lower arm ball joint.
2. Remove the snap ring.
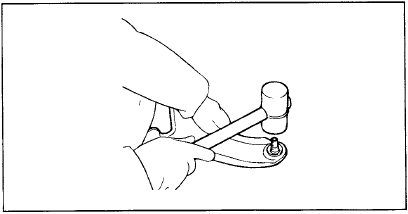
3. Using a plastic hammer, drive the ball joint out of the lower arm.
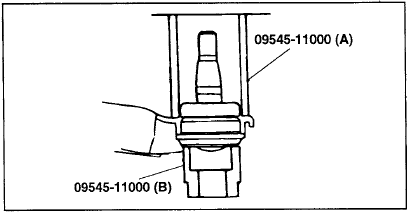
4. Using the special service tool (09545-11000), press the new ball joint into the lower arm assembly.
5. Install the snap ring.
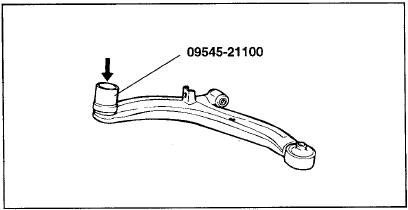
6. Using the special service tool (09545-21000), install the dust boot.
LOWER ARM BUSHING "G" REPLACEMENT
1. Install the special service tools (09545-02000, 09216-21200 and 09216-21100) on the lower arm.
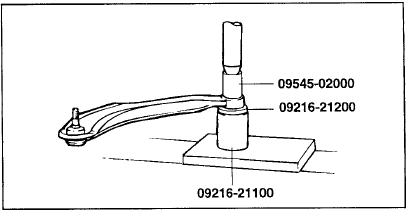
2. Press out the bushing.
3. Wet the following parts with soapy water:
• Outer surface of the bushing
• Inner mounting surface of the lower arm for the bushing
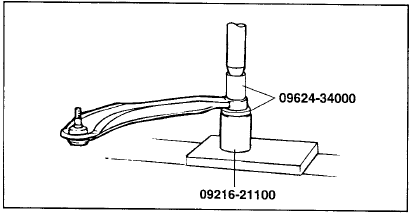
4. Install the new bushing on the lower arm using the special service tools (09216-21100 and 0962434000).
Press in lower arm bushing "G" at the angle shown in the illustration.
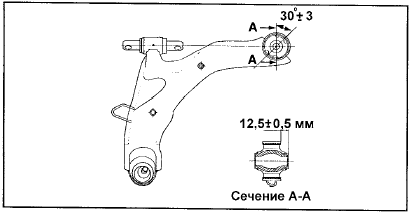
Bushing press-in force:
80 N or more
Test yourself
A quick Hyundai Elantra CN7 quiz: every answer comes with an explanation and a link to the manual page.