Body Electrical System
Rain Sensor Repair Procedures
In this manual: Body Electrical System
6steps
~36min
2/5difficulty
Done 0 of 6
Removal
|
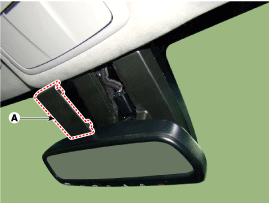
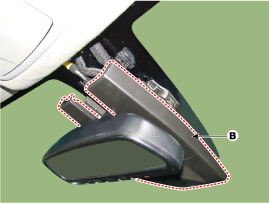
- Remove the mirror wiring cover (A) and the rain sensor cover (B).
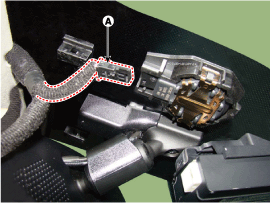
- Disconnect the rain sensor connector (A).
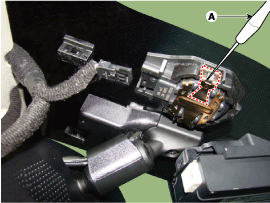
- Be careful not to damage the cover latch by applying excessive force. To remove the bracket, pull the bracket holes outward using a small flat-tip screwdriver.
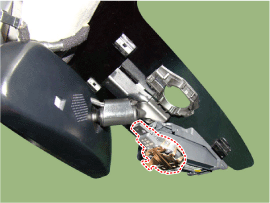
- The rain sensor module is attached to the windshield with adhesive. When replacing the windshield, remove the rain sensor module from the existing windshield and install it on the new windshield.
Installation
|

- Attach the rain sensor bracket to the windshield using tape.
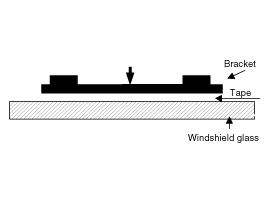
It is very important that the connection pad is pressed fully against the windshield so that it adheres without bubbles.
- Connect the rain sensor connector, then install the sensor cover.
Test yourself
A quick Hyundai Genesis DH quiz: every answer comes with an explanation and a link to the manual page.
Was this page helpful?