Suspension System
Front Stabilizer Bar Repair Procedures
In this manual: Suspension System
17steps
~102min
4/5difficulty
Done 0 of 17
DEPOSIT
- Remove the front wheel and tire.
Tightening torque: 107.9 - 128 N·m
- Remove the stabilizer bar link (B) from the crossmember assembly by loosening the nut (A).
Tightening torque: 98.1 ~ 118 N·m
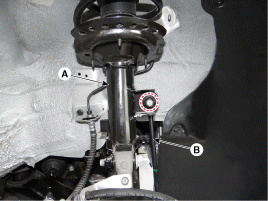
- Remove the cotter pin and loosen the castellated nut (A).
Tightening torque: 23.5 ~ 33 N·m
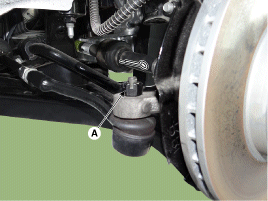
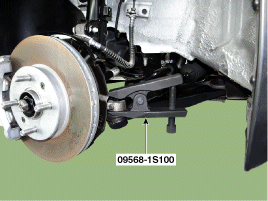
- Separate the ball joint from the tie rod end using SST (09568-1C100).
- Loosen the nut (A) and separate the ball joint from the lower arm.
Tightening torque: 58.8 ~ 71 N·m
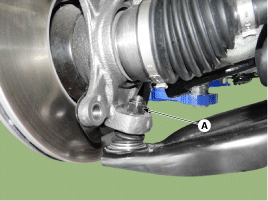
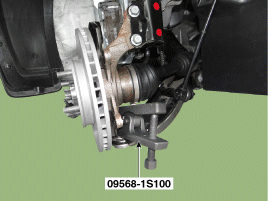
- Disconnect the drive shaft (A) from the front hub assembly.

- Loosen the bolt (A), then disconnect the suspension assembly from the steering gear pinion.
Tightening torque: 32.4 ~ 37 N·m

- Remove the rubber boot (A).
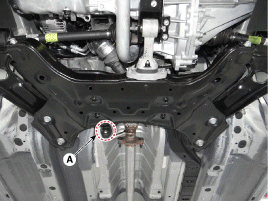
- Remove the crossmember from the body by loosening the nuts and bolts securing the roller rod (A).
Tightening torque: 53.9 ~ 64 N·m
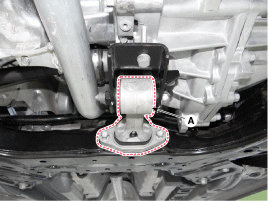
- For safety, install a jack under the front subframe.
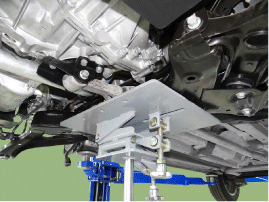
- Loosen the bolts and nuts, then remove the front subframe.
Tightening torque: 176.5 ~ 196 N·m N·m (18.0 ~ 20.0 kgf·m, 130.2 ~ 144.7 lbf·ft)
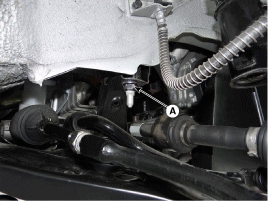
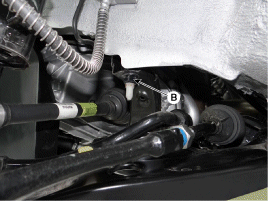
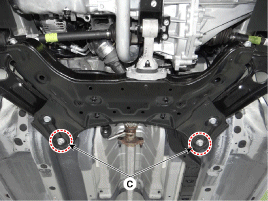
- Remove the stabilizer bar (A) from the subframe by loosening the mounting bolts.
Tightening torque: 44.1~54 N·m
(LHD)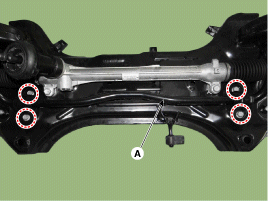
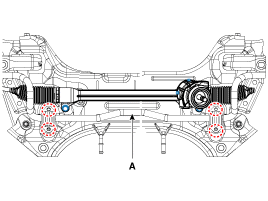
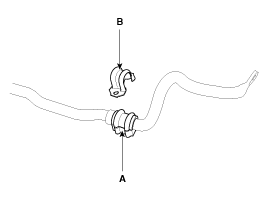
- Remove the stabilizer bar bushing (A) and clamp (B).
- To install, perform the removal procedure in reverse order.
Inspection
- Make sure the bushing is not worn or damaged.
- Make sure the front stabilizer bar is not deformed.
- Make sure the ball joint of the front stabilizer link is not damaged.
Test yourself
A quick Hyundai i20 quiz: every answer comes with an explanation and a link to the manual page.
Was this page helpful?