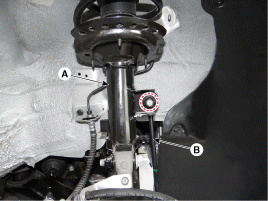
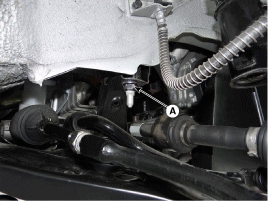
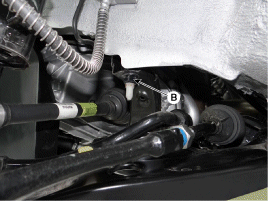
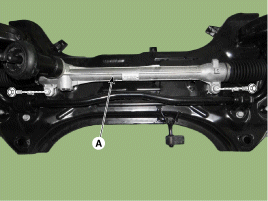
Remove the stabilizer bar link (B) from the crossmember assembly by loosening the nut (A).
Tightening torque: 98.1 ~ 118 N·m
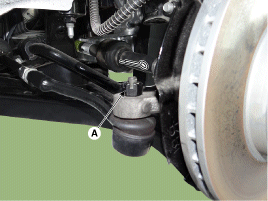
Remove the cotter pin and loosen the castellated nut (A).
Tightening torque: 23.5 ~ 33 N·m
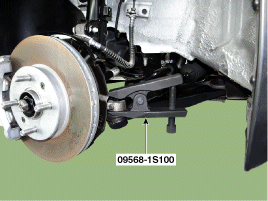
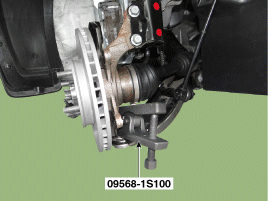
Separate the ball joint from the tie rod end using SST (09568-1C100).
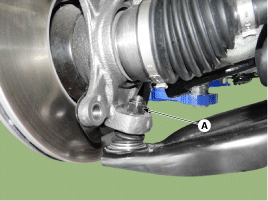
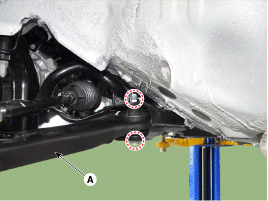
Loosen the nut (A) and separate the ball joint from the lower arm.
Tightening torque: 58.8 ~ 71 N·m
Disconnect the drive shaft (A) from the front hub assembly.
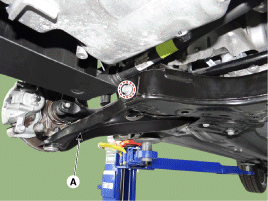
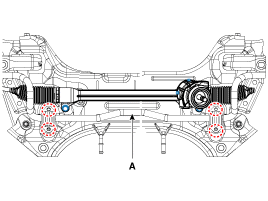
Loosen the bolts and nuts and remove the lower arm (A) from the subframe. Tightening torque FRONT: 117.7 ~ 137 N·m REAR: 156.9 ~ 176 N·m ft-lbf (To)(Rear)
Loosen the bolt (A), then disconnect the suspension assembly from the steering gear pinion.
Tightening torque: 32.4 ~ 37 N·m
Remove the rubber boot (A).
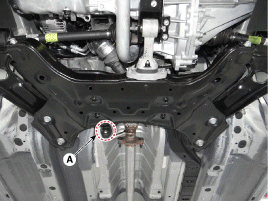
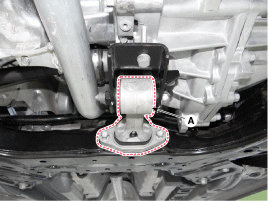
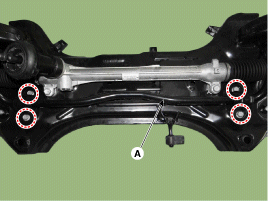
Remove the crossmember from the body by loosening the nuts and bolts securing the roller rod (A).
Tightening torque: 53.9 ~ 64 N·m
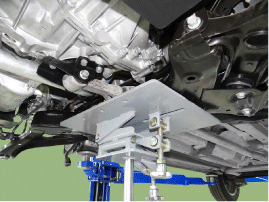
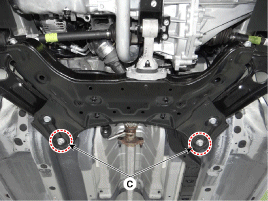
For safety, install a jack under the front subframe.
Loosen the bolts and nuts, then remove the front subframe.