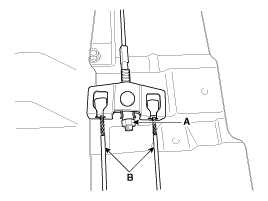
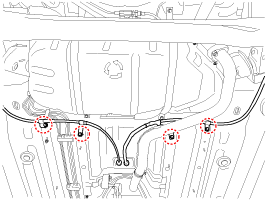
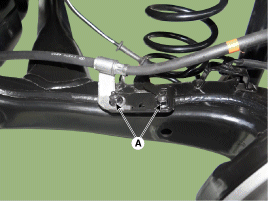
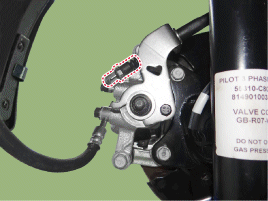
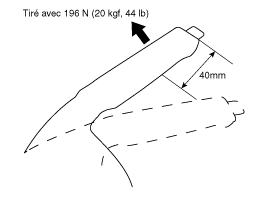
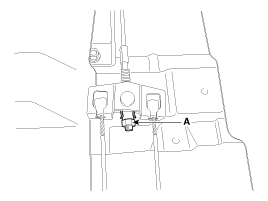
Install the parking brake cable adjuster, then adjust the parking brake lever stroke by turning the adjusting nut (A). Parking brake lever stroke: 5–7 clicks (pull the lever with a force of 196 N (20 kgf, 44 lbf))
Fully release the parking brake lever and check that the parking brake does not drag when the rear wheels are turned. If necessary, repeat the adjustments.
Make sure the parking brake is fully applied when you fully raise the parking brake lever.
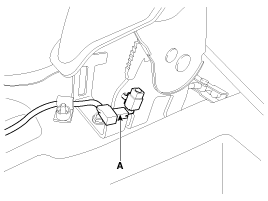
Reconnect the parking brake switch connector (A).
When pulling the parking brake: Continuity. When released: No continuity.
Install the rear floor console mounting bracket.
Install the floor console. (Refer to Body group - "Floor Console")
ITEM
PARKING BRAKE LEVER STROKE ADJUSTMENT
Remove the floor console. (Refer to Body group - "Floor Console".)
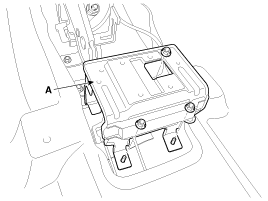
Remove the rear floor console mounting bracket (A).
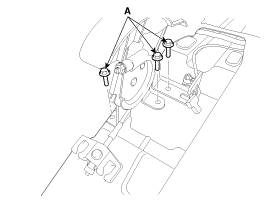
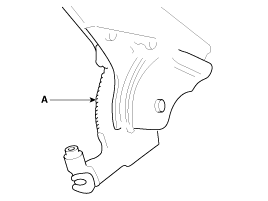
Apply a coat of specified grease to each of the sliding parts (A) of the ratchet disc or ratchet tooth.
Install the parking brake cable adjuster, then adjust the parking brake lever stroke by turning the adjusting nut (A). Parking brake lever stroke: 5–7 clicks (pull the lever with a force of 196 N (20 kgf, 44 lbf))
Fully release the parking brake lever and check that the parking brake does not drag when the rear wheels are turned. If necessary, repeat the adjustments.
Make sure the parking brake is fully applied when you fully raise the parking brake lever.
Install the rear floor console mounting bracket.
Install the floor console. (Refer to Body group - "Floor Console".)
PARKING BRAKE SHOE CLEARANCE ADJUSTMENT
Lower the console to the floor to access the adjusting nut.
Loosen the parking brake cable until both levers are in the fully released position.
Bring the brake pads into operating position by depressing the brake pedal several times, until resistance is felt.
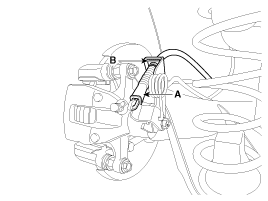
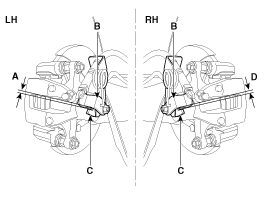
Tighten the parking brake cable by turning the adjusting nut until the operating levers of both calipers lift from the stopper at distance (A) and (D) between the lever (B) and the stopper (C).
Distance (A+D): Max. 3 mm (0.12 in.)
Install the floor console.
The parking brake lever must be released.
If the parking brake cables have been replaced, apply the parking brake several times at maximum force to stretch the cables, and check the adjustment as described above.
Check that the wheels operate correctly.
Road test.
?
Test yourself
A quick Hyundai i20 quiz: every answer comes with an explanation and a link to the manual page.