Body Electrical System
Rain sensor
In this manual: Body Electrical System
14steps
~84min
3/5difficulty
Done 0 of 14
Components and Component Location
Components
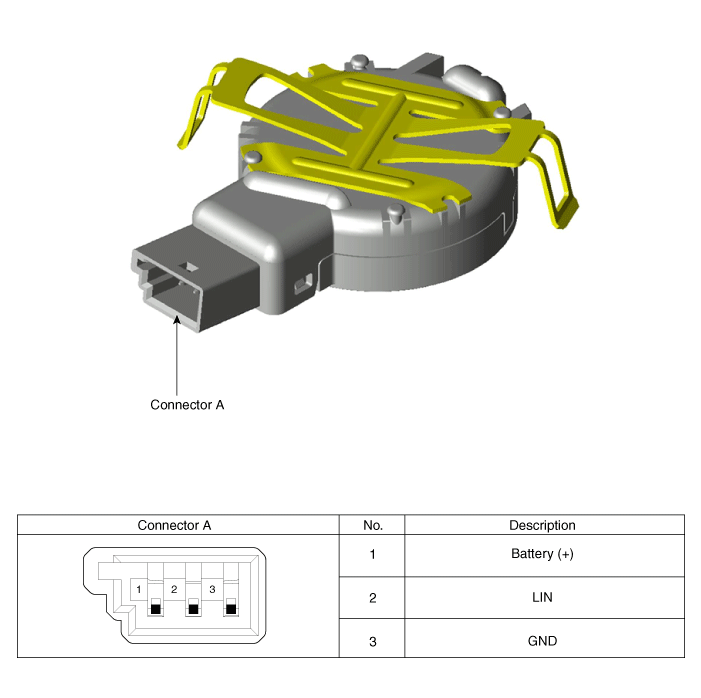
Description and Operation
Description
Integrated Rain Sensor. The integrated rain sensor (A) controls three systems: the front wiper, automatic headlights, and the automatic climate control system.- Wiper Control System: When the "AUTO" signal is received from the multifunction switch on the right, the built-in rain sensor detects the amount of precipitation. The sensor is installed inside the upper part of the windshield to control the wiper motor. This system automatically controls the duration and speed of wiper operation according to the measured amount of precipitation, even if the driver does not operate the wiper switch.
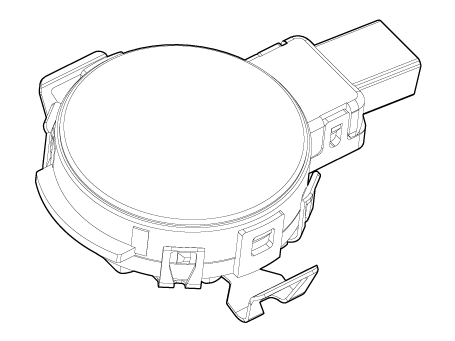
Functions and Operation Principles
Basic Principle- Rain Detection: Light (beam) emitted by the LEDs is fully reflected at the outer surface of the windshield and returned to the photodiodes. When water is present on the outer surface of the windshield, the light is optically separated and partially reflected, and the remaining brightness is measured by the photodiodes. Water remaining on the windshield prevents the light from being fully reflected. The loss of brightness caused by this indicates how wet the glass surface is.
- Dust on the measuring surface and other surfaces in the beam path (surface of the LEDs and photodiodes, fiber optics, bracket and glass surface in the area of the windshield joint) weakens the received light.
- Movement of the windshield and bracket
- Movement of the bracket due to vibration
- Damaged wiper blade
|

- Rain Sensor Operating Condition
Operation Mode Operation Direct Mode This is the normal operating state of the built-in rain sensor when the wiper switch is in the "AUTO" position and the sensor has detected a dry windshield. Based on this state, the built-in rain sensor determines the wiper operating mode according to the precipitation and its duration. Intermittent Mode The built-in rain sensor activates intermittent mode when the wiper operates more than two times in succession with a pause of 0.5 - 5 seconds. Low speed Wipers operate continuously at low speed High speed Wipers operate continuously at high speed - When ice or foreign material is present in the detection area, the integrated rain sensor cannot correctly recognize the operating conditions.
- Rain sensor
Special Condition Operation Based on Special Condition Detection Hesitation When the built-in rain sensor detects a high level of water (spray) in direct or intermittent mode, the system switches from park mode to high speed. Then wiping is performed once at high speed and once more at low speed. If the precipitation condition does not change after wiping, it returns to the original state (direct or intermittent). Smearing Smearing is a thin oil film that dries quickly and occurs when a small amount of precipitation is wiped by a dirty or worn wiper blade. The operating signal should not be output when smearing occurs in direct or intermittent mode. Mud If no change is detected after wiping, the built-in rain sensor determines that the windshield is contaminated. In this condition, the operating signal should not be output. If the windshield becomes clean (for example, by washer fluid), the built-in rain sensor returns to normal. Washer Fluid The built-in rain sensor does not respond to washer fluid during washing mode. In other words, the wiping speed does not change even if washer fluid is sprayed (automatic operation of the washer pump does not affect the operation of the built-in rain sensor).
Repair Procedures
Removal
|

|

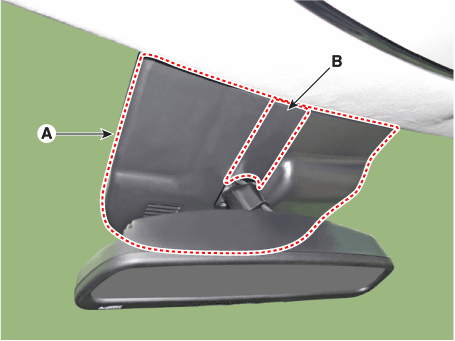
- Remove the rain sensor covers (A) and (B).
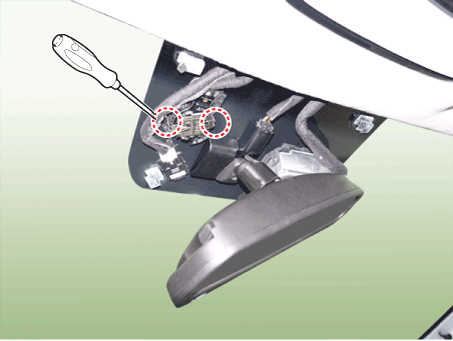
- To release the latch, pull the latch aside using the opening in the cover with a small flat-blade screwdriver.
- Remove the rain sensor.
- Insert a small flat-blade screwdriver (-) into the hole at the bottom (B) or top (A), between the rain sensor and the bracket.
- Slowly pull the rain sensor up and down in the vertical direction of the glass, then slowly remove the rain sensor from the windshield without damaging the silicone on the sensor.
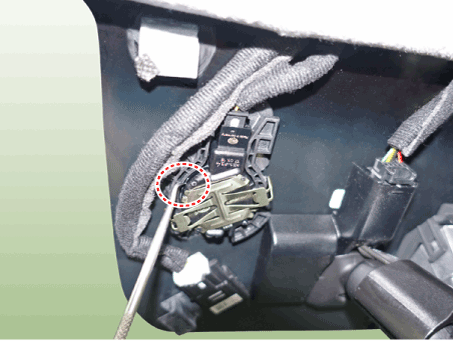

- It may be damaged when trying to remove the rain sensor from the windshield by force. Be careful when separating it from the windshield.
- When separating the silicone under high temperature, it can be easily damaged due to the strength of the silicone adhesive. Remove the silicone in a cool place.
- Disconnect the harness connector (B) from the rain sensor by inserting a small flat-blade screwdriver (A) into the opening.
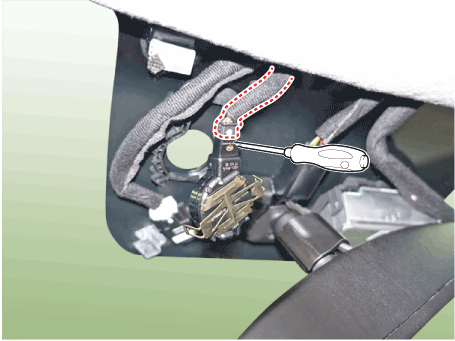
Installation
|
|||||||||||||||||||||||||||

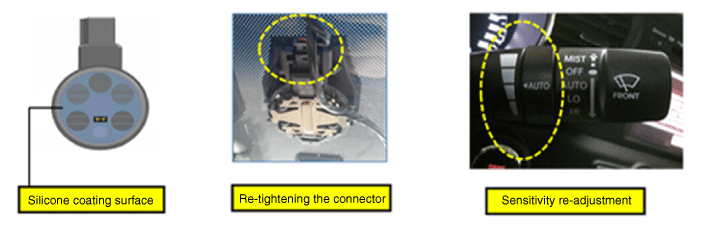
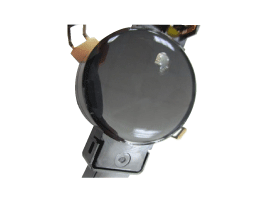
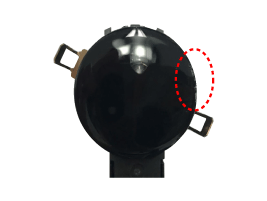
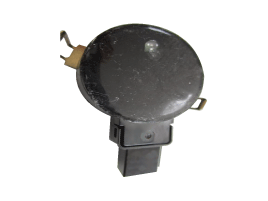
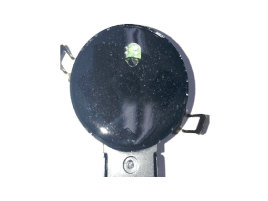
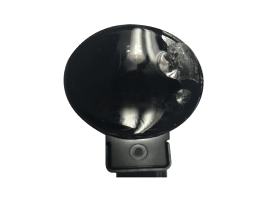
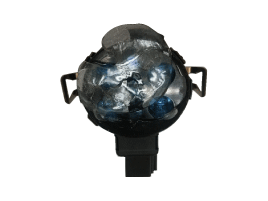
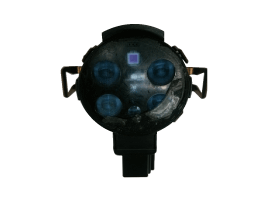
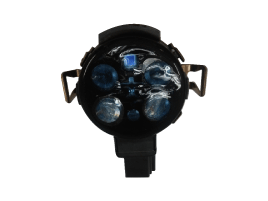
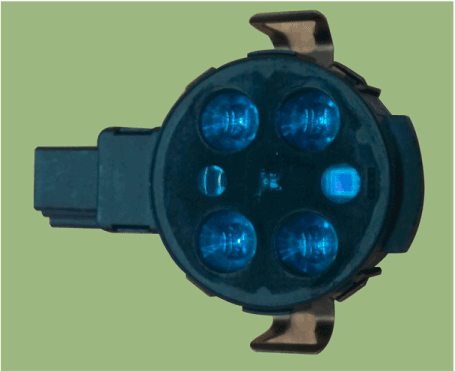

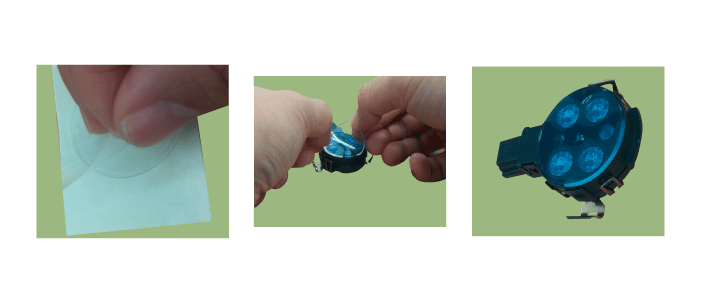

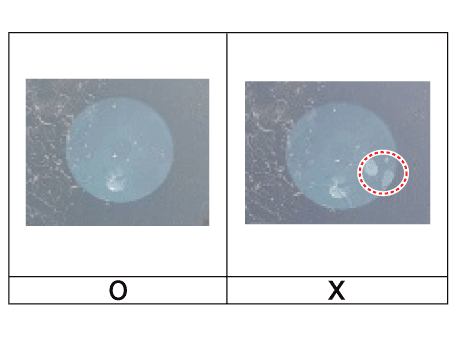
- Connect the rain sensor connector.
- Press one of the spring arm latches (A) down until it clicks into place. Then press the latch of the second spring arm (B) to hold the sensor in the correct position.
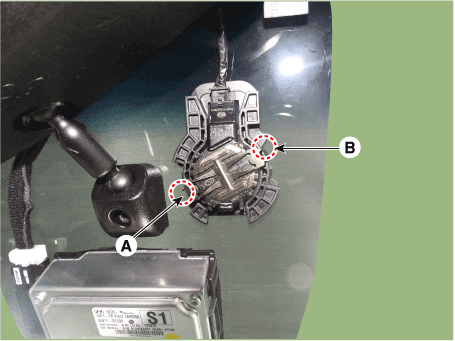

- Do not snap both spring clips at the same time.
- An improperly installed snap-fit connection may cause the rain/light sensor to malfunction.
Test yourself
A quick Hyundai Palisade quiz: every answer comes with an explanation and a link to the manual page.
Was this page helpful?