Drive Shaft and Axle
Rear Hub — Carrier
In this manual: Drive Shaft and Axle
15steps
~90min
4/5difficulty
Done 0 of 15
Components and Component Location
Components
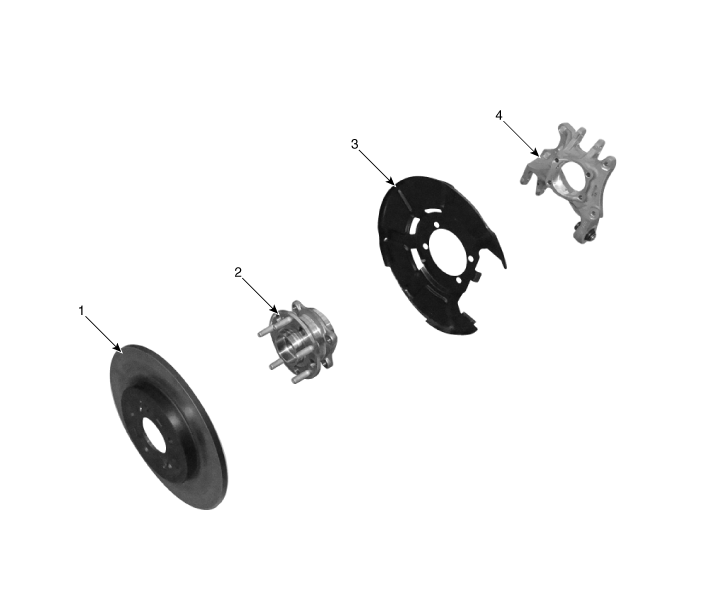
| 1. Rear brake disc 2. Rear hub assembly |
3. Dust Cover 4. Rear Hub Assembly |
Repair Procedures
Removal
- Loosen the wheel nuts slightly. Raise the vehicle and make sure it is securely supported.
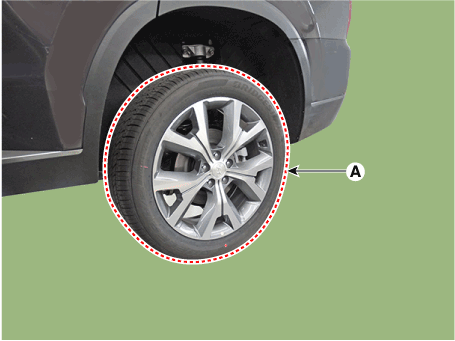
- Remove the rear wheel and tire (A) from the rear hub.
Tightening torque: 107.9–128 N·m

- Be careful not to damage the hub bolts when removing the rear wheel and tire (A).
- Remove the rear brake caliper. (Refer to Brake System - "Rear Disc Brake")
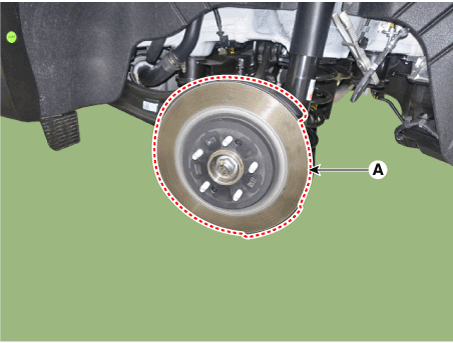
- Loosen the screw and remove the rear brake disc (A).
Tightening torque: 4.9–5.8 N·m
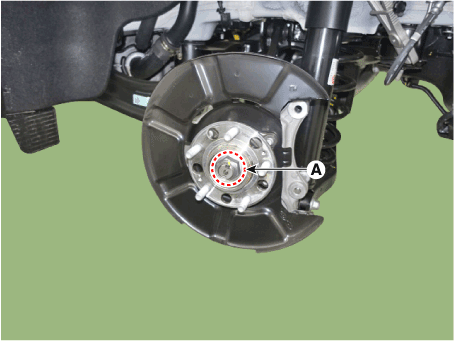
- Loosen the drive shaft seal nut (A).
Tightening torque: 294.2–314 N·m

- The driveshaft lock nut (A) must be replaced with new ones.
- After installing the driveshaft lock nut, stake the lock nut with a chisel and hammer as shown in the illustration below.
Staking depth: 1.5 mm (0.591 in.)
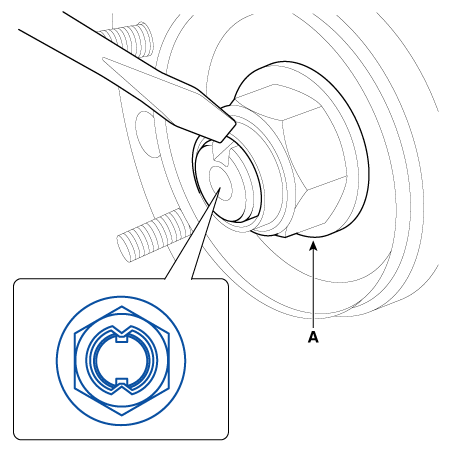
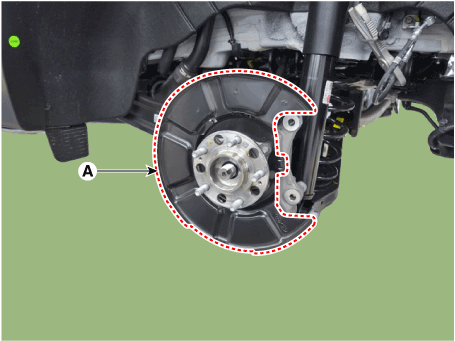
- Loosen the bolts, then remove the rear hub assembly and the air duct cover (A).
Tightening torque: 88.3–108 N·m
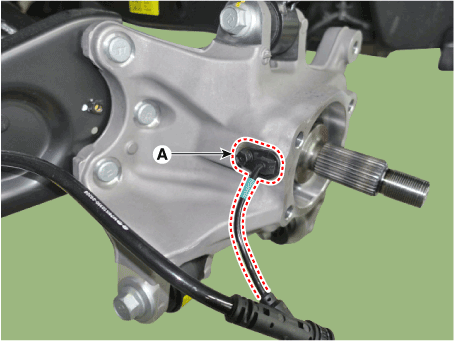
- Loosen the bolt and remove the wheel speed sensor (A).
Tightening torque: 6.9–10.8 N·m
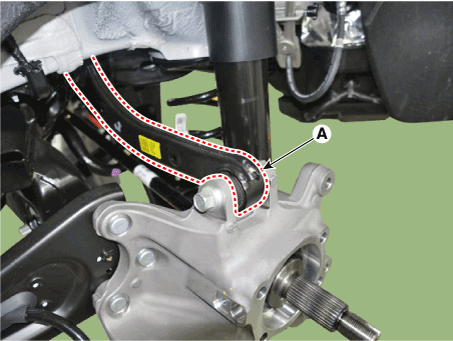
- Loosen the nut and bolt, then remove the rear upper arm (A) from the axle.
Tightening torque: 98.1 - 118 N·m
- Loosen the bolt and nut, then separate the rear auxiliary arm (A) from the rear axle.
Tightening torque: 137.3–157 N·m
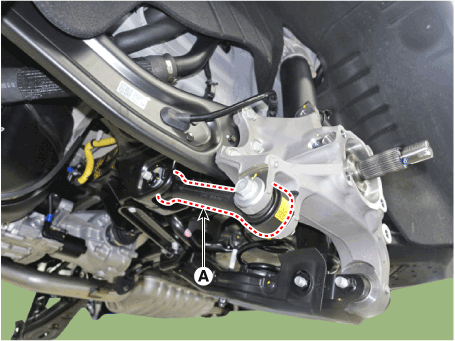
- Loosen the mounting nut (A) and separate the trailing arm from the rear crossmember assembly.
Tightening torque: 98.1 - 118 N·m
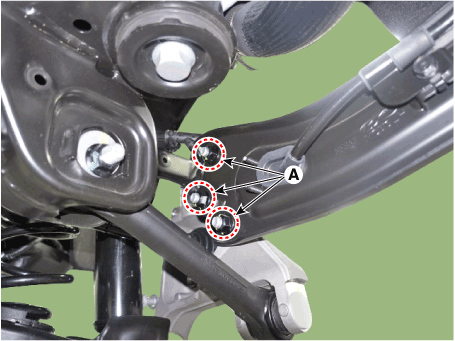
- Remove the rear axle beam (A) after loosening the bolt and nut.
Tightening torque: 137.3–157 N·m
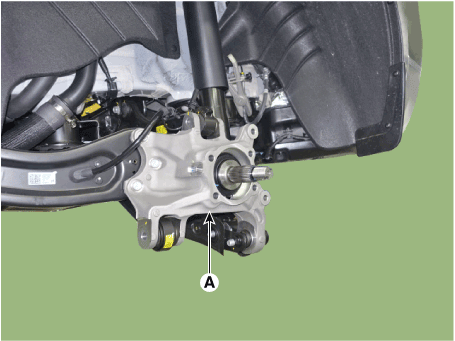
Inspection
- Check the hub for cracks and worn splines.
- Check the rear axle beam for cracks.
Installation
- Install in the reverse order of removal.
- Check the alignment. (Refer to Suspension System - "Alignment")
Test yourself
A quick Hyundai Palisade quiz: every answer comes with an explanation and a link to the manual page.
Was this page helpful?