Auxiliary 12V Battery Repair procedures
Removal
Auxiliary 12V Battery
Open the trunk.
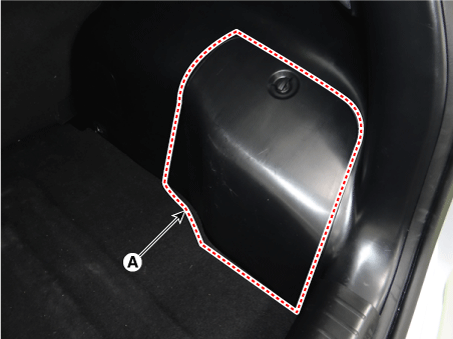
Remove the luggage side trim [RH] side cover (A).
Turn the ignition switch OFF and disconnect the battery negative (-) terminal (A).
Battery (-) terminal tightening nut :
7.8 - 9,8 N·m
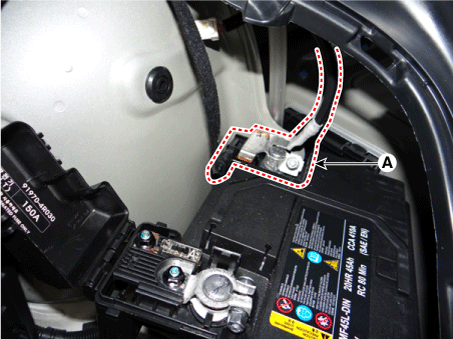
Disconnect the battery positive (+) terminal (A).
Battery (+) terminal tightening nut :
7.8 - 9,8 N·m
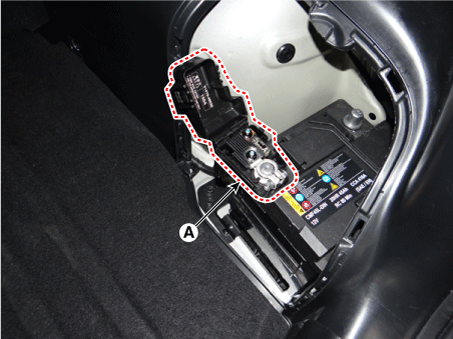
Disconnect the vent hose.
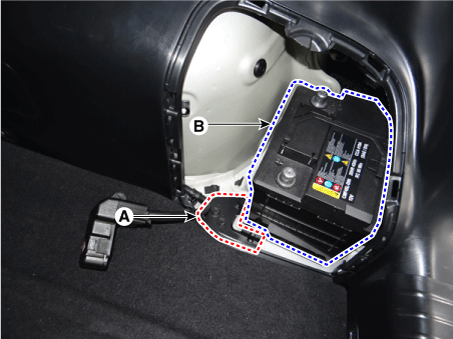
Remove the battery upper bracket (A) after loosening the mounting bolt.
Remove the auxiliary 12V battery (B).
Battery mounting bracket bolt :
19.6 - 29 N·m
Inspection
Battery Voltage and Status
Check the battery voltage and status using the battery tester.
Battery Terminal
Move back and forth to check that the battery terminals (A) are loose or corroded.If the terminals are corroded, clean them.
If battery positive connection is loose, disconnect ground(GND) cable first before attempting to remove or tighten plus connection, to prevent personal injury.
If the battery clamp on battery positive (+) terminal is not seated securely:
Turn ignition switch OFF and disconnect the battery negative (-) terminal.
Tighten battery clamp (A) on battery positive (+) terminal
Battery positive (+) terminal tightening nut :
7.8 - 9,8 N·m
If the battery clamp on battery negative (-) terminal is not seated securely:
Tighten battery clamp (A) on battery negative (-) terminal.
Battery negative (-) terminal tightening nut :
7.8 - 9,8 N·m
Battery Condition
Check the battery for damage or deformation. If severe damage, deformation or leakage is found, replace the battery.
Vehicle parasitic current inspection
[Using the Ammeter]
Turn the all electric devices OFF, and then turn the ignition switch OFF.
Close all doors except the engine hood, and then lock all doors.
Disconnect the hood switch connector.
Close the trunk lid.
Close the doors or remove the door switches.
Wait a few minutes until the vehicle’s electrical systems go to sleep mode.
Connect an ammeter in series between the battery (-) terminal and the ground cable, and then disconnect the clamp from the battery (-) terminal slowly.
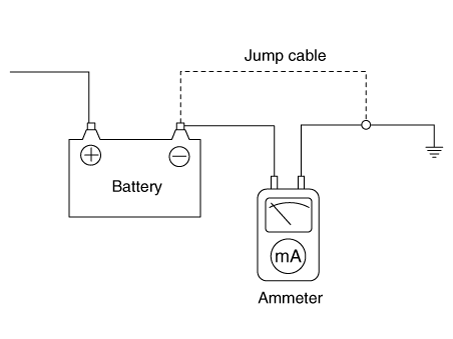
Read the current value of the ammeter.
If the parasitic current is over the limit value, search for abnormal circuit by removing a fuse one by one and checking the parasitic current.
Reconnect the suspected parasitic currentdraw circuit fuse only and search for suspectedunit by removing the component connected with thecircuit one by one until the parasitic draw dropsbelow limit value.
Limit value (after 10-20 min.) : Below 50mA
[Using the Clamp type Ammeter]
Turn the all electric devices OFF, and then turn the ignition switch OFF.
Close all doors except the engine hood, and then lock all doors.
Disconnect the hood switch connector.
Close the trunk lid.
Close the doors or remove the door switches.
Wait a few minutes until the vehicle’s electrical systems go to sleep mode.
Install the clamp type ammerter on battery negative (-) terminal.
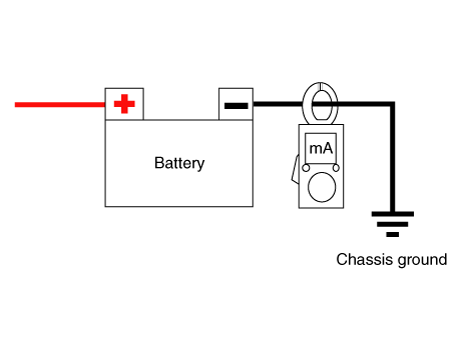
Read the current value of the ammeter.
If the parasitic current is over the limit value, search for abnormal circuit by removing a fuse one by one and checking the parasitic current.
Reconnect the suspected parasitic currentdraw circuit fuse only and search for suspectedunit by removing the component connected with thecircuit one by one until the parasitic draw dropsbelow limit value.
Limit value (after 10-20 min.) : Below 50mA
Battery Tester
The Micro 570 Analyzer
The Micro 570 Analyzer provides the ability to test the charging and starting systems, including the battery, starter and alternator.
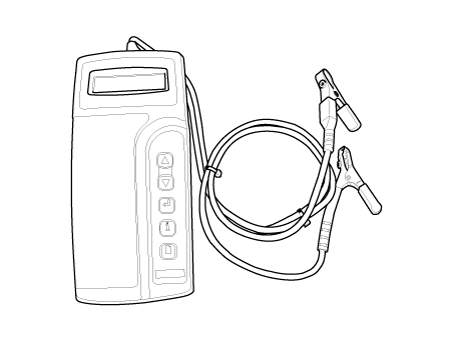
Keypad
The Micro 570 button on the key pad provide the following functions :
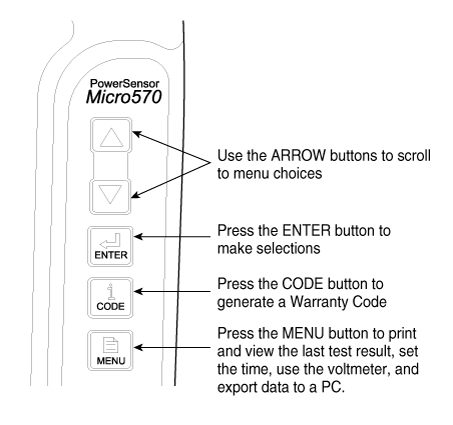
Battery Test Procedure
Connect the tester to the battery.
Red clamp to battery positive (+) terminal.
Black clamp to battery negative (-) terminal.
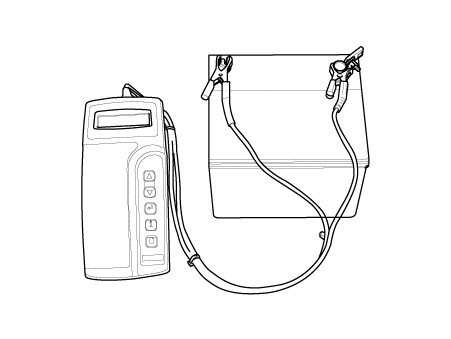
The tester will ask if the battery is connected "IN-VEHICLE" or "OUT-OF-VEHICLE". Make your selection by pressing the arrow buttons; then press ENTER.
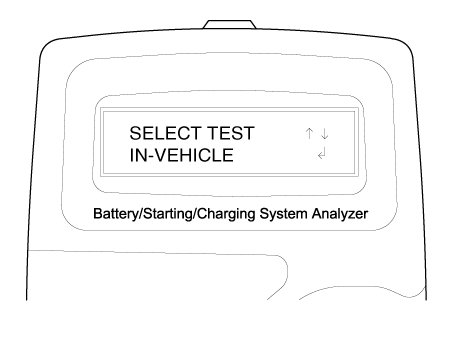
Select CCA and press the ENTER button.
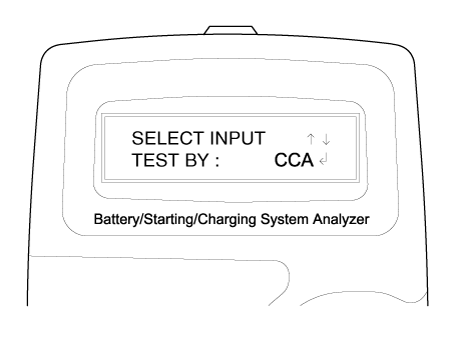
Set the CCA value displayed on the screen to the CCA value marked on the battery label by pressing up and down buttons and press ENTER.
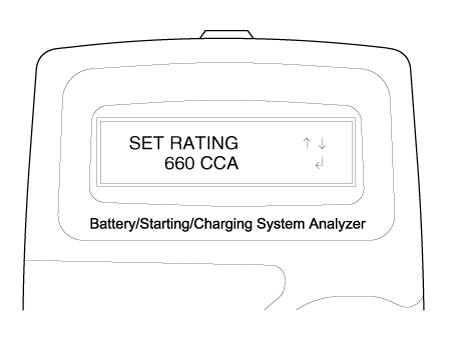
The tester will conduct battery test.
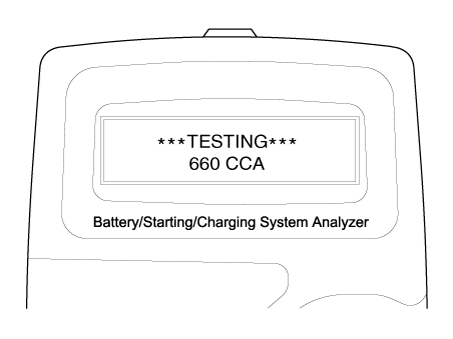
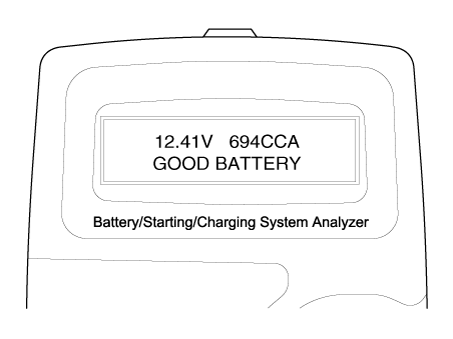
The tester displays battery test results including voltage and battery ratings.
Refer to the following table and take the appropriate action as recommended by the Micro 570.
Battery Test Results
Result On Printer Remedy GOOD BATTERY No action is required. GOOD RECHARGE Battery is in a good state.
Recharge the battery and use.
※ You have to follow instruction below when you charge battery and retest, otherwise test result can be inaccurate. (See ‘Charge and Retest method after battery charge’ below.)CHARGE & RETEST Battery is not charged properly.
Charge and test the battery again.
REPLACE BATTERY Replace battery and recheck the charging system.
Improper connection between battery and vehicle cables may cause "REPLACE BATTERY". Retest the battery after removing cables and connecting the tester to the battery terminal directly prior to replacing the battery.
BAD CELL-REPLACE Charge and retest the battery.
If the Micro 570 recommends "REPLACE BATTERY", replace the battery and recheck the charging system.
[Charge and Retest method after battery charge]
Battery charge
Set battery charger to ‘Auto Mode’ (The Mode that charging current drops as the battery charges.) and charge battery until charging current down close to zero or the charger alerts you with an alarm when charge is complete.
(Minimum charging time recommended: More than 3 hours with Auto Mode that explained above)
If battery is not fully charged, battery surface voltage will be high while the amount of current charged (CCA) in battery is low. If you measure the battery under this condition, tester may misjudge that battery sulfation occurred because the amount of current in battery is too low in comparison with battery voltage.
* Surface voltage: When battery is charged electrolyte temperature increases and chemical reaction become active resulting in an excessive increase of battery voltage.
It is known that it takes approximate one day to subside this increased surface voltage completely.
Battery Test after charge
Do not test battery right after the charge. Test battery after battery surface voltage has subsided as instructed in the following procedure.
When battery charge is complete, install the battery in the vehicle.
Put IG key to ON position and turn on head lamp with low beam, and wait 5 minutes. (Discharge for 5 minutes)
Turn off the head lamp and IG key, and wait 5 minutes. (Waiting for 5 minutes)
Remove +, - cable from the battery and test battery.
Starter Test Procedure
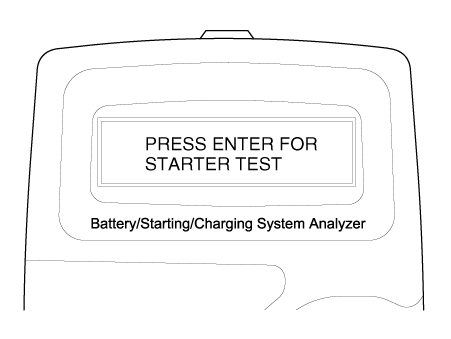
After the battery test, press ENTER immediately for the starter test.
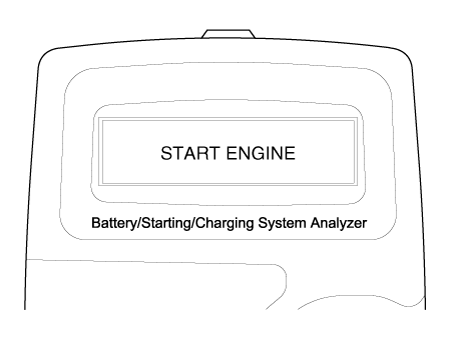
Start the engine.
Cranking voltage and starter test results will be displayed on the screen.
Refer to the following table and take the appropriate action as recommended by the Micro 570.
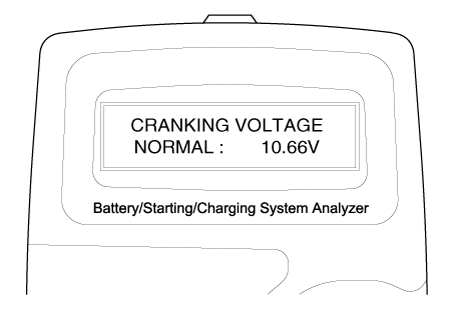
Starter Test Results
Result On Printer Remedy CRANKING VOLTAGE NORMAL System shows a normal starter draw. CRANKING VOLTAGE LOW Cranking voltage is lower than normal level.
Check starter.
CHARGE BATTERY The state of battery charge is too low to test.
Charge the battery and retest.
REPLACE BATTERY Replace battery.
If the vehicle is not started though the battery condition of "GOOD BATTERY" is displayed, check wiring for open circuit, battery cable connection, starter and repair or replace as necessary.
If the engine does crank, check fuel system.
Charging System Test Procedure
Press ENTER to begin charging system test.

The tester displays the actual voltage of alternator.
Press ENTER to continue.
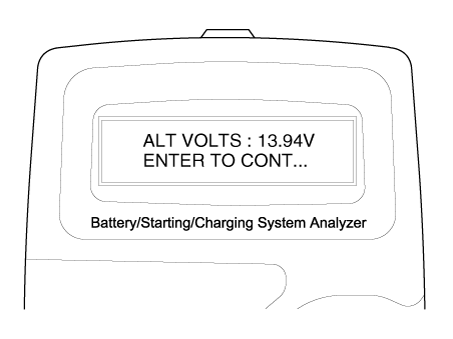
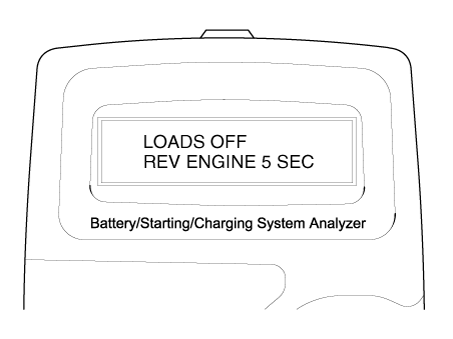
Turn off all electrical load and rev engine for 5 seconds with pressing the accelerator pedal. (Follow the instructions on the screen)
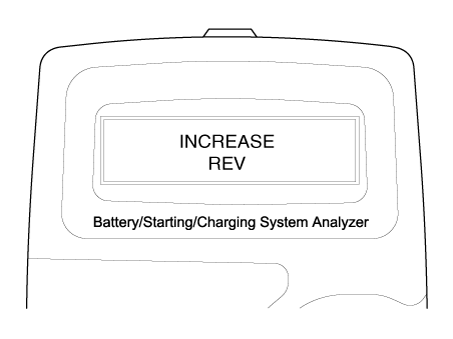
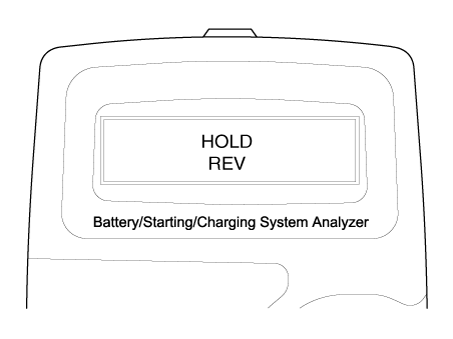
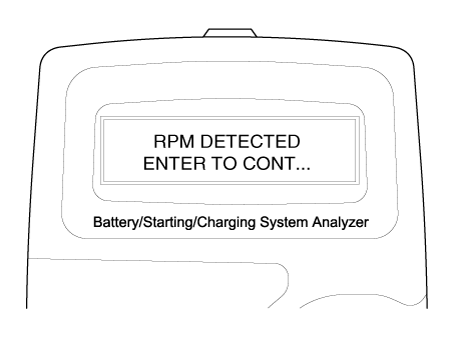
The message that engine RPM is detected will be displayed on the screen. Press ENTER to continue.
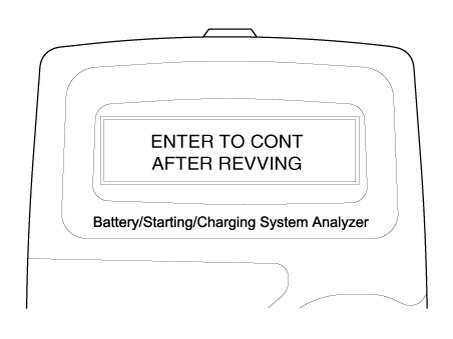
If the engine RPM is not detected, press ENTER after revving engine.
The tester will conduct charging system test during loads off.
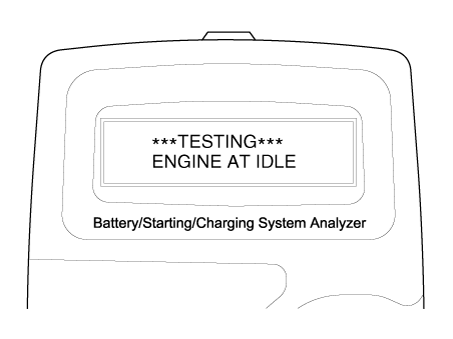

Turn on electrical loads (air conditioner, lamps, audio and etc). Press ENTER to continue.
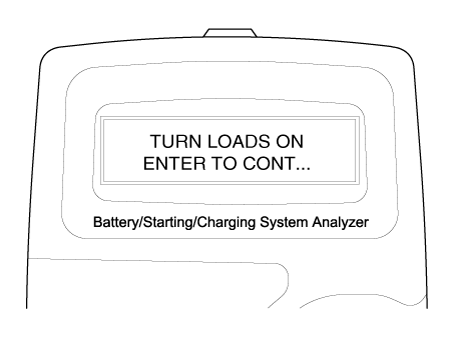
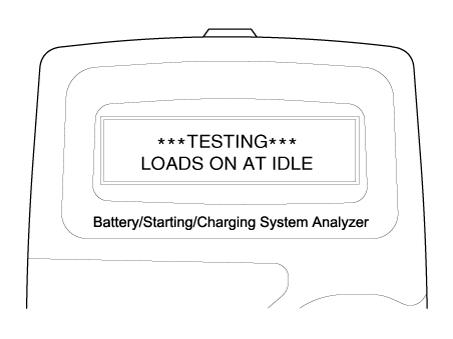
The tester will conduct charging system test during loads on.
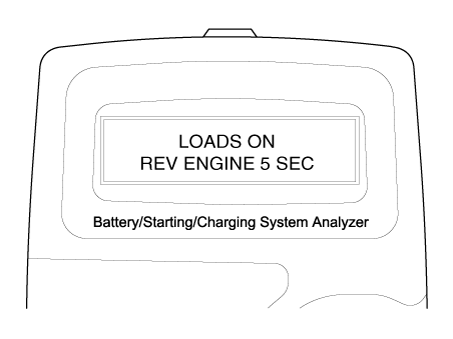
Rev engine for 5 seconds with pressing the accelerator pedal. (Follow the instructions on the screen)
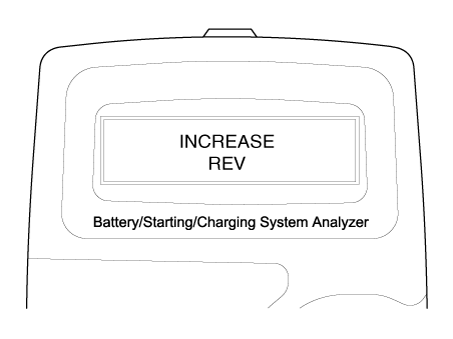

The message that engine RPM is detected will be displayed on the screen. Press ENTER to continue.
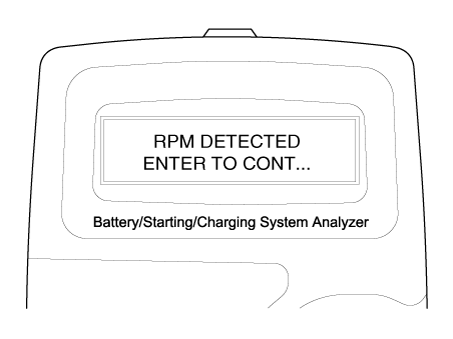
If the engine RPM is not detected, press ENTER after revving engine.

Turn off electrical loads (air conditioner, lamps, audio and etc). Turn the engine off.
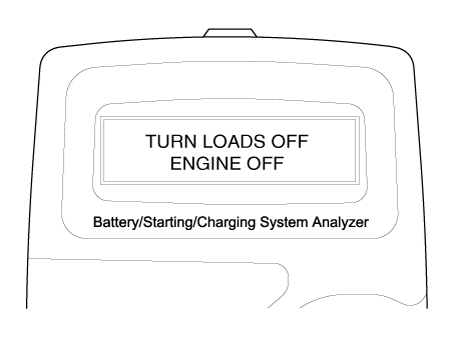
Charging voltage and charging system test results will be displayed on the screen.
Shut off engine end disconnect the tester clamps from the battery. Refer to the following table and take the appropriate action as recommended by the Micro 570.
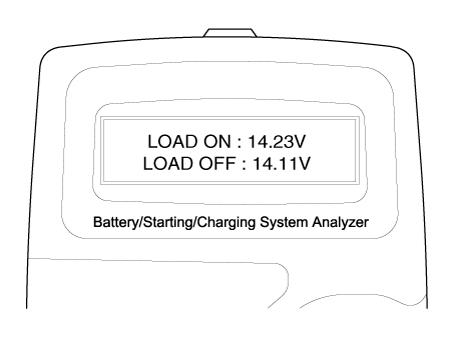
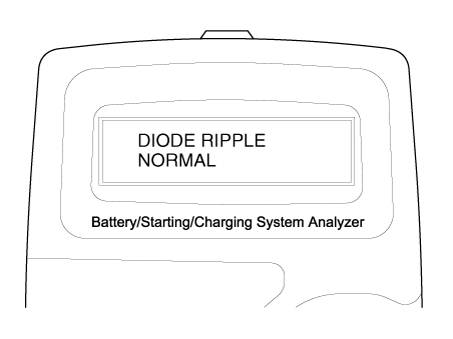
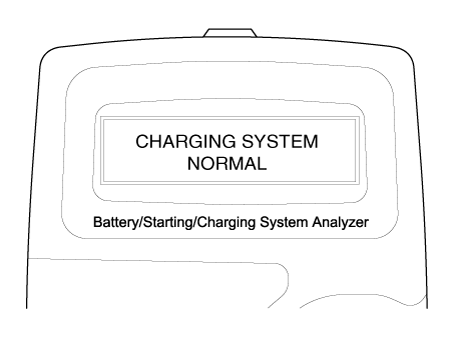
Charging System Test Results
Result On Printer Remedy CHARGING SYSTEM NORMAL / DIODE RIPPLE NORMAL Charging system is normal. NO CHARGING VOLTAGE Alternator does not supply charging current to battery.
Check belts, connection between alternator and battery and replace belts or cable or alternator as necessary.
LOW CHARGING VOLTAGE Alternator does not supply charging current to battery and electrical load to system fully.
Check belts and alternator and replace as necessary.
HIGH CHARGING VOLTAGE The voltage from alternator to battery is higher than normal limit during voltage regulating.
Check connection and ground and replace regulator as necessary.
Check electrolyte level in the battery.
EXCESS RIPPLE DETECTED One or more diodes in the alternator is not functioning properly.
Check alternator mounting and belts and replace as necessary.
The MDX-670P Analyzer
The MDX-670P battery conductance and electrical system analyzer tests batteries as well as starting and charging systems for vehicle.
It displays the test results in seconds and features a built-in printer to provide a copy of the results.
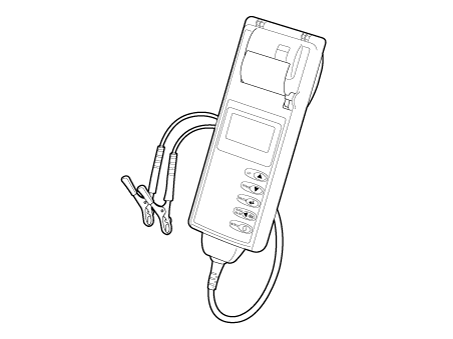
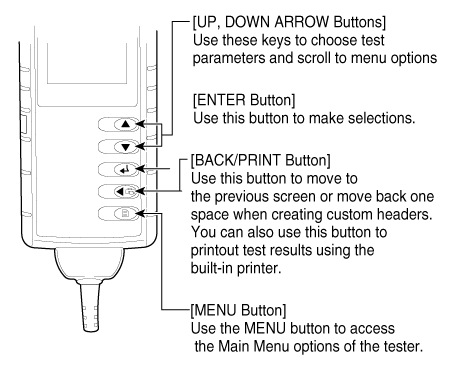
Connect the red clamp to the positive (+) terminal and the black clamp to the negative (–) terminal.
Scroll to and select IN VEHICLE or OUT OF VEHICLE for a battery not connected to a vehicle.
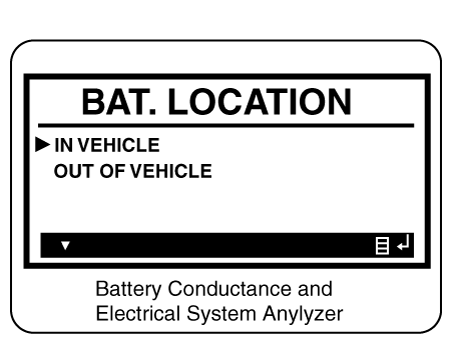
Scroll to and select REGULAR FLOODED, AGM FLAT PLATE, or AGM SPIRAL where applicable.

Scroll to and select the battery’s rating system.
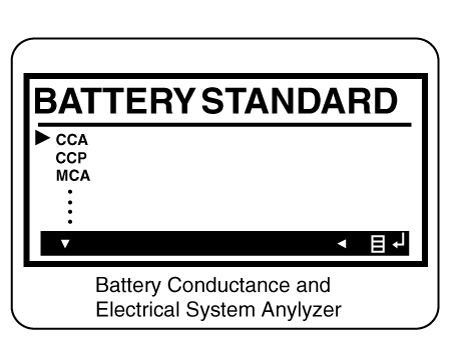
CCA: Cold Cranking Amps, as specified by SAE. The most common rating for cranking batteries at 0 ºF (–17.8 ºC).
EN: Europe-Norm
SAE: Society of Automotive Engineers, the European labeling of CCA
Set the selected rating value displayed on the screen to the value marked on the battery label by pressing up and down arrow buttons.
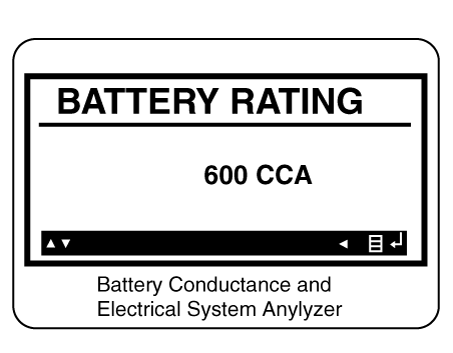
Press ENTER to start test.
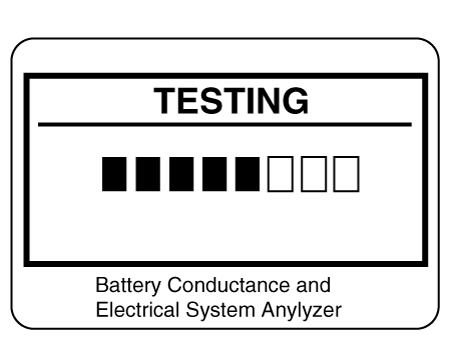
After several seconds the tester displays the decision on the battery’s condition and the measured voltage. The tester also displays your selected battery rating and the rating units.
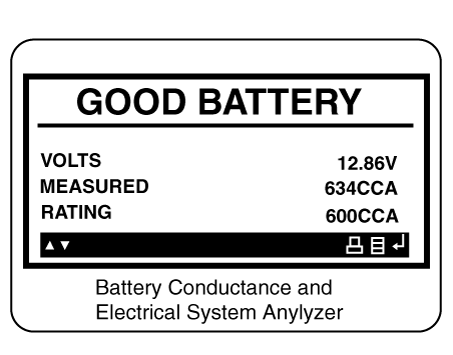
Battery Test Results
Result On Printer Remedy GOOD BATTERY No action is required. GOOD RECHARGE Battery is in a good state. Recharge the battery and use.
※ You have to follow instruction below when you charge battery and retest, otherwise test result can be inaccurate. (See ‘Charge and Retest method after battery charge’ below.)CHARGE & RETEST Battery is not charged properly.
Charge and test the battery again.
REPLACE BATTERY Replace battery and recheck the charging system.
Improper connection between battery and vehicle cables may cause "REPLACE BATTERY", retest the battery after removing cables and connecting the tester to the battery terminal directly prior to replacing the battery.
BAD CELLREPLACE Charge and retest the battery.
If recommends "REPLACE BATTERY", replace the battery and recheck the charging system.
[Charge and Retest method after battery charge]
Battery charge
Set battery charger to ‘Auto Mode’ (The Mode that charging current drops as the battery charges.) and charge battery until charging current down close to zero or the charger alerts you with an alarm when charge is complete.(Minimum charging time recommended: More than 3 hours with Auto Mode that explained above)
If battery is not fully charged, battery surface voltage will be high while the amount of current charged (CCA) in battery is low. If you measure the battery under this condition, tester may misjudge that battery sulfation occurred because the amount of current in battery is too low in comparison with battery voltage.
* Surface voltage: When battery is charged electrolyte temperature increases and chemical reaction become active resulting in an excessive increase of battery voltage.
It is known that it takes approximate one day to subside this increased surface voltage completely.
Battery Test after charge
Do not test battery right after the charge. Test battery after battery surface voltage has subsided as instructed in the following procedure.
When battery charge is complete, install the battery in the vehicle.
Put IG key to ON position and turn on head lamp with low beam, and wait 5 minutes. (Discharge for 5 minutes)
Turn off the head lamp and IG key, and wait 5 minutes. (Waiting for 5 minutes)
Remove +, - cable from the battery and test battery.
Press the ENTER button to proceed with the starter test.
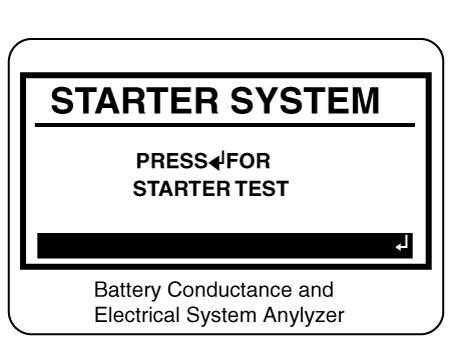
Start the engine when prompted.
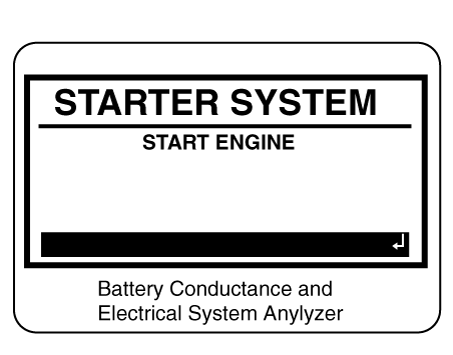
The tester displays the decision on the starter system, cranking voltage, and cranking time in milliseconds.

Starter Test Results
Result On Printer Remedy CRANKING VOLTAGE NORMAL System shows a normal starter draw. CRANKING VOLTAGE LOW Cranking voltage is lower than normal level.
Check starter.
CHARGE BATTERY The state of battery charge is too low to test.
Charge the battery and retest.
REPLACE BATTERY Replace battery.
If the vehicle is not started though the battery condition of "GOOD BATTERY" is displayed, check wiring for open circuit, battery cable connection, starter and repair or replace as necessary.
If the engine does crank, check fuel system.
Step 3: Charging System Test
Press the ENTER button to proceed with the charging test.
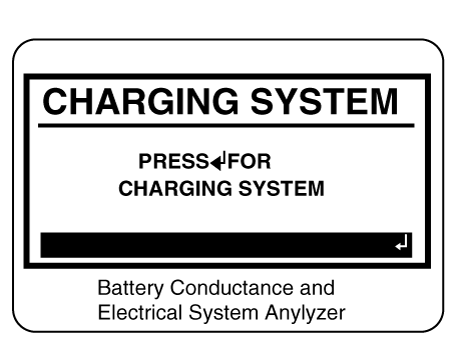

Rev the engine with loads off. (Following the on-screen prompts)

The message that engine RPM is detected will be displayed on the screen, idle the engine.
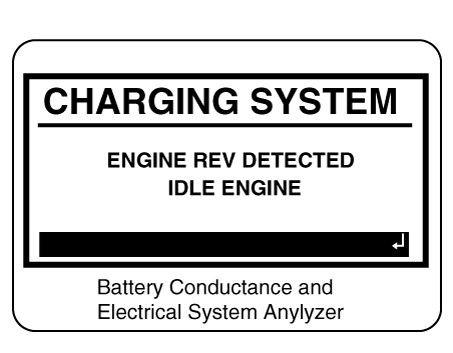
Turn on electrical loads (air conditioner, lamps, audio and etc). Press ENTER to continue.
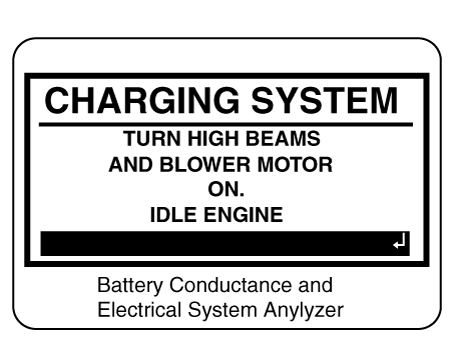
Turn on electrical loads (air conditioner, lamps, audio and etc). Press ENTER to continue.
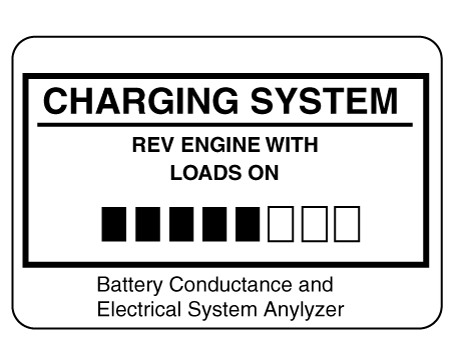
The message that engine RPM is detected will be displayed on the screen, idle the engine.

Turn off loads and engine.

The Charging System decision is displayed at the end of the procedure.

Result On Printer Remedy NO PROBLEMS System is showing normal output from the alternator. NO OUTPUT No alternator output detected.
Check all connections to and from the alternator, especially the connection to the battery. If the connection is loose or heavily corroded, clean or replace the cable and retest.
If the belts and connections are in good working condition, replace the alternator. (Older vehicles use external voltage regulators, which may require only replacement of the voltage regulator.)
LOW OUTPUT Alternator does not supply charging current to battery and electrical load to system fully.
Check belts and alternator and replace as necessary.
HIGH OUTPUT The voltage from alternator to battery is higher than normal limit during voltage regulating.
Check connection and ground and replace regulator as necessary.
Check electrolyte level in the battery.
EXCESSIVE RIPPLE The voltage from alternator to battery is higher than normal limit during voltage regulating.
Check alternator mounting and belts and replace as necessary.
CHARGE BATTERY The starter voltage is low and the battery is discharged. Fully charge the battery and repeat the starter system test. REPLACE BATTERY Battery must be replaced before the starting system can be tested. Press the BACK/PRINT button to print the test results or MENU to return to the Options Menu.
Installation
Install in the reverse order of removal.
Cleaning
Make sure the ignition switch and all accessories are in the OFF position.
Remove the battery from the vehicle.
(Refer to Charging System - "Battery")
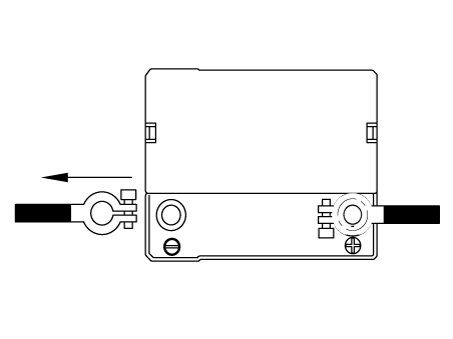
Inspect the battery tray for damage caused by the loss of electrolyte. If acid damage is present, it will be necessary to clean the area with a solution of clean warm water and baking soda. Scrub the area with a stiff brush and wipe off with a cloth moistened with baking soda and water.
Clean the top of the battery with the same solution as described above.
Inspect the battery case and cover for cracks. If cracks are present, the battery must be replaced.
Clean the battery posts with a suitable battery post tool.
Clean the inside surface of the terminal clamps with a suitable battery cleaning tool. Replace damaged or frayed cables and broken terminal clamps.
Install the battery in the vehicle.
Connect the cable terminals to the battery post, making sure tops of the terminals are flush with the tops of the posts.
Tighten the terminal nuts securely.
Coat all connections with light mineral grease after tightening.