Cooling Fan Repair procedures
Removal and Installation
Cooling Fan Assembly
Disconnect the negative battery terminal.
Remove the air cleaner and air duct A.
(Refer to Intake and Exhaust System - "Air Cleaner")
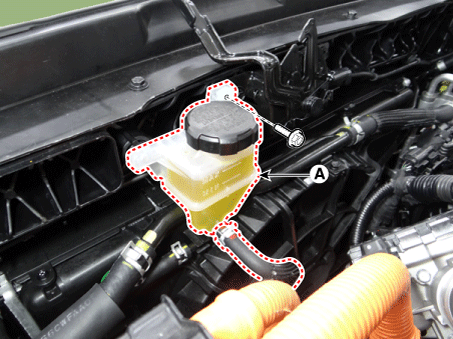
Separate the engine clutch reservoir tank (A).
Tightening torque : 3.9 - 5,9 N·m
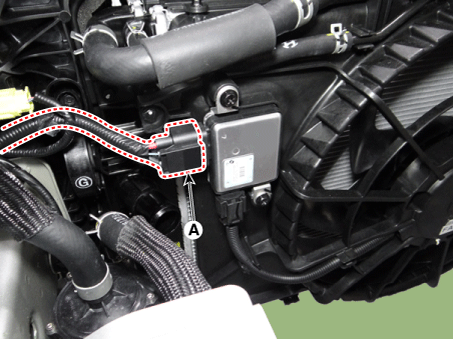
Disconnect the cooling fan control module (PWM) connector (A).
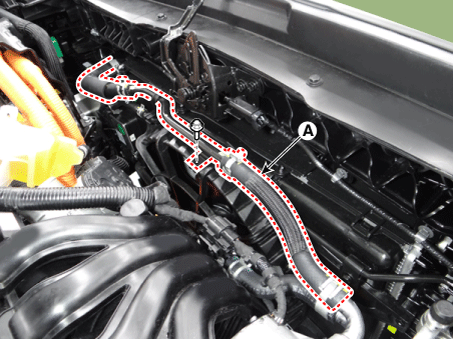
Remove the hybrid starter generator coolant hose & pipe (A) from the cooling fan shroud.
Tightening torque : 7.8 - 11,8 N·m
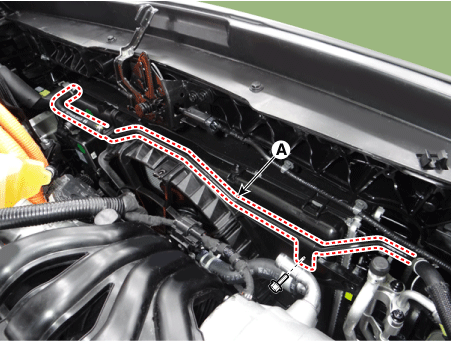
Separate the radiator coolant pipe (A) from the cooling fan shroud.
Tightening torque : 7.8 - 11,8 N·m
Remove the air dam (A).
Tightening torque : 1.8 - 2,5 N·m
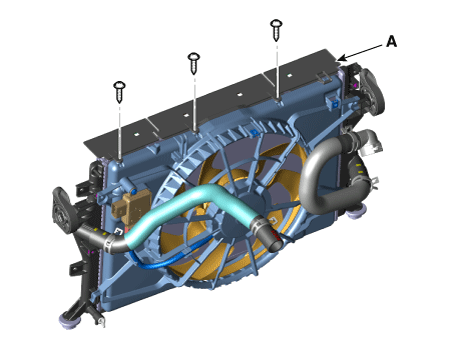
Remove the cooling fan assembly (A).
Tightening torque : 4.9 - 8,3 N·m
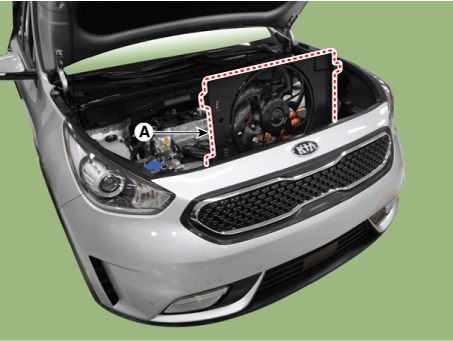
Install in the reverse order of removal.
Cooling Fan Control Module (PWM)
Disconnect the battery negative terminal.
Remove the air duct.
(Refer to Intake and Exhaust System - "Air Cleaner")
Disconnect the cooling fan control module (PWM) connector (A) and cooling fan motor connector (B).
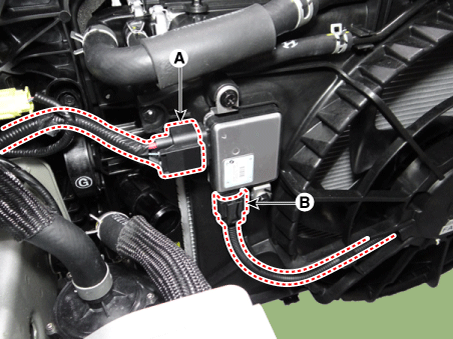
Remove the cooling fan control module (PWM) (A).
Tightening torque : 4.9 - 8,3 N·m

Install in the reverse order of removal.
Disassembly
Remove the cooling fan (A) from cooling fan shroud.
Tightening torque : 2.8 - 3,2 N·m
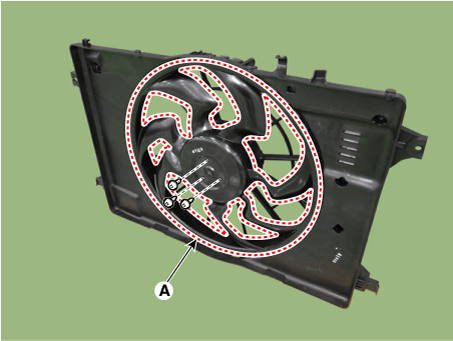
Disconnect the cooling fan motor connector (A).
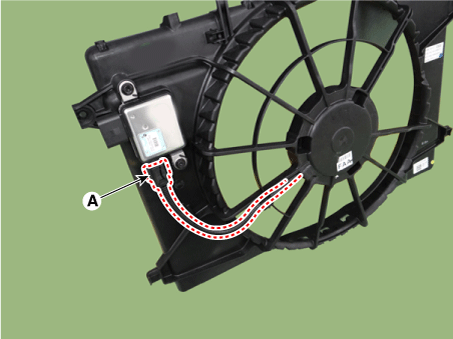
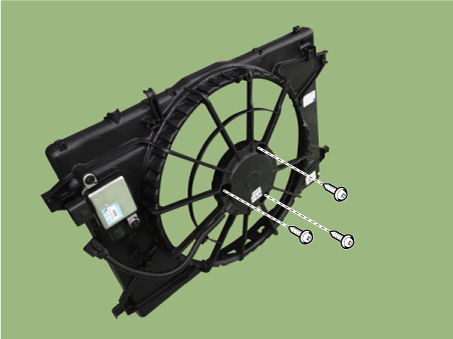
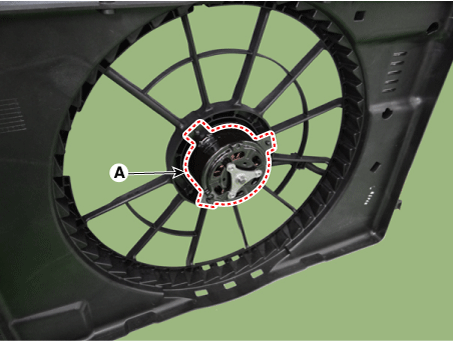
Remove the cooling fan motor (A) from cooling fan shroud.
Tightening torque : 3.9 - 5,9 N·m
Install in the reverse order of removal.
Inspection
Fan Motor
Disconnect the fan motor connector from the resistor.
Connect the battery voltage to the "+" terminal and ground to " - " terminal.
Check the cooling fan motor operates well.