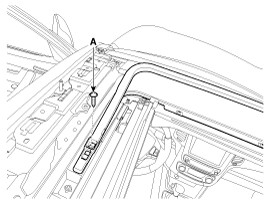
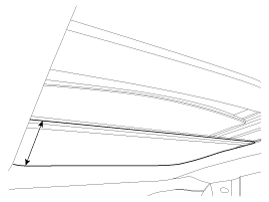
Open the sunshade using the panoramic sunroof switch.
Remove the headliner.
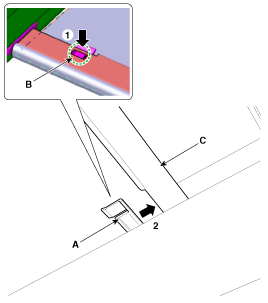
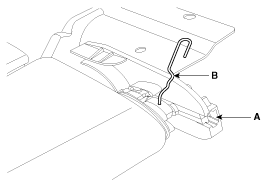
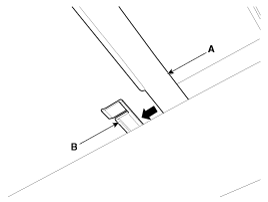
Remove the sunshade rod (C) by pressing the upper part of the stopper pin (B) located on both sides of the roller blind shoe (A).
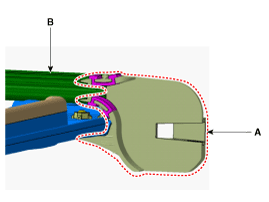
Insert the fixing pin (B) into the hole located inside the groove of the right side bracket of the roller blind (A). Be careful not to release the tension.
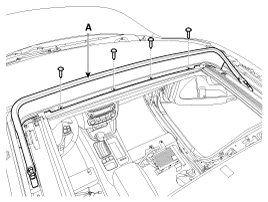
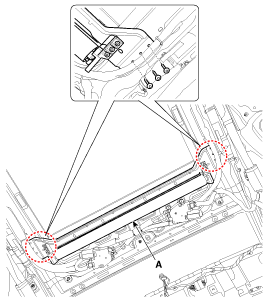
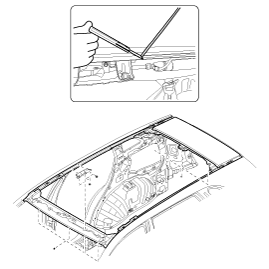
Remove the lower support (A) of the roller blind by loosening the mounting screws.
[Installation]
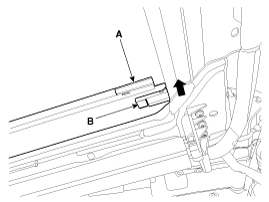
Install the side bracket of the roller blind (A) into the guide groove (B).
Tighten the mounting screws after installing the lower support (A) of the roller blind.
Remove the fixing pin (B) located inside the right side bracket of the roller blind (A).
Install the sunshade rod (A) over the sunshade shoe (B).
Insert the sunshade rod (A) into the sunshade shoe (B).
Install the headliner.
Fully close the sliding glass using the panoramic sunroof switch.
Panoramic Sunroof Assembly Replacement
[Removal]
Remove the following items.
A.
Second Row Seat Assembly
B.
Third Row Seat Assembly
C.
Front Pillar Trim
D.
Center Pillar Lower Trim
E.
Center Pillar Upper Trim
F.
Luggage Side Trim
G.
Rear Pillar Trim
H.
Headliner
I.
Windshield
J.
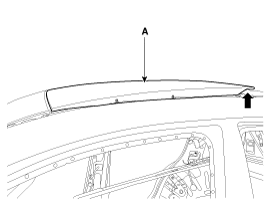
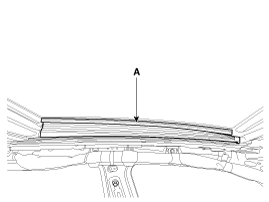
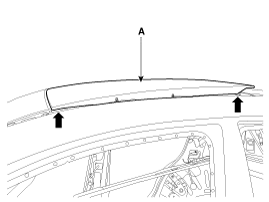
Roof Moulding
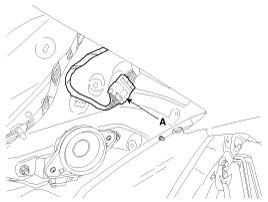
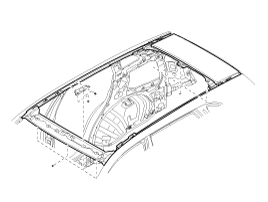
Disconnect the panoramic sunroof motor connector (A) by pressing the stopper pin.
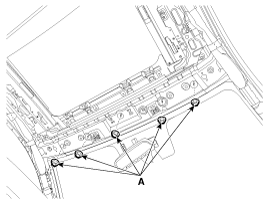
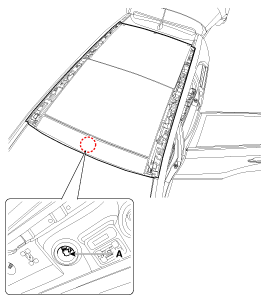
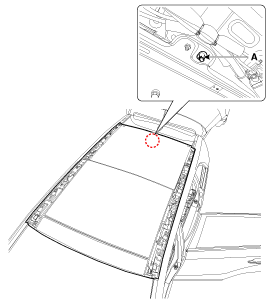
Loosen the sunroof mounting nuts (A). [Front]
Tightening torque: 6.9 ~ 10.8 N·m
[Rear]
Tightening torque: 6.9 ~ 10.8 N·m
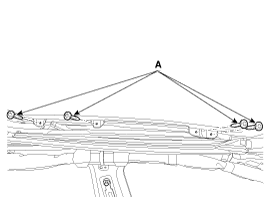
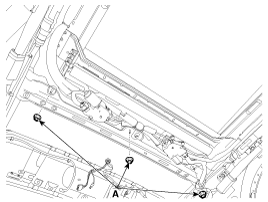
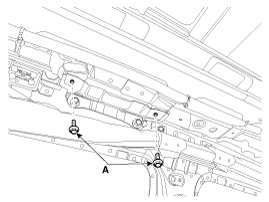
Loosen the bolts (A) on the side of the panoramic sunroof.
Tightening torque: 7.8 ~ 11.8 N·m
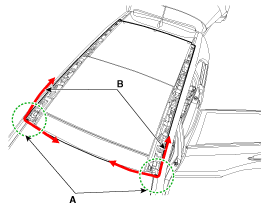
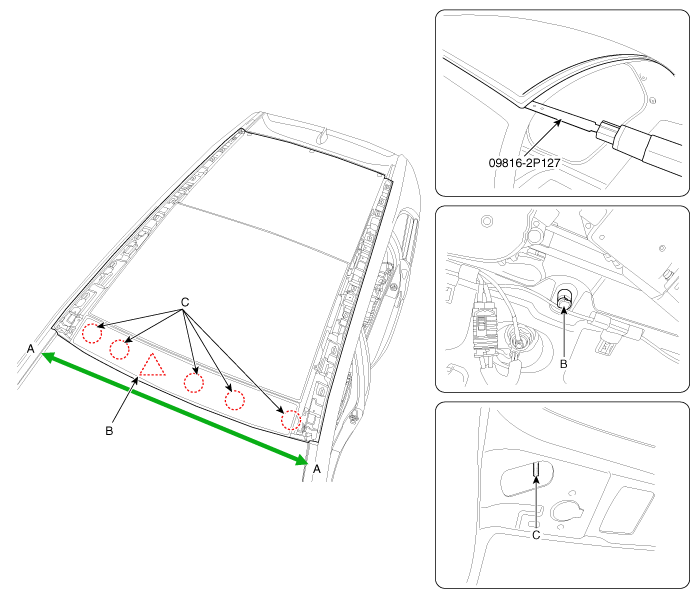
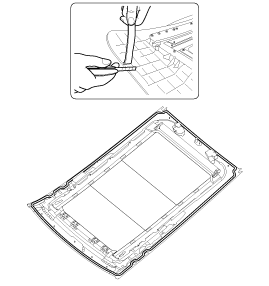
Cut the sealant at the front edge by pulling the wire (B). Left and right.
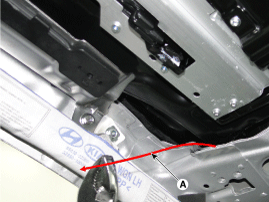
If a wire is visible inside the body, pull the cable (A) inside.
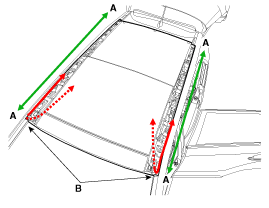
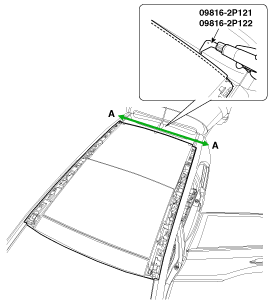
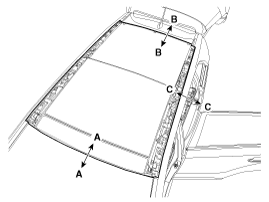
Cut the sealant on the side (A-A) by pulling the wire (B). LH and RH.
Remove the sealant located on the front side (A-A) using the special service tools (09816-2P121, 09816-2P122) while lifting the sunroof from the housing with a scraper or flat-blade screwdriver.
Remove the sealant located on the rear side (A-A) using the special service tools (09816-2P121, 09816-2P122) while lifting the sunroof from the housing with a scraper or flat-blade screwdriver.
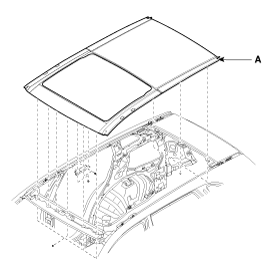
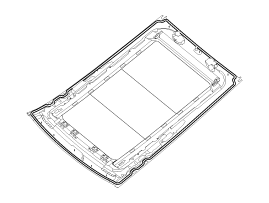
Remove the sunroof assembly (A) after cutting the sealant on all sides.
[Installation]
Using a knife, scrape off the old adhesive to a thickness of approx. 2 mm (0.08 in.) on the bonding surface around the entire sunroof opening flange.
Clean the body bonding surface with a sponge dampened with alcohol. After cleaning, make sure oil, grease and water do not contact the clean surface.
Wipe the body panel edges and the sunroof with alcohol or air gun.
Apply primer to the body panel edge.
Apply primer to the edge of the panoramic sunroof.
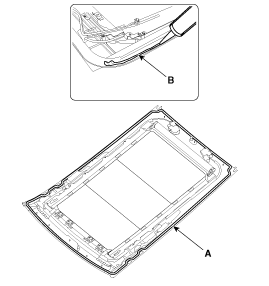
Apply sealant (B) to the sunroof (A) using a sealant gun.
When installing the sunroof, align the body centering device hole (A) and place the sunroof on the body flange. [Front][Rear]
After installing the sunroof, check the alignment and clearance on each side.
Section
Alignment
Gap
Front
A-A
0 ± 1 mm (0 ± 0.0394 in.)
5 ± 1 mm (0.1969 ± 0.0394 in.)
Rear
B-B
0.7 ± 1 mm (0.0276 ± 0.0394 in.)
5 ± 1 mm (0.1969 ± 0.0394 in.)
Side
C-C
-
5 ± 1 mm (0.1969 ± 0.0394 in.)
Install the sunroof mounting nuts (A). [Front]
Tightening torque: 6.9 ~ 10.8 N·m
[Rear]
Tightening torque: 6.9 ~ 10.8 N·m
Install the bolts (A) on the side of the sunroof.
Tightening torque: 7.8 ~ 11.8 N·m
Connect the sunroof motor connector (A).
Install the windshield.
Water leak test.
If a leak occurs, apply sealant.
?
Test yourself
A quick Kia Sorento Owner's Manual quiz: every answer comes with an explanation and a link to the manual page.