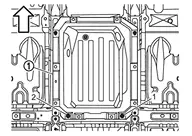
12v Sub Battery (lithium Ion Battery)
Exploded View
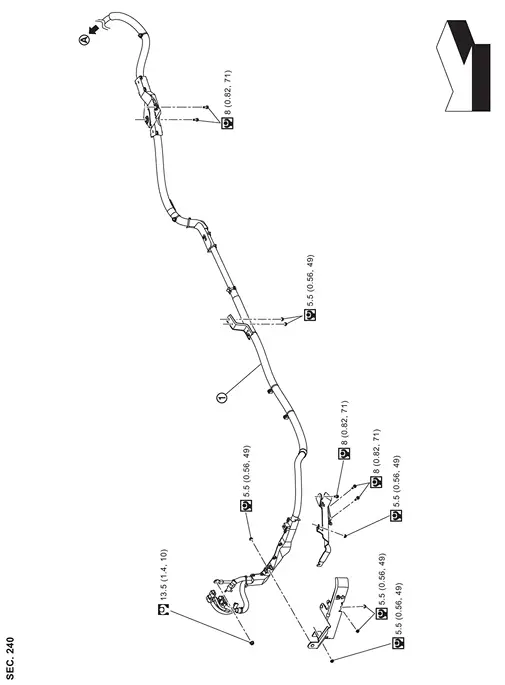
12V SUB BATTERY (LITHIUM ION BATTERY) HARNESS
 |
12V sub battery (lithium ion battery) harness 1 | ||||
 |
: To 12V sub battery (lithium ion battery) | ||||
| : vehicle front | |||||
 |
: N·m (kg-m, in-lb) | ||||
 |
: N·m (kg-m, ft-lb) | ||||
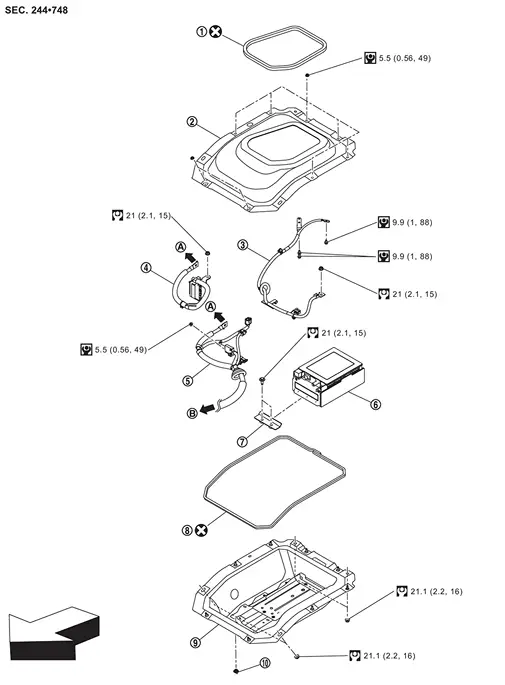
12V SUB BATTERY (LITHIUM ION BATTERY)
|
:12V sub battery (lithium ion battery) cover seal |  |
:12V sub battery (lithium ion battery) cover |  |
:12V sub battery (lithium ion battery) negative cable |
 |
:12V sub battery (lithium ion battery) positive cable 2 |  |
:12V sub battery (lithium ion battery) positive cable 1 |  |
:12V sub battery (lithium ion battery) |
 |
:12V sub battery (lithium ion battery) bracket |  |
:12V sub battery (lithium ion battery) case seal |  |
:12V sub battery (lithium ion battery) case |
 |
:Oneway valve | ||||
|
:To power network separate relay | ||||
 |
:To engine room | ||||
| : vehicle front | |||||
|
: N·m (kg-m, in-lb) | ||||
|
: N·m (kg-m, ft-lb) | ||||
 |
: Always replace after every disassembly. | ||||
Removal and Installation
REMOVAL
Disconnect 12V battery cable from negative terminal. Refer to Precautions for Removing Battery Terminal.
Remove 3rd seat. Refer to Removal and Installation.
Flip the rear floor carpet to secure work space.
Remove floor cover mounting bolts , and then remove floor cover.
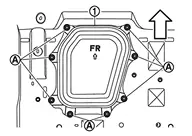
| : vehicle front |
Disconnect 12V sub battery (lithium ion battery) harness connector .

| : vehicle front |
Remove mounting nut , and then disconnect 12V sub battery (lithium ion battery) negative cable from negative terminal.

| : vehicle front |
Disengage fixing pawl, and then remove positive terminal cover part of 12V sub battery (lithium ion battery) in the direction of the arrow ( ).
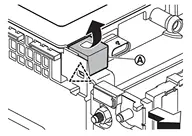
 |
: Pawl |
| : vehicle front |
Remove mounting nut , and then disconnect 12V sub battery (lithium ion battery) cable 2 from positive terminal.
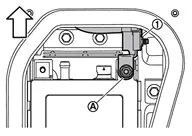
| : vehicle front |
Remove mounting nuts , and then remove 12V sub battery (lithium ion battery) bracket.
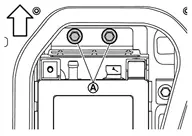
| : vehicle front |
Remove 12V sub battery (lithium ion battery).
If necessary, remove the 12V sub battery (lithium ion battery) case and cover by following the steps below.Remove power network separate relay. Refer to Exploded View . Remove 12V sub battery (lithium ion battery) positive cable 1 mounting nut , harness clip and disconnect harness connectors 
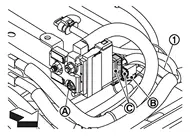
| : vehicle front |
, and then move 12V sub battery (lithium ion battery) positive cable 1 from 12V sub battery (lithium ion battery) case . 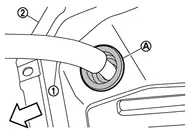
| : vehicle front |
harness clip and then remove 12V sub battery (lithium ion battery) positive cable 2 from 12V sub battery (lithium ion battery) case. 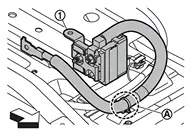
 |
: Clip |
| : vehicle front |
mounting bolts and clip . 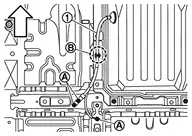
|
: Clip |
| : vehicle front |
clips from 12V sub battery (lithium ion battery) case. 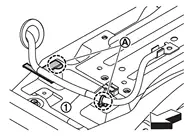
|
: Clip |
| : vehicle front |
, and then remove 12V sub battery (lithium ion battery) negative cable from 12V sub battery (lithium ion battery) case . 
| : vehicle front |
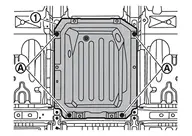
mounting bolt to secure work space. 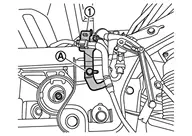 case and cover mounting nuts , and then remove 12V sub battery (lithium ion battery) case and cover from vehicle.
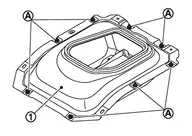
 mounting nuts , and then remove 12V sub battery (lithium ion battery) cover from 12V sub battery (lithium ion battery) case.
INSTALLATION
Note the following items, and then install in the reverse order of removal.
When install 12V sub battery (lithium ion battery) cover seal
, make sure that the dimensions of (A) are 20 – 40 mm (0.79 – 1.57 in).: vehicle front 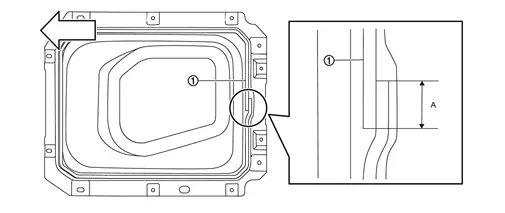
When install the 12V sub battery (lithium ion battery) cover
to the 12V sub battery (lithium ion battery) case, tighten the mounting nuts to the specified torque in the order of 1 ⇒ 2, then tighten the other mounting nuts to the specified torque.: vehicle front 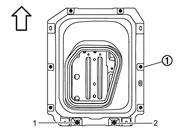
When install the 12V sub battery (lithium ion battery) cover and 12V sub battery (lithium ion battery) case
to the vehicle, tighten the mounting nuts to the specified torque in the order of 1 ⇒ 2, then tighten the other mounting nuts to the specified torque.: vehicle front