Engine
Excva adjustment
In this manual: Engine
13steps
~78min
3/5difficulty
Done 0 of 13
Inspect the excva operation and adjust it if necessary in the following steps:
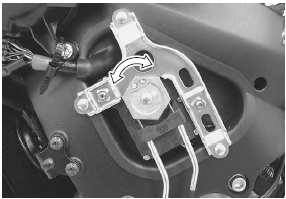
Step 1- Set the excva to the adjustment position. Refer to “excv cable removal and installation” (page 1k- 6).
- Turn the ignition switch off.
- Turn the mode select switch off.
- Turn the ignition switch on and check the operation of excva.
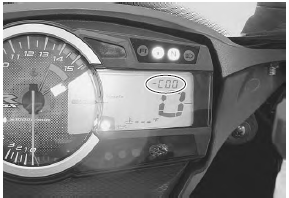
- Turn the mode select switch on. If dtc “c46” is not indicated on the lcd display, the adjustment is correctly completed. If “c46” is indicated, repeat the procedures from step 3 to step 4.
Step 3
- Turn the ignition switch off.
- Set up the sds tools. Refer to “self-diagnostic procedures” in section 1a .
- Turn the ignition switch on.
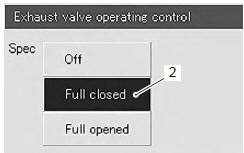
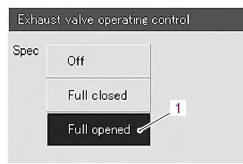
- Click “exhaust valve operating control” (1).

- Click “full closed” (2).
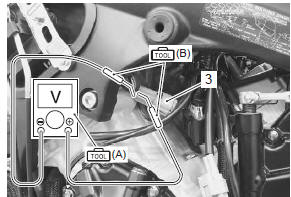
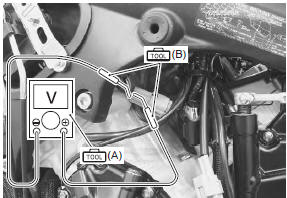
- Insert the needle pointed probes into the back side of the excva coupler (3). ((+) Y – (–) w)
- Measure the excva position sensor output voltage at excv fully closed position.
 (a): 09900–25008 (multi circuit
tester set)
 (b): 09900–25009 (needle-point
probe set) Tester knob indication voltage (
 )
Excva position sensor output voltage excv is fully closed: 0.45 ≤ Output voltage ≤ 1.4 V ((+) y - (-) W)
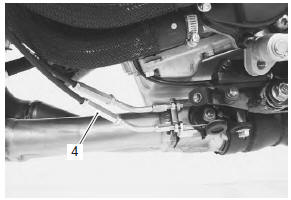
- If the measured voltage is less than specification, adjust the no. 1 Cable adjuster (4) as follows:
- set the excva to the adjustment position. Refer to “excv cable removal and installation” .
adjusting the no. 1 Cable with the excv fully closed can damage the excva. Be sure to adjust the no. 1 Cable with the excv set in the adjustment position.
- Turn the no. 1 Cable adjuster (4) in or out to set the output voltage within the specified value.
if c46 code is indicated after adjusting the voltage, increase the voltage to 0.9 V.
Step 4
- Measure the excva position sensor output voltage at excv fully opened position.
 (a): 09900–25008 (multi circuit
tester set)
 (b): 09900–25009 (needle-point
probe set) Excva position sensor out put voltage excv is fully opened: 3.6 ≤ Output voltage ≤ 4.55 V ((+) y - (-) W)
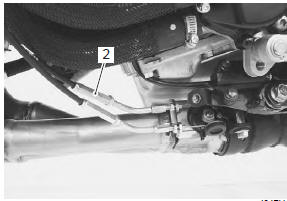
- If the measured voltage is more than specification, adjust the no. 2 Cable adjuster (2) as follows:
- set the excva to the adjustment position. Refer to “excv cable removal and installation” .
adjusting the no. 2 Cable with the excv fully opened can damage the excva. Be sure to adjust the no. 2 Cable with the excv set in adjustment position.
- Turn out the no. 2 Cable adjuster (2) in or out to set the output voltage within the specified value.
- After adjusting the excv cables, perform step 2 to confirm dtc “46” is not indicated.
Test yourself
A quick Suzuki GSX-R 1000 quiz: every answer comes with an explanation and a link to the manual page.
Was this page helpful?