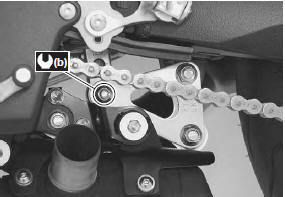
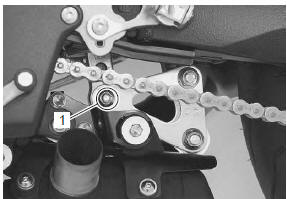
Remove the right side cowling and side frame covers. Refer to “exterior parts removal and installation” in section 9d .
Support the motorcycle with a jack to relieve load on the rear shock absorber.
Remove the left muffler and muffler chamber heat guard no. 2. Refer to “muffler / muffler chamber / exhaust pipe removal and installation” in section 1k .
Remove the rear shock absorber lower mounting bolt and nut (1).
Remove the rear shock absorber upper mounting bolt and nut (2).
Remove the rear shock absorber upward
Installation
Install the rear shock absorber in the reverse order of removal. Pay attention to the following points:
tighten the rear shock absorber upper/lower mounting bolts and nuts.
Install the left muffler and muffler chamber heat guard no. 2. Refer to “muffler / muffler chamber / exhaust pipe removal and installation” in section 1k .
Install the side frame covers and right side cowling.
Refer to “exterior parts removal and installation” in section 9d .
Rear suspension inspection
Refer to “rear suspension inspection” in section 0b .
?
Test yourself
A quick Suzuki GSX-R 1000 quiz: every answer comes with an explanation and a link to the manual page.