Cut the drive chain. Refer to “drive chain replacement” in section 3a .
Remove the rear wheel assembly. Refer to “rear wheel assembly removal and installation” in section 2d .
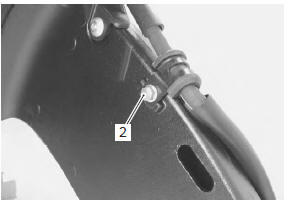
Disconnect the rear brake hose from the brake hose clamp (1).
Remove the brake hose clamp bolt (2).
Remove the rear brake caliper from the swingarm.
Remove the left muffler and muffler chamber heat guard no. 2. Refer to “muffler / muffler chamber / exhaust pipe removal and installation” in section 1k .
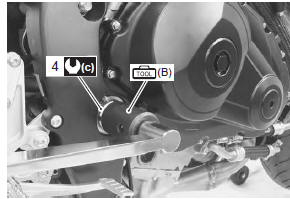
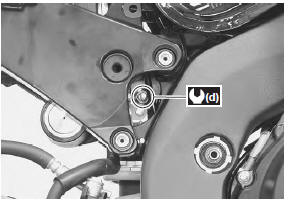
Remove the rear shock absorber (3) and cushion lever mounting bolt and nut (4). Refer to “rear shock absorber removal and installation” and “cushion lever removal and installation” .
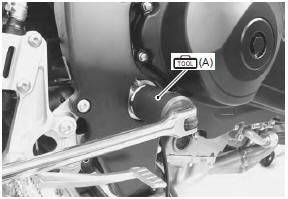
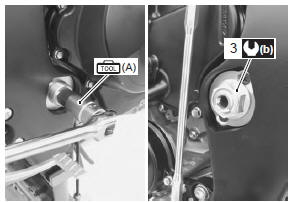
Remove the swingarm pivot shaft lock-nut with the special tool.
Special tool (a): 09940–14940 (swingarm pivot thrust adjuster wrench)
Hold the swingarm pivot shaft (5) with the special tool and remove the swingarm pivot nut (6).
Special tool (b): 09944–28321 (hexagon socket (19 mm))
Remove the swingarm pivot shaft.
Remove the swingarm assembly.
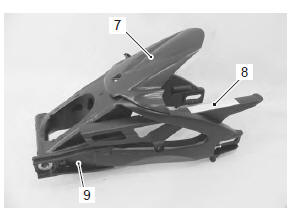
Remove the mudguard (7), chain case (8) and chain buffer (9) from the swingarm.
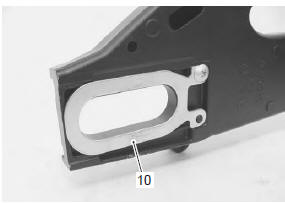
Remove the plate (10).
Installation
Install the swingarm in the reverse order of removal. Pay attention to the following points:
install the plate.
Note
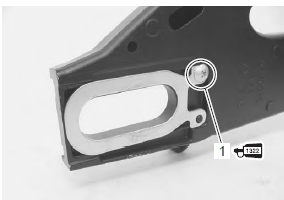
when reusing the removed screw (1), apply a small quantity of the thread lock to it.
: Thread lock cement 99000–32110 (thread lock cement super “1322” or equivalent)
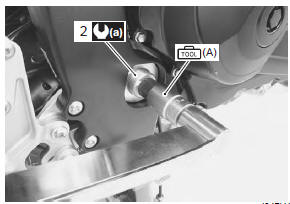
Adjust swingarm pivot thrust clearance in the following procedures:
– insert the swingarm pivot shaft (2) and tighten it to the specified torque with the special tool.
 (a): 09940–14940 (swingarm pivot
 (b): 09944–28321 (hexagon socket

 : Thread lock cement
 (a): 09944–28321 (hexagon socket
 (a): 09944–28321 (hexagon socket
 (b): 09940–14940 (swingarm pivot