Removal
REMOVAL
COMPONENTS (REMOVAL)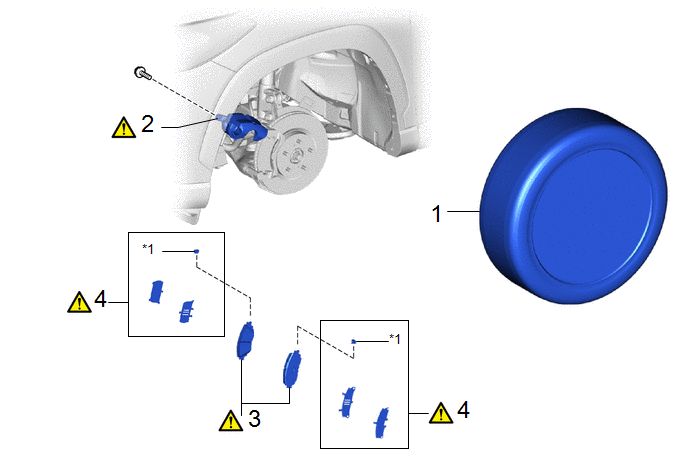
Procedure | Part Name Code |  |  |  |
|
|---|---|---|---|---|---|
1 |
FRONT WHEEL |
- |
- |
- |
- |
2 |
DISC BRAKE CYLINDER ASSEMBLY |
47750 |
 |
- |
- |
3 |
FRONT DISC BRAKE PAD KIT |
04465 |
|
- |
- |
4 |
FRONT ANTI SQUEAL SHIM KIT |
04945 |
|
- |
- |
*1 |
FRONT DISC BRAKE PAD WEAR INDICATOR PLATE |
- |
- |
NOTICE:
- Immediately after installing the brake pads, the braking performance may be reduced. Always perform a road test in a safe place while paying attention to the surroundings.
- After replacing the front disc brake pads, the brake pedal may feel soft due to clearance between the front disc brake pads and front disc. Depress the brake pedal several times until the brake pedal feels firm.
- After replacing the front disc brake pads, always perform a road test to check the braking performance and check for vibrations.
HINT:
- Use the same procedure for the RH side and LH side.
- The following procedure is for the LH side.
PROCEDURE
1. REMOVE FRONT WHEEL
Click here
2. SEPARATE DISC BRAKE CYLINDER ASSEMBLY
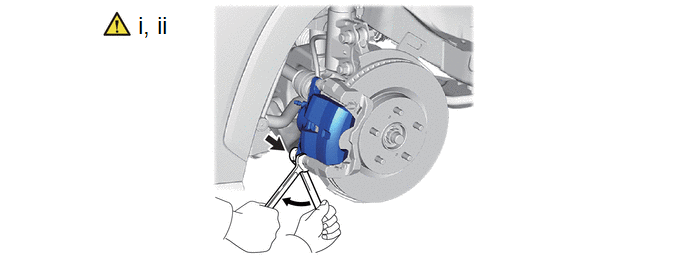
(1) Hold the front disc brake cylinder slide pin (lower side) and remove the bolt.
(2) Pull the front disc brake cylinder assembly upward.
NOTICE:
Do not kink or damage the brake line.
3. REMOVE FRONT DISC BRAKE PAD KIT
|
CAUTION:
|
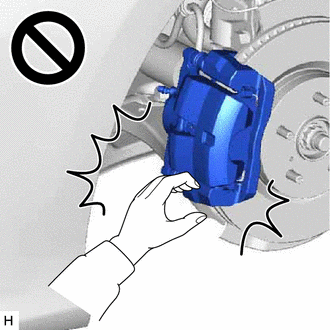
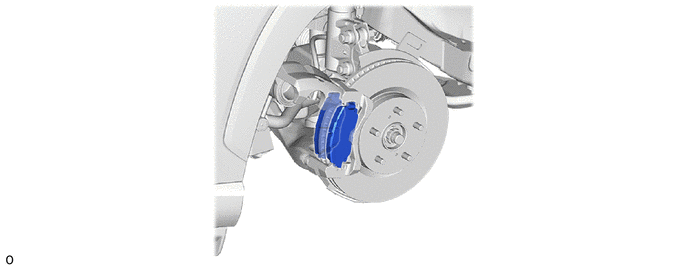
4. REMOVE FRONT ANTI SQUEAL SHIM KIT
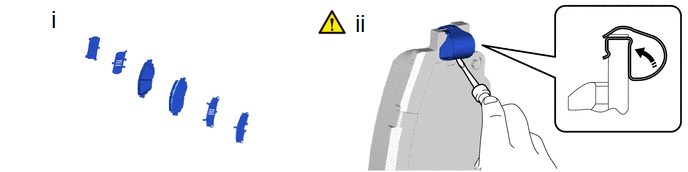
(1) Remove the front No. 1 disc brake anti-squeal shim and front No. 2 disc brake anti-squeal shim from each front disc brake pad.
(2) Using a screwdriver, remove the front disc brake pad wear indicator plate from each front disc brake pad.