Air conditioning
Condenser
In this manual: Air conditioning
41steps
~246min
4/5difficulty
Done 0 of 41
Components
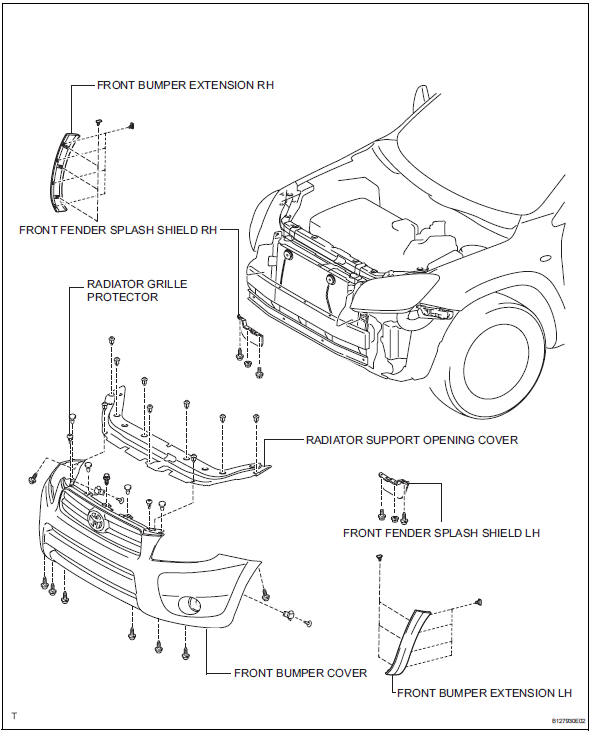
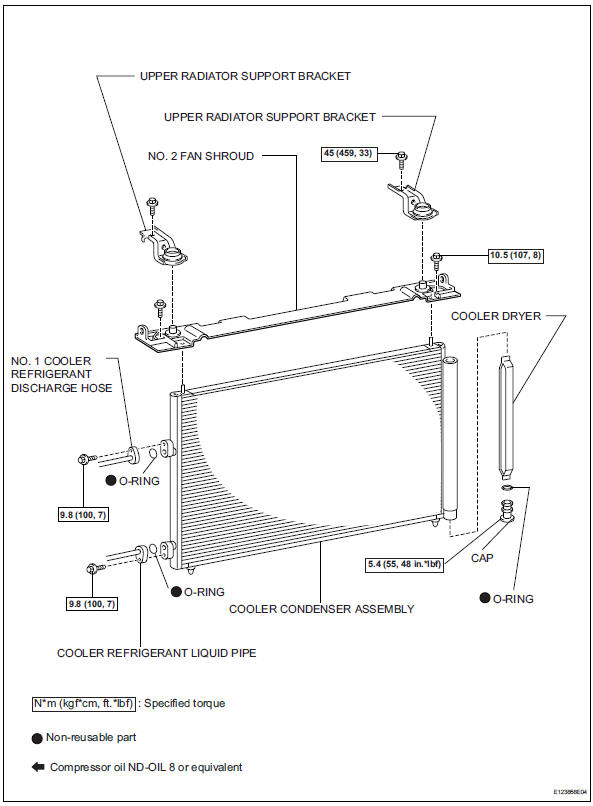
On-vehicle inspection
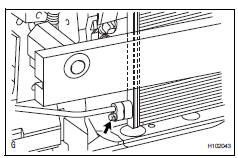

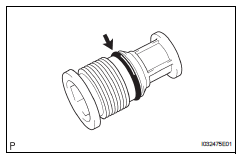
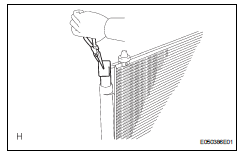
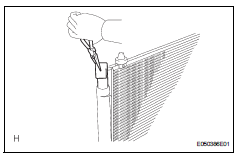

On-vehicle inspection
- Inspect cooler condenser assembly
- If the fins of the cooler condenser are dirty, clean them with water. Dry the fins with compressed air.
Do not damage the fins of the condenser.
- If a fin of the cooler condenser is bent, straighten it using a screwdriver or pliers.
- Check condenser for leakage of refrigerant
- Using a halogen leak detector, check the pipe joints for gas leakage.
- If gas leakage is detected in a joint, check the torque of the joint.
- Discharge refrigerant from refrigeration system (see page ac-172)
- Disconnect cable from negative battery terminal
- Remove front bumper cover
- Remove front bumper cover (see page et-4).
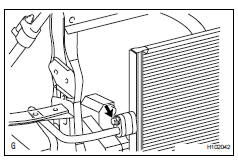
- Disconnect no. 1 Cooler refrigerant discharge hose
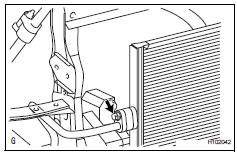
- Remove the bolt and disconnect the cooler refrigerant discharge hose from the cooler condenser.
- Remove the o-ring from the cooler refrigerant discharge hose.
Seal the openings of the disconnected parts using vinyl tape to prevent moisture and foreign matter from entering them.
- Disconnect cooler refrigerant liquid pipe
- Remove the bolt and disconnect the cooler refrigerant liquid pipe from the cooler condenser.
- Remove the o-ring from the cooler refrigerant liquid pipe.
Seal the openings of the disconnected parts using vinyl tape to prevent moisture and foreign matter from entering them.
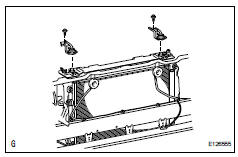
- Remove radiator support upper bracket
- Remove the 2 bolts and 2 brackets.
- Remove no. 2 Fan shroud
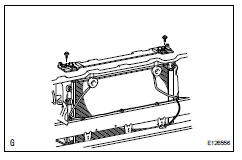
- Remove the 2 bolts and fan shroud.
- Remove cooler condenser assembly
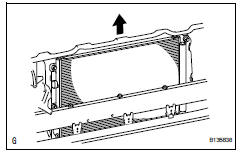
- Remove the cooler condenser.
- Remove cooler dryer

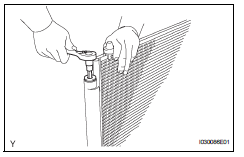
- Using a 14 mm socket hexagon wrench, remove the cap from the modulator.
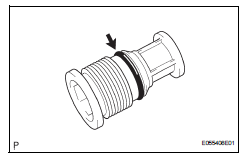
- Remove the o-ring from the cap.
- Using pliers, remove the cooler dryer.
- Install cooler dryer
- Using pliers, install the cooler dryer.
- Apply a sufficient amount of compressor oil to the contact surfaces of a new o-ring and the cap.
- Install the o-ring to the cap.
- Using a 14 mm socket hexagon wrench, install the cap to the modulator.
- Install cooler condenser assembly
- Install the cooler condenser.
- Install no. 2 Fan shroud
- Install the fan shroud with the 2 bolts.
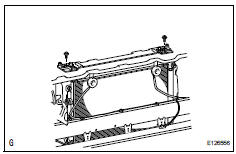
- Install radiator support upper bracket
- Install the 2 brackets with the 2 bolts.
- Install cooler refrigerant liquid pipe

- Remove the attached vinyl tape from the pipe and the connecting part of the cooler condenser.
- Sufficiently apply compressor oil to a new o-ring and the fitting surface of the pipe joint.
- Install the o-ring on the cooler refrigerant liquid pipe.
- Install the cooler refrigerant liquid pipe on the cooler condenser with the bolt.
- Install no. 1 Cooler refrigerant discharge hose
- Remove the attached vinyl tape from the hose and the connecting part of the cooler condenser.
- Sufficiently apply compressor oil to a new o-ring and the fitting surface of the hose joint.
- Install the o-ring on the cooler refrigerant discharge hose.
- Install the cooler refrigerant discharge hose on the cooler condenser with the bolt.
- Adjust hood sub-assembly (see page ed-5)
- Install front bumper cover
- Install the front bumper cover (see page et-10).
- Connect cable to negative battery terminal
- Charge refrigerant (see page ac-172)
- Warm up engine (see page ac-173)
- Check for leakage of refrigerant (see page ac-173)
Test yourself
A quick Toyota RAV4 quiz: every answer comes with an explanation and a link to the manual page.
Was this page helpful?