Mass Air Flow Meter
ComponentsCOMPONENTSILLUSTRATION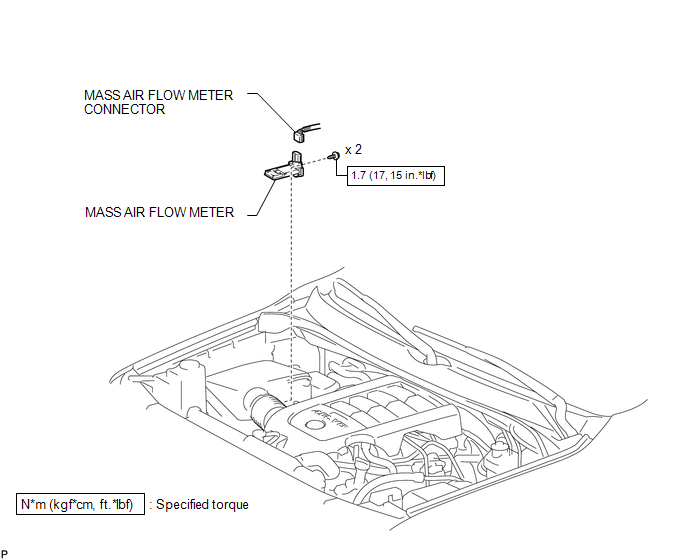
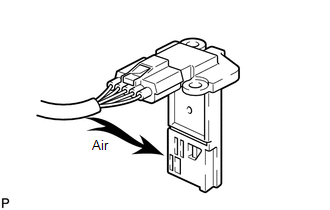
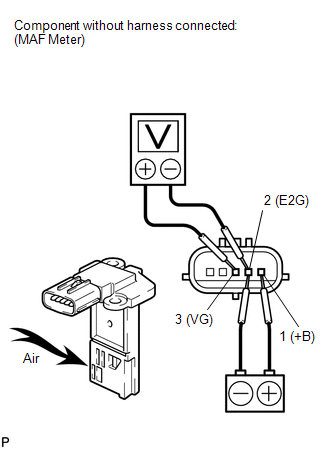
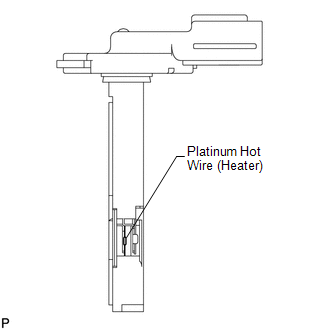
InspectionINSPECTIONPROCEDURE1. INSPECT MASS AIR FLOW METER (a) Check the output voltage.
(2) Using a voltmeter, connect the positive (+) tester probe to terminal 3 (VG), and negative (-) tester probe to terminal 2 (E2G). (3) Blow air into the MAF meter, and check that the voltage fluctuates. If the result is not as specified, replace the MAF meter.
(c) Check the IAT sensor. 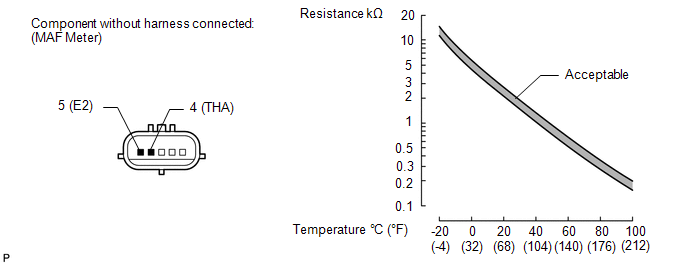
(1) Measure the resistance according to the value(s) in the table below. Standard Resistance:
If the result is not as specified, replace the MAF meter. InstallationINSTALLATIONHINT: Perform "Inspection After Repairs" after replacing the mass air flow meter (See page PROCEDURE1. INSTALL MASS AIR FLOW METER HINT: Perform "Inspection After Repairs" after replacing the mass air flow meter (See page
(b) Connect the MAF connector. On-vehicle InspectionON-VEHICLE INSPECTIONPROCEDURE1. CHECK MASS AIR FLOW METER (a) Check the mass air flow value. (1) Connect the Techstream to the DLC3. (2) Turn the ignition switch to ON. (3) Turn the Techstream main switch ON. (4) Enter the following menus: Powertrain / Engine / Data List / All Data / MAF.
RemovalREMOVALPROCEDURE1. REMOVE MASS AIR FLOW METER 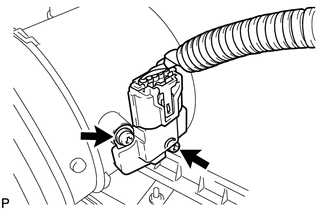
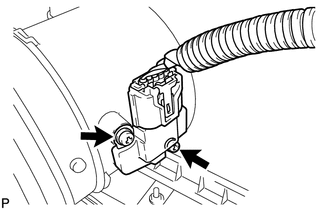
(a) Disconnect the MAF connector. (b) Remove the 2 screws and MAF meter. |
 ).
 ), or wiring and ECM (See page