Wheels and Tyres Guide - General Information
Fitting wheel, fitting instructions for Audi
In this manual: Wheels and Tyres Guide - General Information
~8min read
Vehicles with tyre pressure sensorIf the wheels are changed (e.g. switch from summer to winter tyres), the wheel electronics transmit data as soon as the speed of the new wheels exceeds 25 km/h. The new wheel electronics' ID numbers are automatically detected and entered by the control unit. The acceleration data are additionally checked against the vehicle speed. This process takes approx. 7 minutes. The tyre pressure monitoring system control unit -J502- must first switch to learning mode before it can automatically learn the wheel electronics. To do this, the vehicle must remain stationary for 20 minutes. Following the detection of a flat tyre, this time is 5 minutes. If the stationary time is not maintained and the control unit consequently does not switch to learning mode, the system detects interference in transmission and will learn the wheel electronics automatically only after a stationary period of 20 minutes. Note When changing wheels, note that only wheel and tyre combinations approved by the vehicle manufacturer with the tyre inflation pressure specified in the tank flap may be installed. If unapproved wheel and tyre combinations are installed, a certificate from the responsible technical inspection authority must be available for the respective vehicle, and a second wheel set must be adapted via the → Vehicle diagnostic tester. An adaptation is also necessary if the tyre pressure deviates from the tyre pressure specified on the tank flap. Tyre sets with other specified tyre inflation pressuresIf a vehicle is fitted with tyres requiring nominal tyre inflation pressures other than those specified on the tank flap sticker, these tyres (second wheel set) can also be monitored with the TPM system. Nominal tyre inflation pressures for the second wheel set must be specified to the system with the → Vehicle diagnostic tester. The wheel electronics for the wheels of the second wheel set are not automatically detected and adapted by the TPM system (unlike the wheel electronics for the wheel set with wheel and tyre combinations approved by the vehicle manufacturer).The following work has to be performed to switch to the second wheel set:Read ID numbers (IDs) of the wheel electronics (tyre pressure sensors) prior to installation.Switch the TPM to wheel set 2.Enter the necessary nominal tyre pressures and the IDs of the wheel electronics in the system.Continuation for all vehicles Note The width across flats of the provided wheel bolt adapter may differ from the width across flats of the adapter set. Special tools and workshop equipment required |
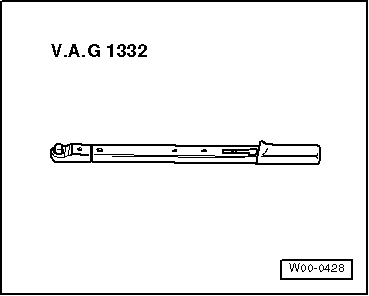
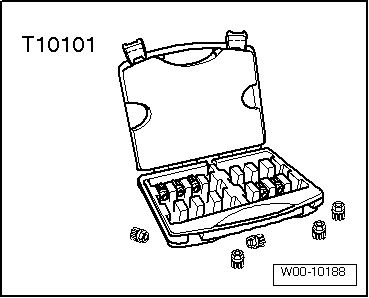
Torque wrench -V.A.G 1332-Adapter set for anti-theft wheel bolts -T10101- |
 |
Adapter set for anti-theft wheel bolts -T10101 A- |
 |
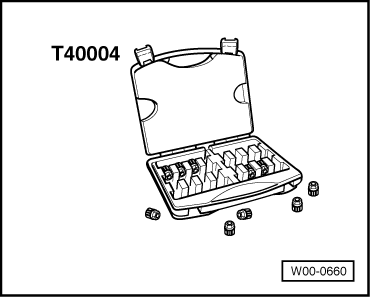
Adapter set for anti-theft wheel bolts -T40004- |
 |
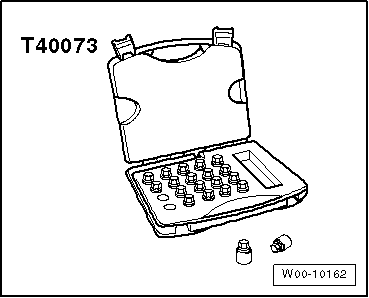
Adapter set for anti-theft wheel bolts -T40073-Wax spray -D 322 000 A2-Optimol TA paste -G 052 109 A2-
Note
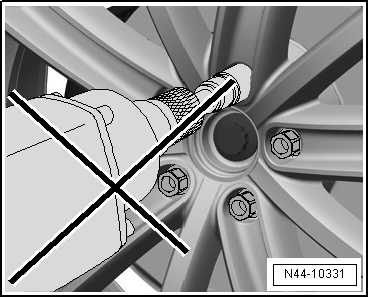
Raise vehicle only at jacking points provided.Do not use screwdriver to pry off trim caps on vehicles with light-alloy wheels; always use special tool provided (puller from vehicle tool kit). To slacken off wheel bolts, always use socket attachments of the correct size. Worn socket attachments must not be re-used. Do not use impact wrenches for slackening off anti-theft wheel bolts (lockable wheel bolts).Take care to keep wheel bolts clean.
Perform the following steps with the wheel (rim) removed.
|
 |
 Caution In the case of ceramic brakes, it must be ensured that the wheel does not fall onto the brake disc because the latter will then be destroyed. When removing/installing the wheel, fit the long assembly pin into the upper position (12 o'clock position) instead of the wheel bolt, and for additional support fit the short assembly pin into the wheel bolt mountings. This allows for sliding the wheel on the assembly aids when removing/installing.
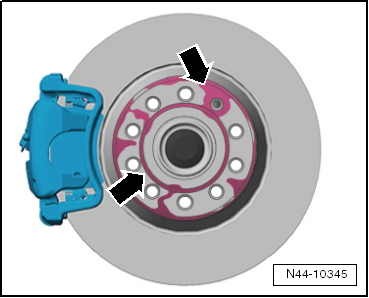
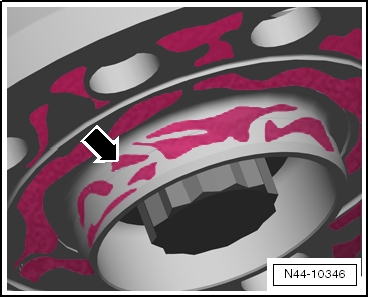
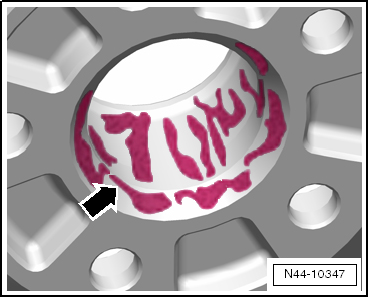
 DANGER! Perform the checks, and follow the instructions listed below. This is important to ensure that the wheel bolts and the wheels are properly secured.
|
 |
|
 |
|
 |
Note
The wax spray must not come into contact with brake system components.Any rust or dirt which drops between brake disc and wheel hub on removal should be blown out with compressed air.
|
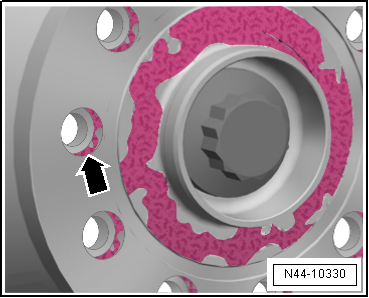 |
If slightly corroded wheel bolts are re-installed on the vehicle, clean the threads and area of the convex seats of the wheel bolts, and grease the sliding surfaces using Optimol TA paste -G 052 109 A2- as follows (all vehicles except RS 2 and RS 4, type 8D):
Note Use only Optimol TA paste -G 052 109 A2-. The paste must not come into contact with parts of the brake system. Only for RS 2 and RS 4, type 8D:Slightly corroded wheel bolts are not to be cleaned and greased. They must always be renewed.Wheel bolts are always to be screwed in without grease.Continuation for all models:
Fitting wheels: Note
On wheel rims with bonded wheel trim, make sure to not scratch the wheel trim.The surface of the wheel trim is highly susceptible to scratches.If the wheel trim is damaged, the wheel rim must be renewed. |
 |
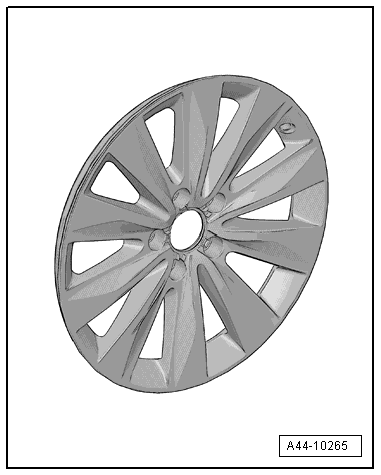
The wheel trim cannot be renewed.Position wheel on wheel hub and secure by hand with two opposing wheel bolts.Screw in remaining wheel bolts by hand. They should screw in easily. Make sure the bores are exactly centralised. If necessary lift the wheel slightly and tighten two wheel bolts lightly by hand.When fitting the wheel, screw in all wheel bolts uniformly by hand.Tighten the wheel bolts diagonally using, for example, a four-arm wheel nut wrench, to about 30 N·m. Note
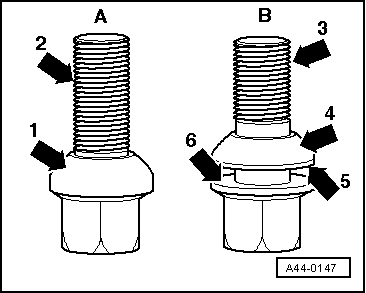
Make sure the correct wheel bolts are fitted → ETKA.On each vehicle, the same wheel bolts must be used for all 4 wheel rims.
|
 |
Note Always adhere to the specified tyre pressure → Wheels and Tyres Guide; Rep. gr.44. Specified torque→ Running gear, front-wheel drive and four-wheel drive; Rep. gr.44 |
 |
Test yourself
A quick Volkswagen Golf quiz: every answer comes with an explanation and a link to the manual page.
Was this page helpful?