General body repairs, exterior
Removing and installing front trim for sliding sunroof
In this manual: General body repairs, exterior
2steps
~12min
1/5difficulty
Done 0 of 2
Special tools and workshop equipment required |
|
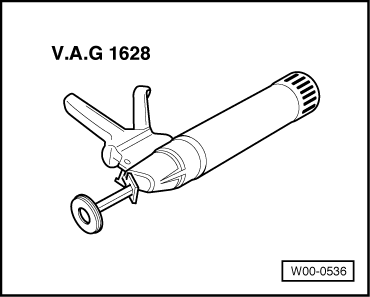 |
|
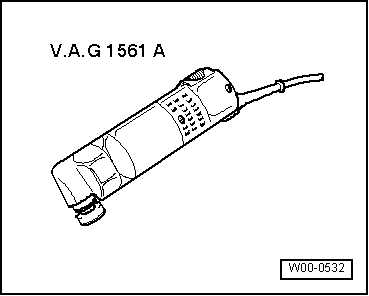 |
Materials |
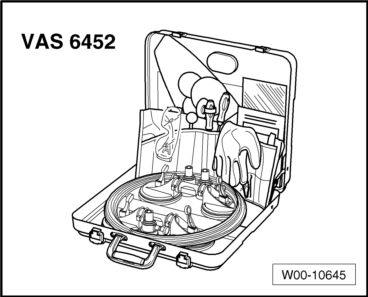 |
|
→ Remark1 → Remark2 | ||||
|
→ Remark1 | ||||
|
→ Remark1 | ||||
|
→ Remark1 | ||||
|
→ Remark1 | ||||
|
|||||
Removing Note
|
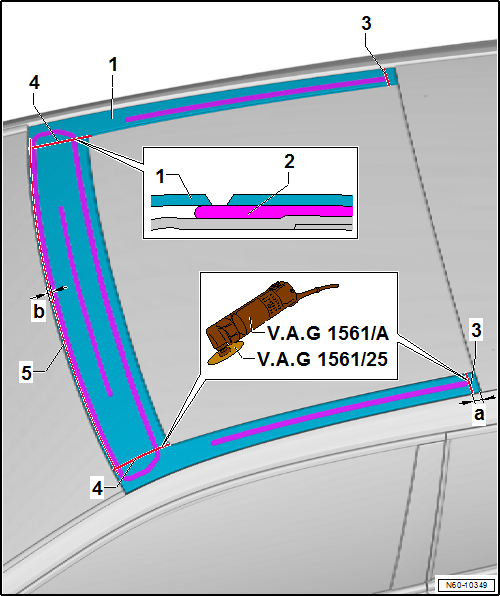
- Pull seal off front trim -1-.
- If fitted, bond windscreen seal to windscreen, and press it on firmly.
- Mark a line along the entire length of the trim at a distance -b- = 10 mm from the front edge.
- Mark a line on both sides at a distance -a- = 30 mm from the rear edge.
 Caution Due to the small clearance between the front trim and the frame, only make a cut with a max. depth of 5 mm. |
- Using electric cutter -V.A.G 1561A- and saw blade, 63 mm in diameter -V.A.G 1561/25-, separate the front trim along the markings -3 and 5-.
- Make a cut with a width of approx. 5 mm along line -4- on left and right to allow for inserting cutting cord.
- With front trim edges removed, the adhesive beads of the trim are accessible.
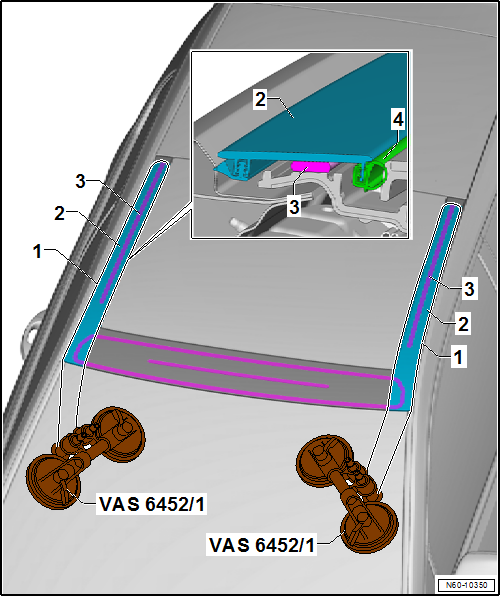
Seal -4- has been pulled off.
- Insert cutting cord -1- all round on one side, and secure it to wire reel -VAS 6452/1-.
- Cut through adhesive bead -3-, and remove part of front trim -2-.
- Fit wire reel -VAS 6452/1- on other side, and repeat the procedure.
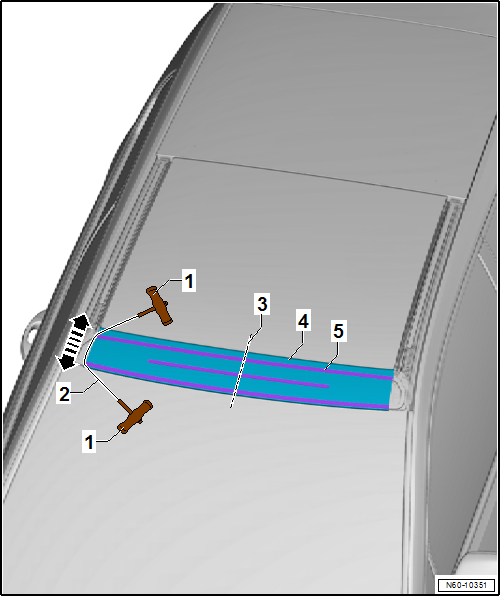
- Secure a handle -1- from window removal kit -V.A.G 1755- to each end of cord -2-.
Note
There are 3 adhesive beads on the roof cross member and increased resistance will be encountered here. Pull on cutting cord -arrow- evenly like using a saw.
- Now, cut through adhesive beads -5- on roof cross member at front as far as the middle -3- on one side.
- Then, cut through adhesive beads as far as the middle -3- on the other side.
- Remove front trim -4-.
Note The exact positions of the adhesive beads of the piece of front trim cut out must be used for the new trim.
InstallingMinimum curing period
The minimum curing period for the 1-component adhesive is 3 hours.The minimum curing period is the time from bonding until the vehicle can be used. During this time, the vehicle must stand on a level surface at room temperature (at least 15 °C).Installation instructions
Touching up paint damageIf paintwork is damaged, paint structure must be restored according to specifications in “Paint” workshop manual.Cleaning off excess adhesive sealing material
|
 WARNING Only use the adhesive indicated in the → Electronic Parts Catalogue (ETKA)“ETKA” as it matches the elasticity of the trim. The minimum curing time until the vehicle can be operated safely is 3 hours. |
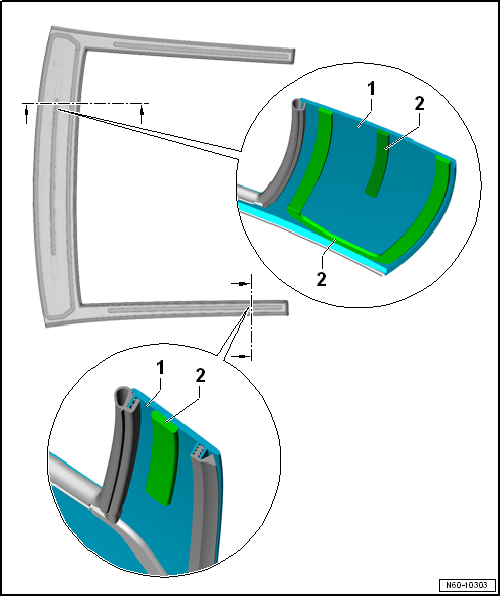
| l | The glass panel has been built into the frame. |
- Slightly roughen the bonding surface with fine emery paper.
- Clean around bonding surface -2- thoroughly, using cleaning solution.
- Now apply glass and paint primer evenly in one stroke using applicator.
- Drying time for glass/paint primer is 10 minutes.
- Apply 1-component adhesive.
Width of adhesive bead: 8 mm.
Height of adhesive bead: 12 mm.
- Insert trim into roof aperture and centre it. Fix in place with adhesive tape.
- Observe minimum curing period → Anchor.
Test yourself
A quick Volkswagen Golf quiz: every answer comes with an explanation and a link to the manual page.
Was this page helpful?