General body repairs, exterior
Removing and installing lock cylinder
In this manual: General body repairs, exterior
~1min read
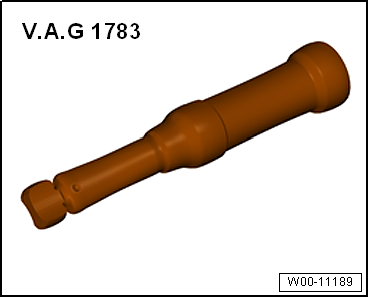
Removing and installing lock cylinderSpecial tools and workshop equipment required |
 Note
Removing |
|
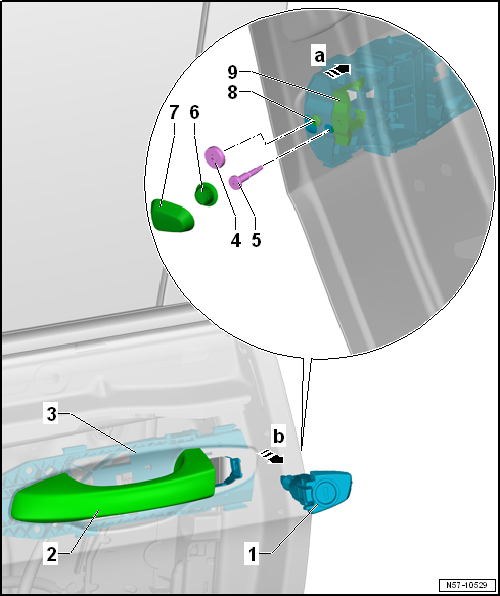
- Remove cover cap for lock cylinder → Chapter
- Lift covers -4 and 6- or -7-.
- Remove bolt -5-.
- Screw out bolt -8- to stop.
- Press in bolt -8- with locking mechanism -9--arrow a-. Only then is the lock cylinder released.
- Pull door handle -2- off door.
- Pull lock cylinder housing -1- perpendicular -arrow b- to the door out of the mounting bracket -3-.
Installing |
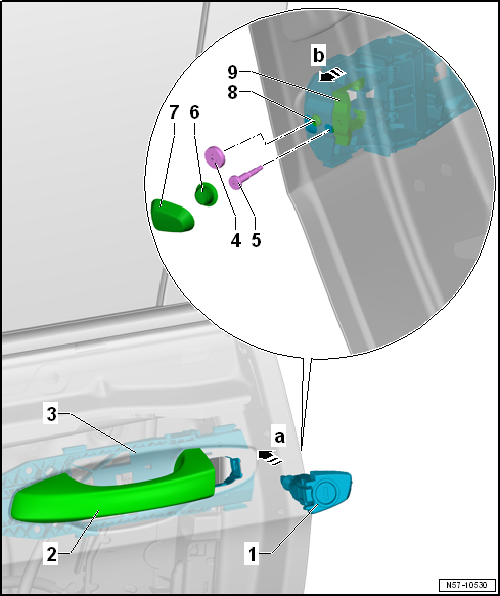
- Pull door handle -2- off door.
- Push lock cylinder housing -1- into door handle bracket -3- at a right-angle -arrow a-.
- Screw bolts -5 and 8- into mounting bracket. Bolt -8- is used to pull locking mechanism -9- in its correct position -arrow b-.
Note During installation, lock cylinder housing must be pressed against outer door panel. Further installation is performed in the reverse order of removal.
| l | It is essential that a functional check is then performed with the door open. |
Specified torques
- Bolts → Chapter „Assembly overview - door handle and door lock“
Test yourself
A quick Volkswagen Golf quiz: every answer comes with an explanation and a link to the manual page.
Was this page helpful?