Center console
Assembly overview - Center console
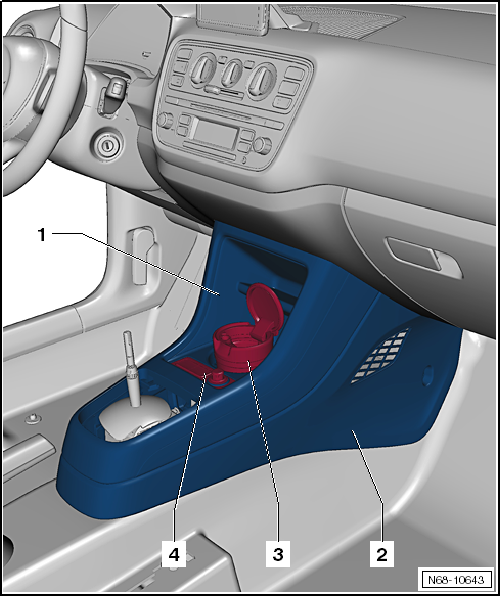
- Center console upper section
- Remove and install
- Center console lower section
- Remove and install
- Front ashtray
- Remove and install
- Switch module 1 center console -EX23-
- Removing and installing → Electrical system
Removing and installing front ashtray
Removing
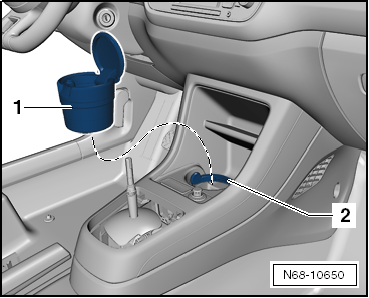
- Remove front ashtray -1- from center console.
Installing
- Installation is performed in the reverse order.

Note
Bracket -2- in center console must be folded in direction of travel before installing front ashtray -1-.
Removing and installing center console
Removing and installing center console upper section
Required Special Tools, Test and Measuring Equipment and Auxiliary Items
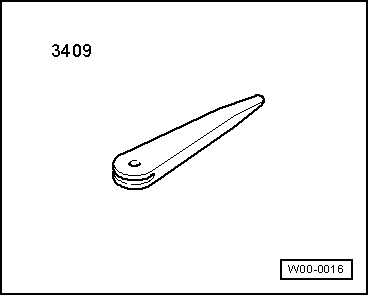
- Release Wedge -3409-
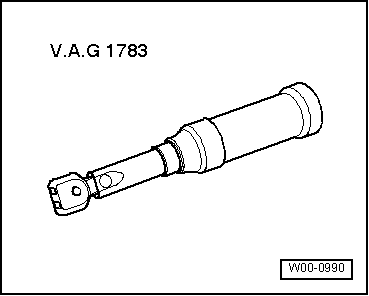
- Torque wrench -V.A.G 1783-
Removing
- Switch off ignition and all electrical consumers and remove the ignition key.
- Remove center console trim panel.
- Set handbrake lever to the uppermost position.
Vehicles with 5-speed manual transmission 0CF
- Release gear lever boot from center console upper section using release wedge -3409- and pull upward.
Vehicles with automated 5-speed manual transmission 0CT
- Remove cover for shift actuation → Automated 5-speed manual transmission 0CT.
Continuation for all vehicles

- Unscrew bolts -1- (1.5 N·m).
- Release center console upper section -4- from retaining clips -2- by pulling it rearward.
- Depending on vehicle equipment, disconnect any electrical connectors from switch module 1 center console -EX23--3-.
- Remove center console upper section -4- from center console lower section.
Installing
If the center console upper section is replaced on an e-up! 2014►, a noise insulation pad must be bonded to the inside of the new part. Take the dimensions for cutting the noise insulation pad from the old part.

Note
Before installation, check all fasteners for damage and replace them if necessary.
Installation is carried out in the reverse order of removal, observing the following:
- Insert center console upper section -4- onto the centering pins of the center console lower section.
- Engage center console upper section -4- with retaining clips -2-.

Removing and installing center console lower section
Required Special Tools, Test and Measuring Equipment and Auxiliary Items
- Torque wrench -V.A.G 1783-
Removing
- Remove center console upper section.
- Set handbrake lever to the uppermost position.
Vehicles without glove box
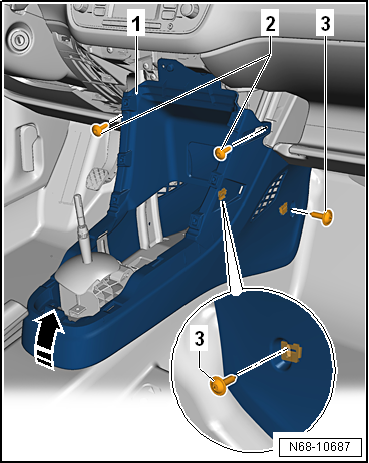
- Unscrew screws -2- (1.5 N·m).
Continuation for all vehicles
- Unscrew screw -3- on right and left (1.5 N·m).
- Lift center console lower section -1- at rear in -arrow direction- and remove.
Installing
If the center console lower section is replaced on an e-up! 2014►, a noise insulation pad must be bonded to the inside of the new part. Take the dimensions for cutting the noise insulation pad from the old part.

Note
Before installation, check all fasteners for damage and replace them if necessary.
- Installation is performed in the reverse order.
Removing and installing center console trim panel
Removing and installing center console trim panel, vehicles without glove box
Required Special Tools, Test and Measuring Equipment and Auxiliary Items
- Release Wedge -3409-
Removing

- Starting from the top, release center console trim panel -1- from the mounts on the dash panel insert using release wedge -3409-.
- Remove center console trim panel -1- from dash panel.
Installing

Note
Before installation, check all fasteners for damage and replace them if necessary.
- Installation is performed in the reverse order.
Removing and installing center console trim panel, vehicles with glove box
Required Special Tools, Test and Measuring Equipment and Auxiliary Items
- Release Wedge -3409-
Removing

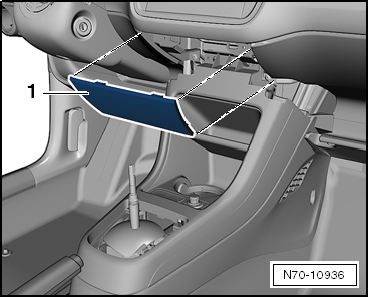
- Starting from the top, release center console trim panel -1- from mounts -2- on the dash panel insert using release wedge -3409-.
- Remove center console trim panel -1- from dash panel.
Installing

Note
Before installation, check all fasteners for damage and replace them if necessary.
- Installation is performed in the reverse order.

Removing and installing center console bracket
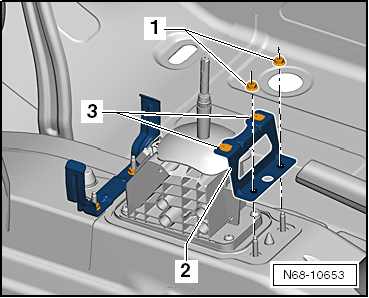
Assembly overview - Center console bracket
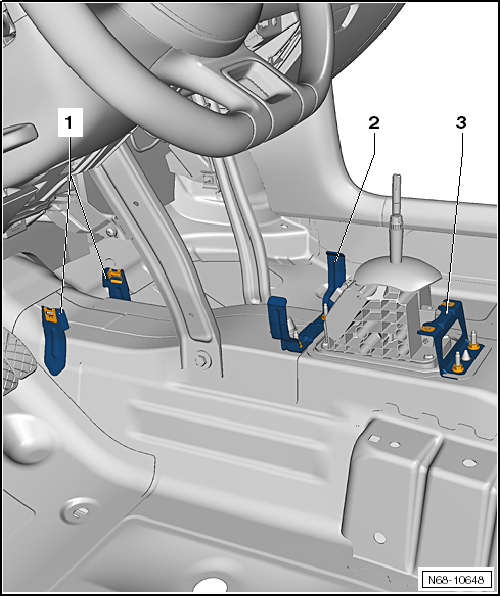
- Front center console bracket
- left and right
- welded to body
- Check snap nuts for damage and replace if necessary
- Center console bracket, center
- Remove and install
- Rear center console bracket
- Remove and install
Removing and installing center console bracket, center
Required Special Tools, Test and Measuring Equipment and Auxiliary Items
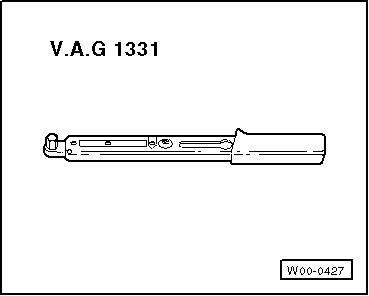
- Torque Wrench -V.A.G 1331-
Removing
- Remove center console lower section.
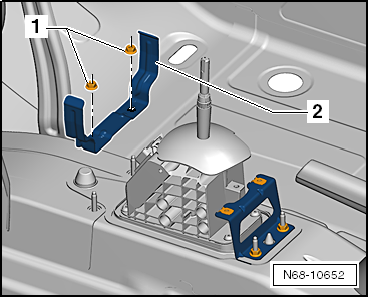
- Unscrew nuts -1- (8 N·m).
- Remove center console bracket, center -2-.
Installing
- Installation is performed in the reverse order.
Removing and installing rear center console bracket
Required Special Tools, Test and Measuring Equipment and Auxiliary Items
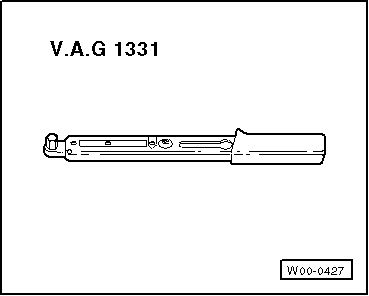
- Torque Wrench -V.A.G 1331-
Removing
- Remove center console lower section.
- Unscrew nuts -1- (8 N·m).
- Remove rear center console bracket -2-.
Installing

Note
Before installation, check snap nuts -3- for damage and replace if necessary.
- Installation is performed in the reverse order.