Storage compartments/covers
Installation Locations Overview - Storage Compartments/Covers
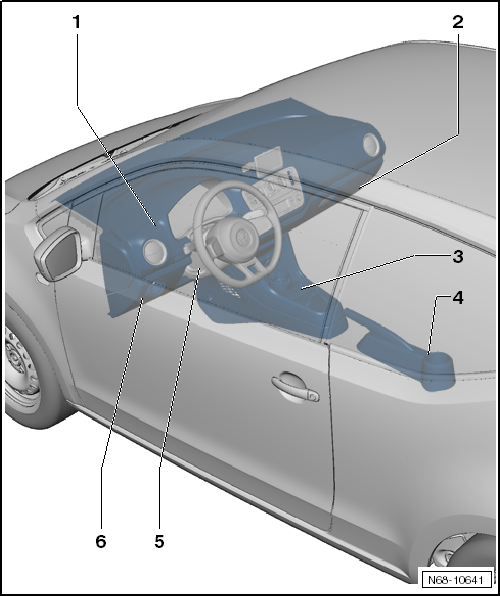
- Dash panel
- Dash panel
- Passenger side instrument panel cover/glove box
- depending on equipment
- Assembly overview - Glove box
- Removing and installing passenger side instrument panel cover
- Center console
- Center console
- Trim for parking brake lever
- Assembly overview - Handbrake lever trim
- Steering column trim
- Assembly overview - Steering column trim
- Driver side instrument panel cover
- Assembly overview - Driver side instrument panel cover
Assembly overview - Driver side instrument panel cover
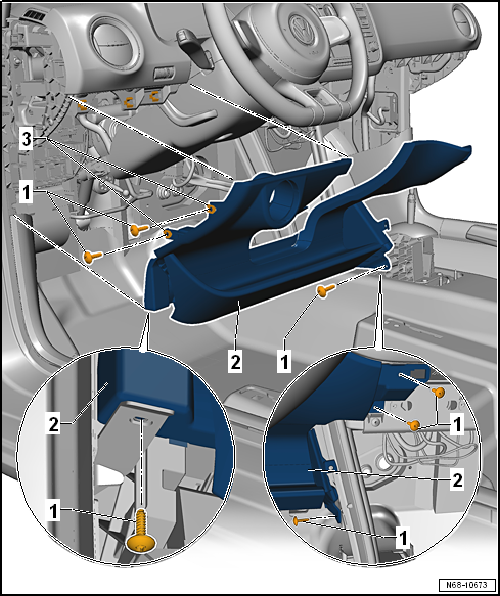
- Bolt
- 6 pcs.
- 1,5 N·m
- Driver side instrument panel cover
- with or without storage compartment (depending on equipment)
- Remove and install
- Snap nut
Assembly overview - Steering column trim
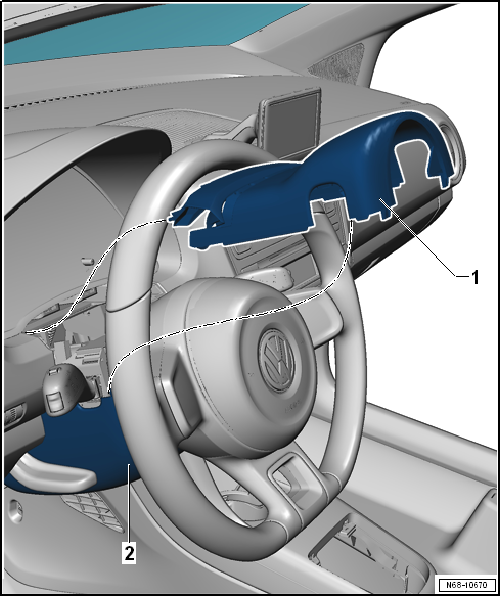
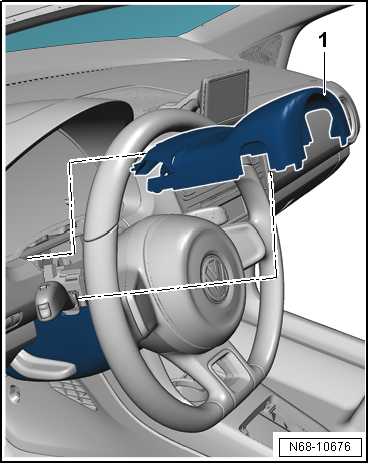
- Upper steering column trim
- Remove and install
- with instrument panel insert gap cover
- Loosening and fastening instrument panel insert gap cover
- Lower steering column trim
- Remove and install
Assembly overview - Glove box
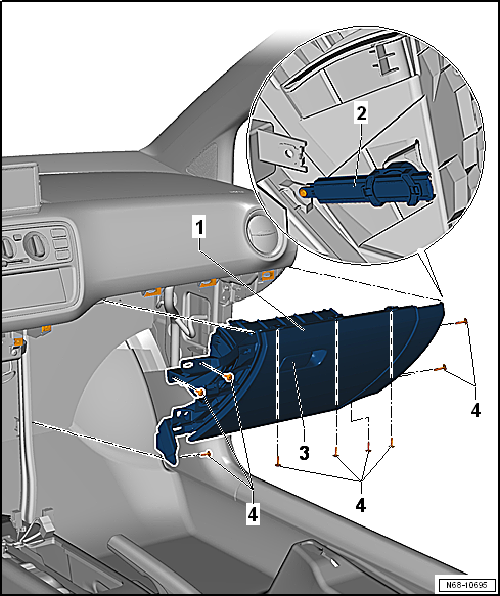
- Glove box
- Remove and install
- Glove box lid brake element
- Remove and install
- Glove box opener
- Remove and install
- Bolt
- 9 pcs.
- 1,5 N·m
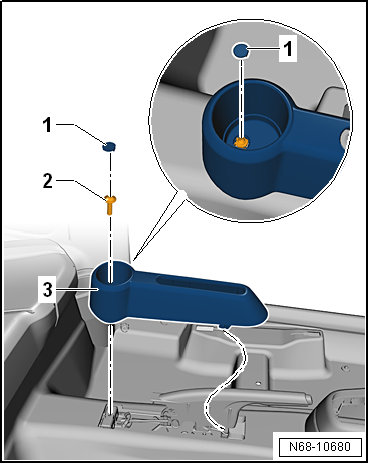
Assembly overview - Handbrake lever trim
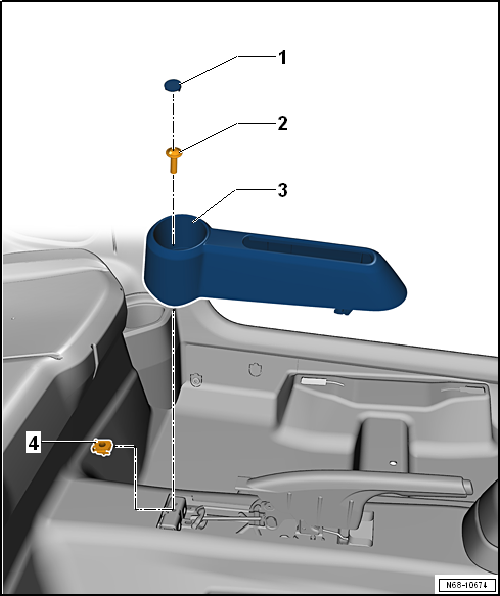
- Cover cap
- Bolt
- 1,5 N·m
- Handbrake lever trim
- Remove and install
- Snap nut
Removing and installing driver side instrument panel cover
Required Special Tools, Test and Measuring Equipment and Auxiliary Items
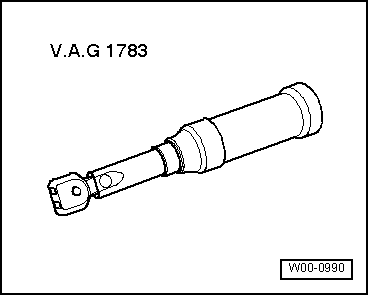
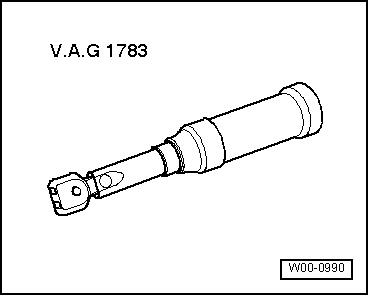
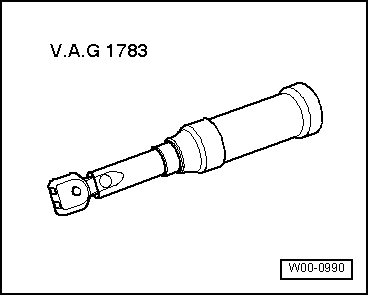
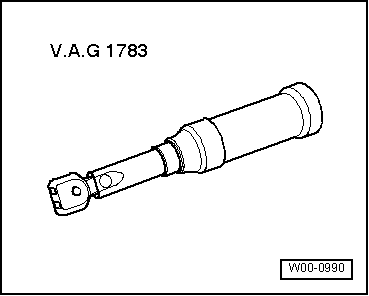
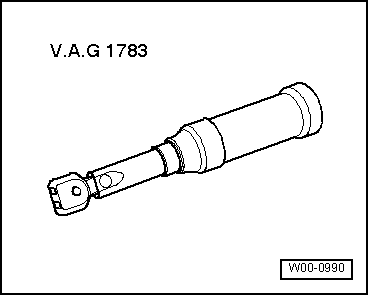
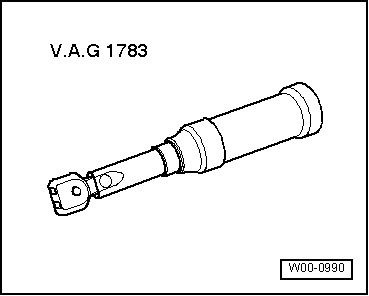
- Torque wrench -V.A.G 1783-
Removing
- Remove driver side instrument panel side trim.
- Remove light switch -E1-. See Electrical System.
- Remove center console.
- Remove driver side lower A-pillar trim.
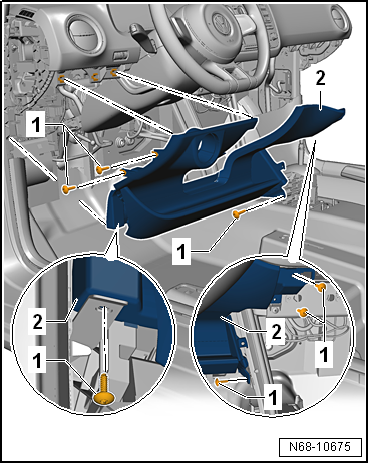
- Unscrew bolts -1-.
- Remove driver side instrument panel cover -2- from the instrument panel.
Installing
If the driver side instrument panel cover is replaced on an e-up! 2014►, apply a sound-damping pad to the side of the new cover facing the instrument panel. Take the dimensions for cutting the sound-damping pad from the old part.

Note
Before installation, check all fasteners for damage and replace them if necessary.
- Installation is performed in the reverse order.
Loosening and fastening instrument panel insert gap cover
Required Special Tools, Test and Measuring Equipment and Auxiliary Items
- Release Wedge -3409-
Loosen
- Loosen steering wheel adjustment lever.
- Push steering column fully down and lock it.
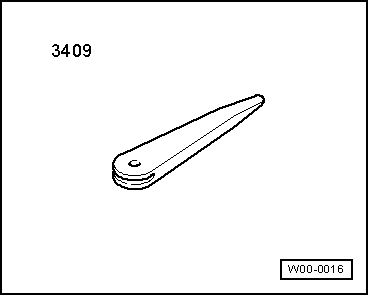
- Using release wedge -3409-, release instrument panel insert gap cover -1- from the retainers on the instrument panel insert.
Fasten

Note
Before installation, check all fasteners for damage and replace them if necessary.
- Installation is performed in the reverse order.
Removing and installing upper steering column trim
Removing
- Loosen instrument panel insert gap cover.
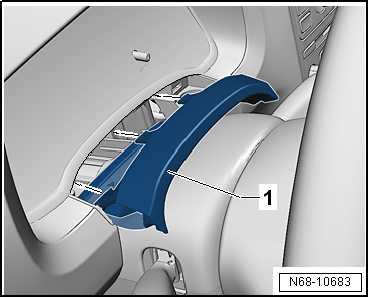
- Release upper steering column trim -1- together with instrument panel insert gap cover and remove it.
Installing

Note
Before installation, check all fasteners for damage and replace them if necessary.
- Installation is performed in the reverse order.
Removing and installing lower steering column trim
Required Special Tools, Test and Measuring Equipment and Auxiliary Items
- Torque wrench -V.A.G 1783-
Removing
- Remove upper steering column trim.
- Remove airbag unit with igniter.
- Remove the steering wheel → Chassis, axles, steering.
- Remove the ignition key.
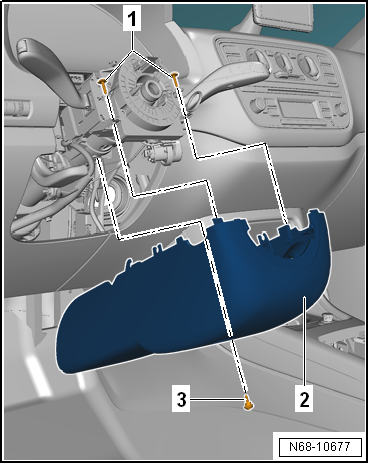
- Unscrew bolts -1- from lower steering column trim -2- (1.5 N·m).
- Unscrew bolt -3- from lower steering column trim -2- (3 N·m).
- Release lower steering column trim -2- and remove it from the steering column.
Installing

Note
Before installation, check all fasteners for damage and replace them if necessary.
- Installation is performed in the reverse order.
Removing and installing glove box opener

Note
- The lock cylinder cannot be removed separately.
- Only the release button of the glove box opener can be replaced.
Required Special Tools, Test and Measuring Equipment and Auxiliary Items
- Torque wrench -V.A.G 1783-
Removing
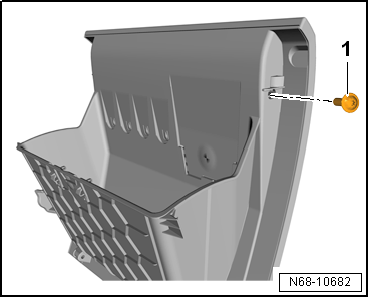
- Open glove box.
- Unscrew bolt -1- from glove box lid (1.5 N·m).
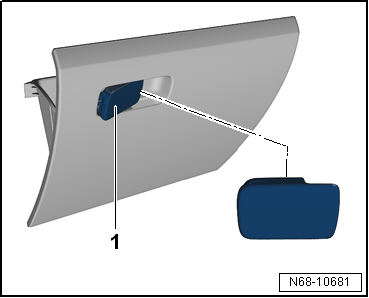
- Remove release button -1- from glove box lid.
Installing
- Installation is performed in the reverse order.
Removing and installing glove box
Required Special Tools, Test and Measuring Equipment and Auxiliary Items
- Torque wrench -V.A.G 1783-
Removing
- Remove center console.
- Remove passenger side instrument panel side trim.
- Remove passenger side lower A-pillar trim.
- Open glove box lid and unscrew bolts -1-, then close the glove box lid.
- Unscrew remaining bolts -3- (1.5 N·m).
- Release glove box -2- and remove it from the instrument panel.
Installing
If the glove box is replaced on an e-up! 2014►, apply a sound-damping pad to the side of the new glove box facing the instrument panel. Take the dimensions for cutting the sound-damping pad from the old part.

Note
Before installation, check all fasteners for damage and replace them if necessary.
Installation is carried out in the reverse order of removal, observing the following:
- Insert centering pin -4- into receptacle -5-.

Removing and installing passenger side instrument panel cover
Required Special Tools, Test and Measuring Equipment and Auxiliary Items
- Torque wrench -V.A.G 1783-
Removing
- Remove center console.
- Remove passenger side instrument panel side trim.
- Remove passenger side lower A-pillar trim.
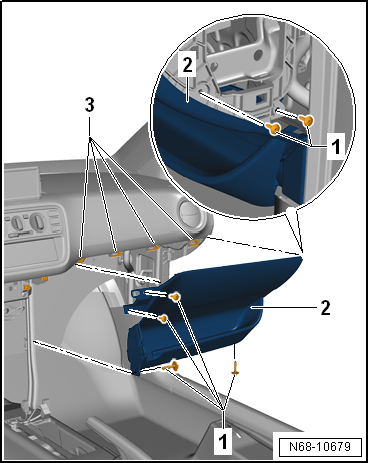
- Unscrew bolts -1- (1.5 N·m).
- Release passenger side instrument panel cover -2- and remove it from the instrument panel.
Installing
If the passenger side instrument panel cover is replaced on an e-up! 2014►, apply a sound-damping pad to the side of the new cover facing the instrument panel. Take the dimensions for cutting the sound-damping pad from the old part.

Note
Before installation, check all fasteners for damage and replace them if necessary.
Installation is carried out in the reverse order of removal, observing the following:
- Make sure all receptacles of the passenger side instrument panel cover engage properly in the instrument panel with retaining clips -3-.
Removing and installing glove box lid brake element
Removing
- Remove glove box.
- Pull out hinge pin -1-.
- Unlock glove box lid brake element -2- counter-clockwise -arrow- and remove it.
Installing

Note
Before installation, check all fasteners for damage and replace them if necessary.
- Installation is performed in the reverse order.

Removing and installing handbrake lever trim
Required Special Tools, Test and Measuring Equipment and Auxiliary Items
- Torque wrench -V.A.G 1783-

Note
For clarity of the work procedure, the front seats are not shown in the following illustrations.
Removing
- Set handbrake lever to the uppermost position.
- Remove cap -1- and unscrew bolt -2-.
- Lift handbrake lever trim -3- at the rear and remove it forward over the handbrake lever.
Installing

Note
Before installation, check all fasteners for damage and replace them if necessary.
Installation is carried out in the reverse order of removal, observing the following:
- Set handbrake lever to the uppermost position.
- Hook handbrake lever trim into the body.