Front brake
Removing and installing brake caliper
Required Special Tools, Test and Measuring Equipment and Auxiliary Items
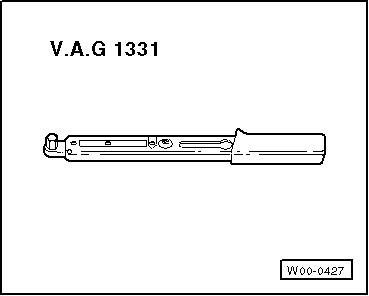
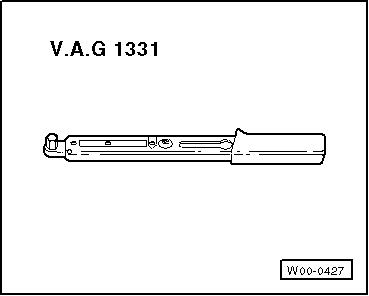
- Torque Wrench -V.A.G 1331-
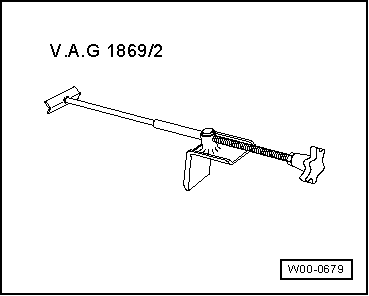
- Brake pedal depressor -V.A.G 1869/2-
Removing:
This procedure applies only when replacing or performing subsequent repair work on the brake caliper.
- Remove wheels.
- Attach the bleeder hose of the brake fluid bleeder bottle to the brake caliper bleeder valve, then open the bleeder valve.
- Install the brake pedal depressor -V.A.G 1869/2-.
- Close the bleeder valve and remove the brake fluid bleeder bottle.
- Unscrew the brake hose.
- Pull the two cover caps out of the brake caliper guide bushings.
- Loosen both guide bolts and remove them from the brake caliper.
- Pull the brake caliper off the brake carrier.
- Remove the brake pads from the brake caliper.
Installing:
- The piston has been pushed back.
- Install the brake pads in the brake caliper and piston.
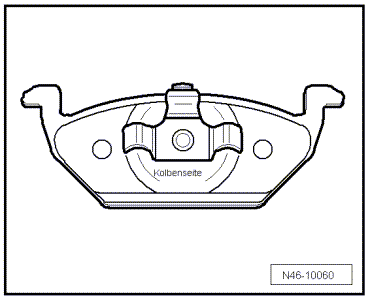
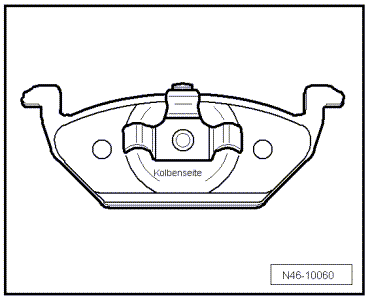
- Insert the brake pad with the marking "Piston side" on the backing plate into the brake piston.
- Install the brake caliper with brake pads on the wheel bearing housing.
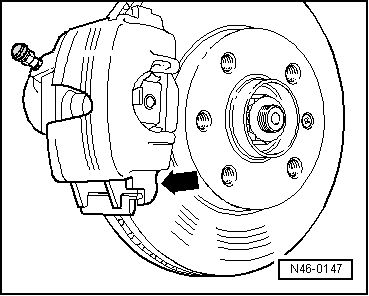
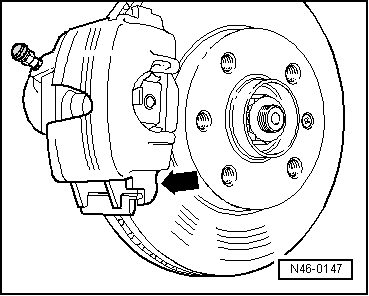
- Place the brake caliper with brake pads onto the brake carrier, bottom first -arrow-.
- Screw the brake caliper to the brake carrier with both guide bolts.
- The lug on the brake caliper must sit behind the guide on the brake carrier!
- Install both cover caps.
- Screw the brake hose onto the brake caliper.
- Remove the brake pedal depressor -V.A.G 1869/2-.
- Bleed the brake system.
- Install wheels.
Tightening torque for wheel bolts → Chassis, axles, steering.

Note
- With the vehicle stationary, press the brake pedal firmly several times so the brake pads seat in their operating position.
- Check the brake fluid level.
Tightening torques:
Guide bolt to brake carrier - 30 N·m
Brake hose to brake caliper - 35 N·m
Removing and installing brake pads
Required Special Tools, Test and Measuring Equipment and Auxiliary Items
- Torque Wrench -V.A.G 1331-
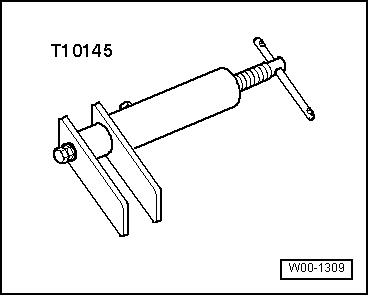
- Piston reset tool -T10145-
Removing:
Mark brake pads that will be reused during removal. Reinstall them in the same position, otherwise braking will be uneven!
- Remove wheels.
- Remove the cover caps.
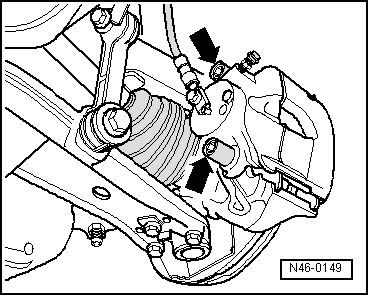
- Unscrew and remove both guide bolts -arrows- from the brake caliper.
- Remove the brake caliper and secure it with wire so that its weight does not load or damage the brake hose.
- Remove the brake pads from the brake caliper.
Cleaning:

WARNING!
Do not blow out brake system with compressed air; the resulting dust is harmful to health!
- Thoroughly clean the pad guide surfaces on the brake carrier and remove corrosion.
- Clean the brake caliper.
Use only denatured alcohol to clean the brake caliper.
Installing:
Before pressing the piston into the cylinder with the piston reset tool, draw brake fluid out of the brake fluid reservoir. Otherwise, if brake fluid has been topped up in the meantime, brake fluid may overflow and cause damage.
- Apply a light coat of lithium grease G 052150 A2 to the pad guide surfaces on the brake carrier.
- Press the piston back.
- Install the brake pads in the brake caliper and piston.
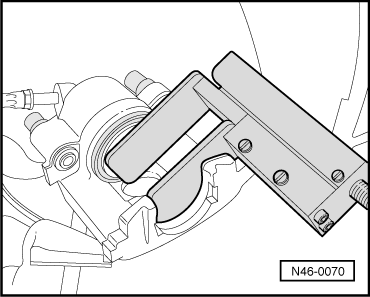
- Insert the brake pad with the marking "Piston side" on the backing plate into the brake piston.
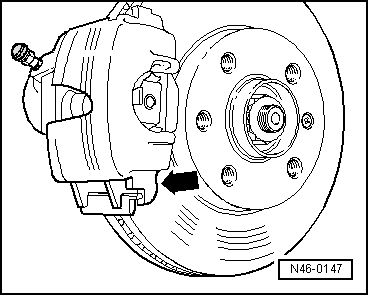
- Install the brake caliper with brake pads on the wheel bearing housing.
- Place the brake caliper onto the brake carrier, bottom first -arrow-.
- The lug on the brake caliper must sit behind the guide on the brake carrier!
- Screw the brake caliper to the brake carrier with both guide bolts.
- Install both cover caps.
- Install wheels.
Tightening torque for wheel bolts → Chassis, axles, steering.

Note
- After every brake pad replacement, press the brake pedal firmly several times with the vehicle stationary so the brake pads seat in their operating position.
- After replacing the brake pads, check the brake fluid level.
Tightening torque:
Guide bolt to brake carrier 30 N·m
Assembly overview - Front brake

Note
- After every brake pad replacement, press the brake pedal firmly several times with the vehicle stationary so the brake pads seat in their operating position.
- To extract brake fluid from brake fluid reservoir, use Brake Filling and Bleeding Unit -VAS 5234-.
- Before removing a brake caliper or disconnecting a brake hose, install the brake pedal depressor -V.A.G 1869/2- (relieving pressure).
Assembly overview - Brake caliper FS III:
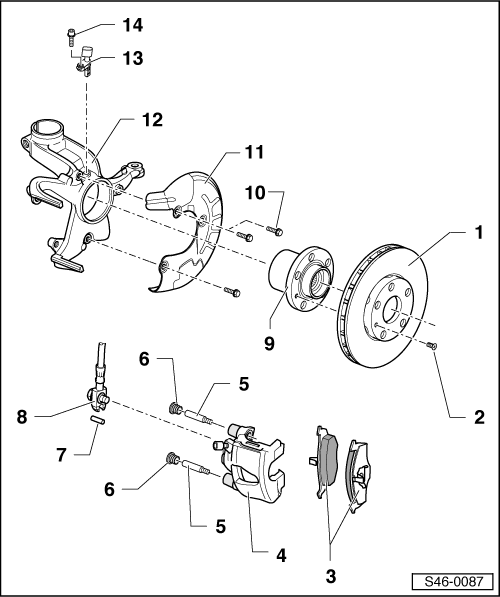
- Brake disc
- Internally ventilated, Ø 256 mm
- Thickness 22 mm
- Wear limit: 19 mm
- always replace in axle sets.
- To remove, first unscrew the brake caliper.
- Do not separate the brake discs from the wheel hub by applying force; if necessary, use rust penetrant, otherwise the brake discs will be damaged.
- Torx bolt, 4.5 N·m
- Brake pads
- Thickness 14 mm without backing plate
- Wear limit: 2 mm without backing plate
- Check thickness
- always replace in axle sets.
- Remove and install
- Brake caliper
- To replace brake pads, do not unscrew the brake hose.
- Remove and install
- Repair
- Guide bolt, 30 N·m
- Cover cap
- remove
- Tension sleeve
- Brake hose with banjo fitting and banjo bolt, 35 N·m
- Wheel hub with wheel bearing
- press out and in → Suspension, Axles, Steering
- Torx bolts, 12 N·m
- Cover plate
- Wheel bearing housing
- with integrated brake carrier
- Apply a light coat of lithium grease G 052150 A2 to the pad guide surfaces.
- ABS wheel speed sensor
- Before installing sensor, clean inner surface of bore and coat with hot-bolt paste G 052 112 A3.
- Torx bolt 8 N·m