Steering column - removal, overhaul and refitting
1 Disconnect the battery negative terminal. 2 Turn the ignition key and rotate the steering wheel to bring the front roadwheels to the straight-ahead position. 3 Working within the engine compartment, unscrew and remove the pinch-bolt which holds the steering shaft to the splined pinion shaft of the rack-and-pinion steering gear. 4 Remove the steering wheel, as described in Section 22. 5 Remove the direction indicator cam from the top end of the steering shaft (where fitted).
6 Extract the fixing screws and remove the upper and lower shrouds from the upper end of the steering column (see illustrations).
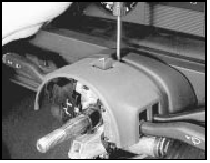
25.6a Removing the steering column upper . . .
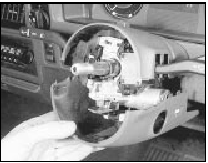
25.6b . . . and lower shrouds on a pre-1986 model . . .
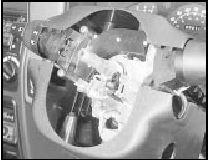
25.6c . . . and on a post-1986 version
7 Remove the insulation panel from the lower part of the facia (see illustration).
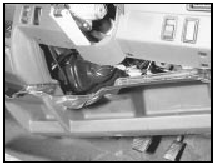
25.7 Removing the facia lower panel
8 Extract the screw, remove the bonnet release lever mounting and place it to one side (see illustration).
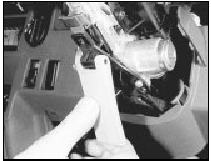
25.8 Removing the bonnet release lever
9 Take out the fixing screws and remove the switches from the steering column (see illustrations).
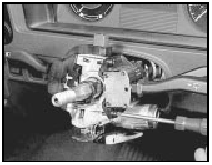
25.9a Steering column switch removal on a pre-1986 model . . .

25.9b . . . and switch retaining screw locations (arrowed) on post-1986 versions 10 Disconnect the wiring harness multi-plug at the side of the column.
11 Unbolt the upper and lower clamps from the steering column and then withdraw the column/shaft into the vehicle. If any difficulty is experienced in separating the lower shaft from the pinion gear, prise the coupling open very slightly with a screwdriver. Note that on certain models (including all Cabriolets), an additional bracing bracket may be fitted between the column support bracket and the body (see illustrations).
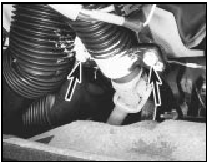
25.11a Steering column lower mounting clamp bolts (arrowed)
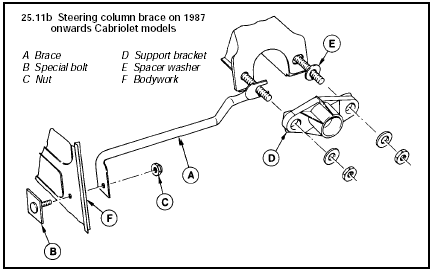
25.11b Steering column brace on 1987 onwards Cabriolet models
A Brace
B Special bolt
C Nut
D Support bracket
E Spacer washer
F Bodywork
20 Fit the direction indicator cancelling cam to the top of the shaft, making sure that the peg will be uppermost when the column is in the in-car attitude (where fitted). 21 Fit the steering wheel to the shaft, screwing on the nut sufficiently tightly to be able to pull the lower bearing into the column tube with the bearing slots correctly aligned with the pegs on the tube. 22 Refit the column, making sure to engage the coupling at its lower end with the splined pinion shaft. 23 Bolt up the column upper and lower clamps. 24 Reconnect the wiring harness multi-plug. 25 Refit the combination switches to the steering column. 26 Reconnect the bonnet release lever. 27 Fit the column shrouds. 28 Check that the steering wheel is correctly aligned (wheels in the straight-ahead position). If not, remove the steering wheel and realign it (see also Section 23). 29 Tighten the steering wheel nut to the specified torque and then insert the motif or horn push into the centre of the steering wheel. 30 Refit the insulation panel to the lower facia. 31 Tighten the coupling pinch-bolt at the base of the steering shaft.
32 Reconnect the battery negative terminal.
Test yourself
A quick Ford Escort quiz: every answer comes with an explanation and a link to the manual page.