Driver distraction can cause loss of vehicle control, resulting in the risk of accidents and personal injury. We strongly recommend exercising extreme caution when using any device that may take your attention away from the road. The driver's primary responsibility is the safe operation of the vehicle. Do not use hand-held devices while driving. Always use hands-free devices where possible. Be aware of local laws and regulations that may restrict the use of electronic devices while driving.
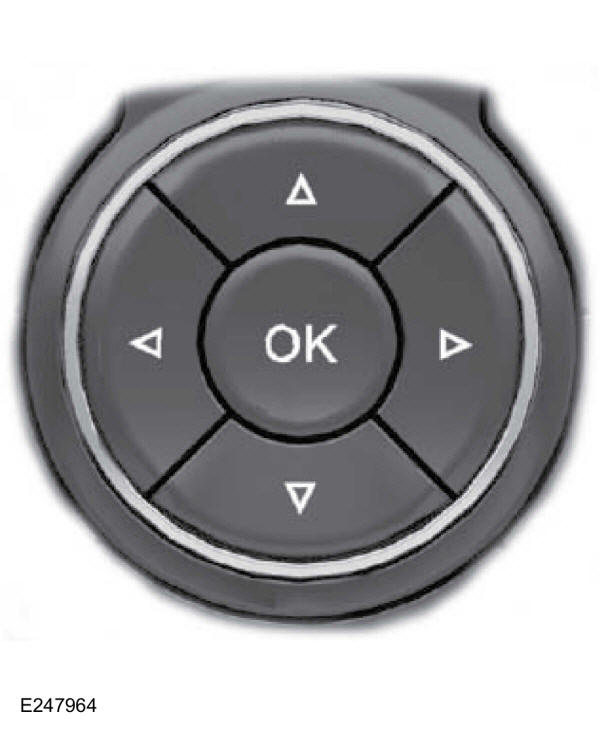
The information display controls on the radio allow you to control various vehicle systems. The corresponding information is shown on the information display.
Information display controls
Press the up and down arrow keys to scroll through and select options within the menu.
Press the right arrow key to enter a submenu.
Press the left arrow key to exit a submenu.
Press the OK key to select and confirm settings or messages.
Press the MENU button on the radio to access some configurable functions. Use the arrow control to select the following functions:
SYNC Settings. Access to general SYNC settings. See General Information.
SYNC Applications. Access to SYNC applications. See General Information.
Audio Settings. Defines the audio settings. See Audio Unit.
Vehicle Settings. Allows configuration of these functions: traction control. Traction control can be switched on or off. See Operating Principles.
Clock. Allows setting of the time and date.
Display. Allows setting of the language on the display and in the voice recognition system.
System. Allows viewing of currently active information messages.
Clock setting
Press the MENU button on the radio.
Select Clock, then press OK.
Select Set Clock, then press OK.
Use the up/down arrow keys to increase or decrease the hours and minutes.
Use the left or right arrow keys to switch between adjusting the hours and the minutes.
When finished, press OK.
Press the # key on the radio to access the clock settings.
Use the up/down arrow keys to increase or decrease the hours and minutes.
Use the left or right arrow keys to switch between adjusting the hours and the minutes.
When finished, press OK.
or Date setting
Press the MENU button on the radio.
Select Clock, then press OK.
Select Set date, then press OK.
Use the up/down arrow keys to increase or decrease the day, month or year.
Use the left or right arrow keys to switch between adjusting the day, month and year.
When finished, press OK.
24-hour mode
Press the MENU button on the radio.
Select Clock, then press OK.
Select 24h mode.
Select the checkbox with the OK button to enable 24h mode, or clear it to enable 12h mode.
Information display menu structure
The menu can be accessed using the control on the information display.
Note: Some options may appear slightly different or may not appear at all if the components are optional.
Radio menu
Menu
SYNC settings
Bluetooth on
Bluetooth device
Set up
Set default
SYNC setup
System info
Voice settings
Interactive mode
Confirmation request
Call confirmation
Search USB
SYNC applications
Mobile app
Emergency services
Audio settings
Auto volume
Equalizer
DSP usage
DSP equalizer
Vehicle settings
Traction control
Tire pressure monitoring
Ringtone
Information beeps
Warning beeps
Clock settings
Set time
Set date
24H mode
Display
Language
Units
Temperature unit
System check
MyKey
Speed limit
Speed alert
Off
70-140 km/h
Volume limit
Information
Clear all MyKey keys
SYNC-Phone
Enter number
Redial
Contacts
Call log
Speed dial
Text message
BT devices
Phone settings
?
Test yourself
A quick Ford Ka quiz: every answer comes with an explanation and a link to the manual page.