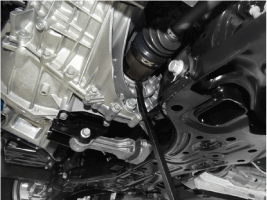
Loosen the wheel nuts slightly. Raise the vehicle and make sure it is securely supported.
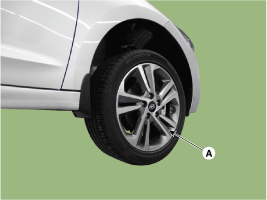
Remove the front wheel and tire (A) from the front hub.
Tightening Torque: 107.9 ~ 128 N·m
Be careful not to damage the hub bolts when removing the front wheel and tire (A).
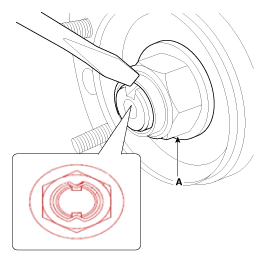
Loosen the drive shaft seal nut (A).
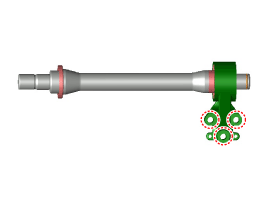
Replace the drive shaft lock nut with a new one.
After installing the drive shaft lock nut, stake the lock nut using a chisel and hammer as shown in the illustration below.
Staking Depth: 1.5 mm (0.591 in.)
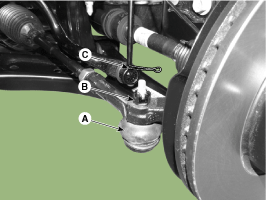
Remove the tie rod end ball joint.
Remove the cotter pin (C).
Loosen the nut (B).
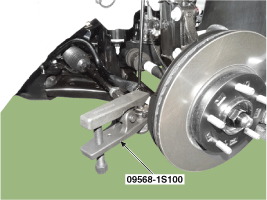
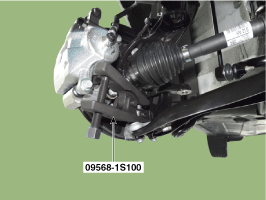
Using SST (09568-1S100), separate the ball joint (A) from the steering knuckle.
Tightening Torque: 23.5 ~ 33 N·m
Loosen the lower arm nut (A) and separate the lower arm ball joint using SST (09568-1S100).
Tightening Torque: 58.8 ~ 71 N·m
Do not reuse the lower arm lock nut (A).
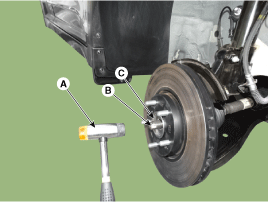
Using a plastic hammer (A), separate the front drive shaft (B) from the steering knuckle assembly (C).
Be careful not to damage the boot and the tone wheel.
Loosen the inner shaft mounting bolts and remove the propeller shaft. [GAMMA T-GDI RH Only]
Tightening Torque: 49.0 ~ 69 N·m
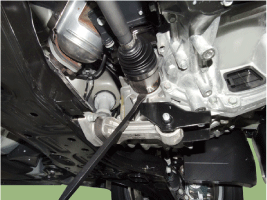
Insert a pry bar between the transaxle case and the joint case, and separate the propeller shaft from the transaxle case. [RH][LH]
Use a pry bar (A), taking care not to damage the transaxle and the joint.
Do not insert the pry bar (A) too deeply, as this may damage the oil seal.
Do not pull the propeller shaft with excessive force, as this may cause the components inside the joint assembly to shift, resulting in a torn boot or damaged bearing.
Plug the transaxle case opening with an oil seal cap to prevent contamination.
Support the propeller shaft properly.
Replace the snap ring every time the propeller shaft is removed from the transaxle case.
To install, reverse the removal procedure.
Check the front alignment. (Refer to Suspension System - "Front Wheel Alignment")
?
Test yourself
A quick Hyundai Elantra AD quiz: every answer comes with an explanation and a link to the manual page.