Engine Mechanical System
Active Air Flap (AAF) Repair Procedures
In this manual: Engine Mechanical System
11steps
~66min
3/5difficulty
Done 0 of 11
Removal and Installation
- Disconnect the negative (-) battery cable from the battery.
- Remove the front bumper. (Refer to Body - "Front Bumper Cover")
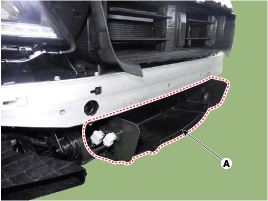
- Disconnect the connector and remove the lower air intake (A).
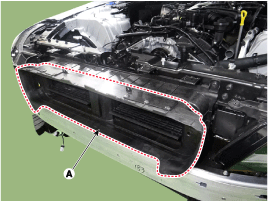
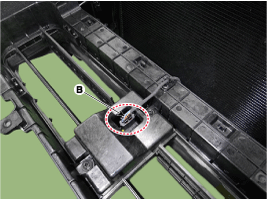
- Remove the Active Air Flap (AAF) assembly (A) and disconnect the connector (B).
Tightening torque 3.9 ~ 5.9 N·m
- To install, reverse the removal procedure.
- After installation, perform the "Operation Test" using GSD to check the system.
Disassembly
- Loosen the mounting screw and remove the active air flap rear cover (A).
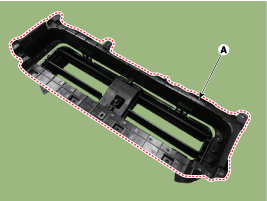
- Remove the active air flap actuator cover (A).

- Remove the active air flap link (A).
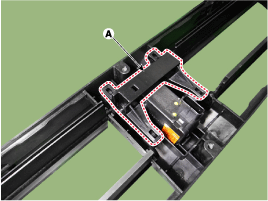
- Remove the active air flap actuator (A).
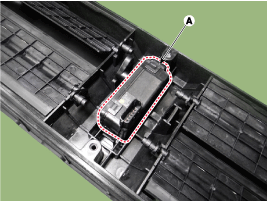
- To install, reverse the removal procedure.
Test yourself
A quick Hyundai Genesis DH quiz: every answer comes with an explanation and a link to the manual page.
Was this page helpful?