Emission Control System
Canister Repair Procedures
In this manual: Emission Control System
8steps
~48min
2/5difficulty
Done 0 of 8
Removal
- Turn the ignition switch OFF and disconnect the negative (-) battery cable.
- Remove the rear LH wheel, tire and wheel housing cover.
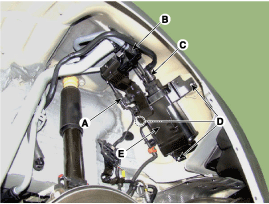
- Disconnect the canister close valve connector (A).
- Disconnect the quick connector (B) of the vent hose.
- Disconnect the quick connector of the vapor hose (C).
- Loosen the installation nut (D), then remove the canister assembly (E).
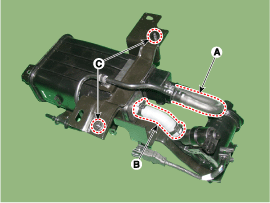
- Disconnect the vapor tube (A, B).
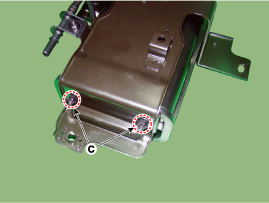
- Remove the canister from the bracket by loosening the mounting nut (C).
Inspection
- Visually check for the following items.
A. Cracks or leaks in the canister B. Poor connection, deformation, or damage of the vapor hose/tube. 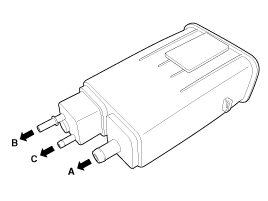
Installation
- To install, reverse the removal procedure.
Test yourself
A quick Hyundai Genesis DH quiz: every answer comes with an explanation and a link to the manual page.
Was this page helpful?