Steering System
Steering Column and Shaft Repair Procedures
In this manual: Steering System
32steps
~197min
5/5difficulty
1special tools
Done 0 of 32
DEPOSIT
- Disconnect the negative battery cable from the battery, then wait for at least 30 seconds.
- Turn the steering wheel so that the front wheels face straight ahead.
- Loosen the hex bolts located on both sides of the steering wheel.
Tightening torque: 7.8 ~ 10.8 N·m
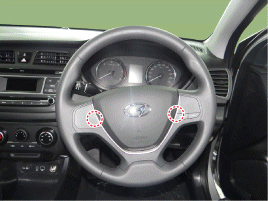
- Remove the wire clamp (B) and disconnect the horn connector (A).

- Loosen the steering wheel lock bolt properly. Separate the steering wheel using SST (09561-11001).
Tightening torque: 39.2 ~ 49 N·m
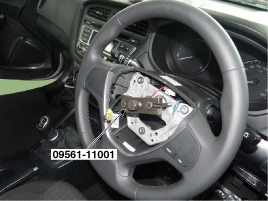
- Fully loosen the steering wheel lock bolt, then remove the steering wheel.
- Remove the steering column cover after loosening the screws.
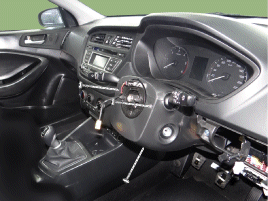
- Disconnect the clock spring and horn connectors, then remove the clock spring.

- Engage the automatic lock at the 6 o'clock position, then turn clockwise 2 turns.

- Engage the automatic lock at the 6 o'clock position, then turn counterclockwise 2 turns.

- Engage the automatic lock at the 6 o'clock position, then turn clockwise 2 turns.
- Remove the lower instrument panel cover. (Refer to Body - Instrument Panel)
- Disconnect the ECU connector.
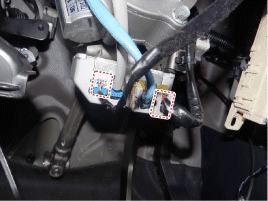
- Disconnect the multifunction switch connector.
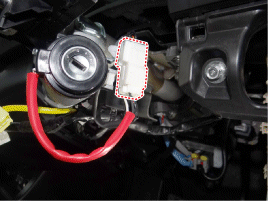
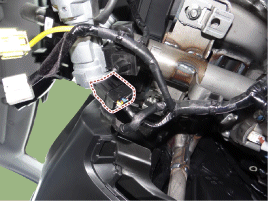
- Remove the wire clamp.
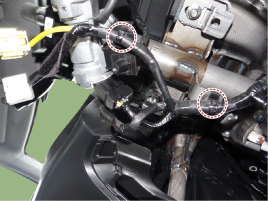
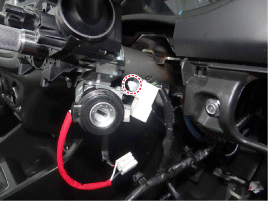
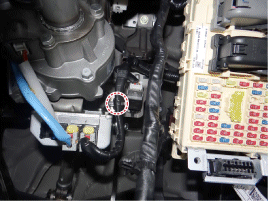
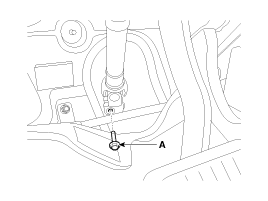
- Loosen the universal joint bolt (A), then disconnect the universal joint.
Tightening torque: 32.4 ~ 37 N·m
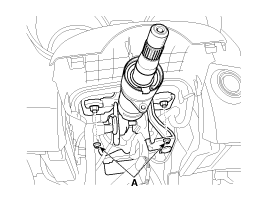
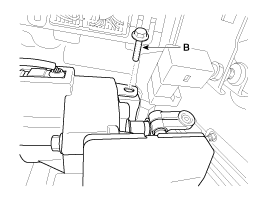
- Loosen the mounting bolt and nut, then remove the steering column. Tightening torque: Nut (A): 25.0 ~ 29 N·m Bolt (B): 44.1 ~ 49 N·m
DISASSEMBLY
Lock Set- Make a groove on the head of the special bolt (A) using an awl.
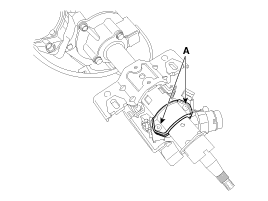
- Loosen the bolt using a screwdriver, then remove the complete steering column lock assembly.
- For reassembly, perform the removal procedure in reverse order.
- Loosen the bolt (A), then disconnect the universal joint from the steering gear.
Tightening torque: 32.4 ~ 37 N·m
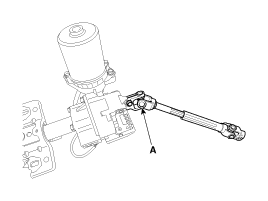
- For reassembly, perform the removal procedure in reverse order.
Inspection
- Make sure the steering column is not damaged or deformed.
- Make sure the steering column is not damaged or deformed.
- Make sure the sealing bearing is not worn or damaged.
- Make sure the tilt bracket is not damaged or cracked.
- Check that the lock assembly operates properly, and replace it if necessary.
REMEDY
- To install, perform the removal procedure in reverse order.
- Perform "EPS Type Recognition".
- Perform "ASP Calibration".
- Connect the scan tool to the self-diagnosis connector (16-pin) under the protective cover at the side of the driver's seat, then turn the ignition on to activate the scan tool.
- In the GDS vehicle type selection menu, select "Vehicle Type" and "EPS", then press "OK".
- Perform "EPS Type Recognition".

- Perform the test according to the instructions on the screen.
- Perform "ASP Calibration".

Test yourself
A quick Hyundai i20 quiz: every answer comes with an explanation and a link to the manual page.
Was this page helpful?