Heating, Ventilation and Air Conditioning
Condenser Repair Procedures
In this manual: Heating, Ventilation and Air Conditioning
16steps
~96min
4/5difficulty
Done 0 of 16
Inspection
- Check the condenser fins to make sure they are not clogged or damaged. If clogged, clean them with water and blow them out with a stream of compressed air. If bent, carefully straighten them in the opposite direction using a screwdriver or pliers.
- Check the condenser connections for leaks and repair or replace them if necessary.
REPLACEMENT
- Recover the refrigerant using the refrigerant recovery/recycling/charging system.
- Disconnect the negative (-) battery terminal.
- Remove the front bumper. (Refer to Body - "Front Bumper Cover")
- Remove the headlamps. (Refer to Body Electrical System - "Headlamp".)
- Remove the hood latch assembly. (Refer to Body - "Hood Latch")
- Loosen the bolts securing the clips, then remove the cover from the upper part of the front bumper (A).
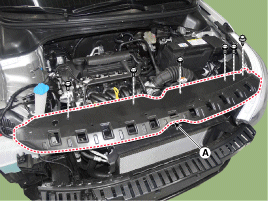
- Loosen the mounting bolts and remove the air intake shield (B).
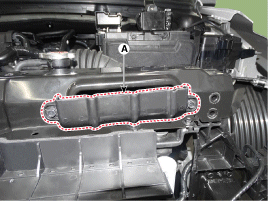
- Loosen the mounting bolts and remove the radiator filler neck (A).
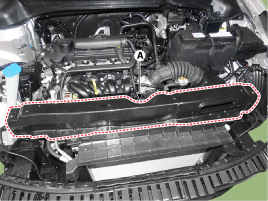
- Remove the radiator mounting bracket (A).
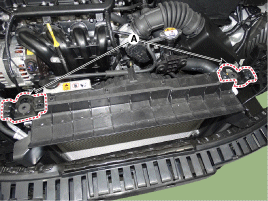
- Remove the radiator upper cover (A).
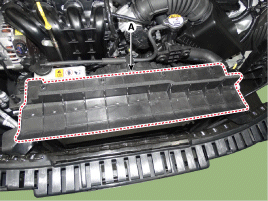
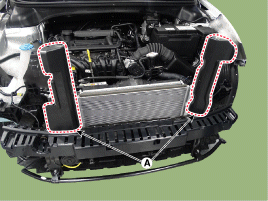
- Remove the side air screen (A) by pulling it upward.
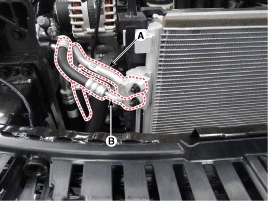
- Remove the 2 nuts, then disconnect the discharge pipe (A) and the condenser liquid line (B).
- Remove the condenser (A) from the radiator.
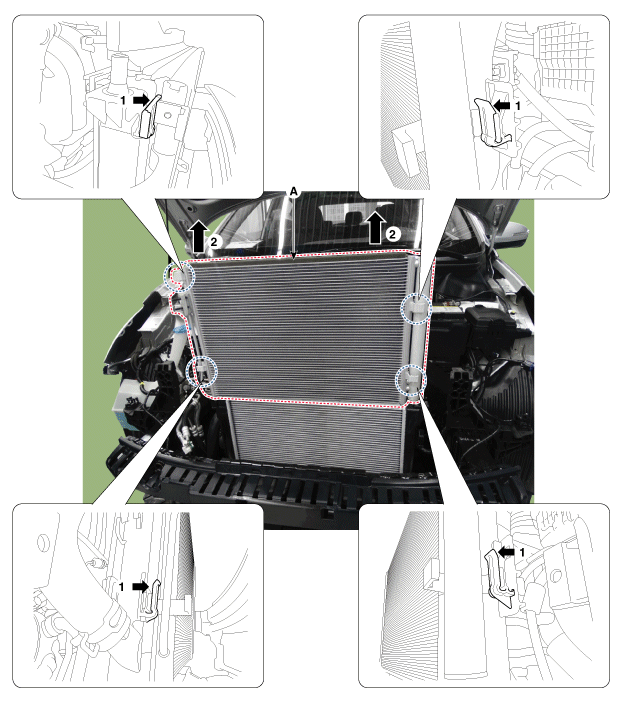
- To install, perform the removal procedure in reverse order.
Test yourself
A quick Hyundai i20 quiz: every answer comes with an explanation and a link to the manual page.
Was this page helpful?