Loosen the wheel nuts slightly. Raise the vehicle and make sure it is securely supported.
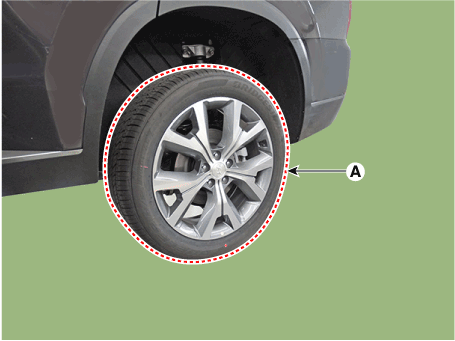
Remove the rear wheel and tire (A) from the rear hub.
Tightening torque: 107.9–128 N·m
Be careful not to damage the hub bolts when removing the rear wheel and tire (A).
Remove the coupling assembly. (Refer to Four-Wheel Drive (4WD) System - Coupling Assembly)
Remove the rear drive shaft. (Refer to Rear Drive Shaft Assembly - "Rear Drive Shaft")
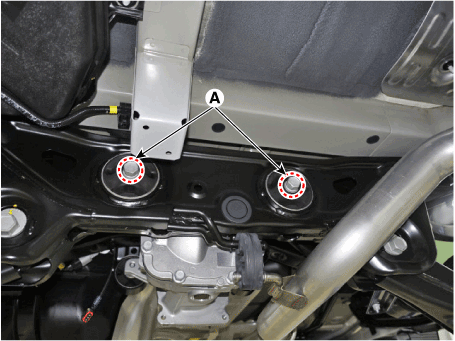
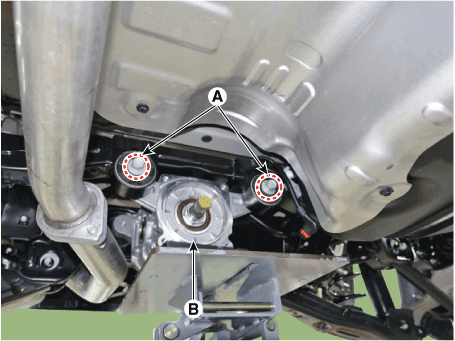
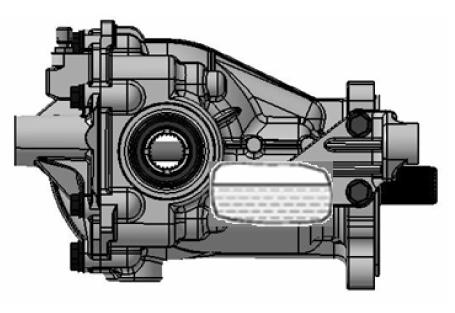
Remove the rear differential assembly (B) after installing a jack and loosening the mounting bolts (A-4 ea).
Tightening torque: 68.6–88 N·m
Disassembly
Disassembly of Rear Differential Carrier
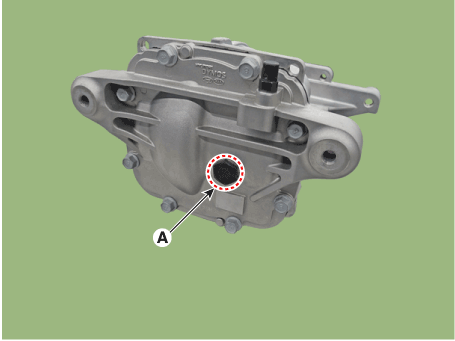
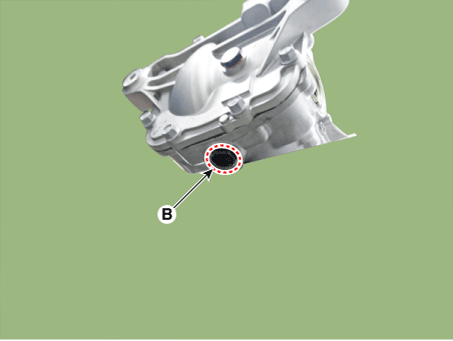
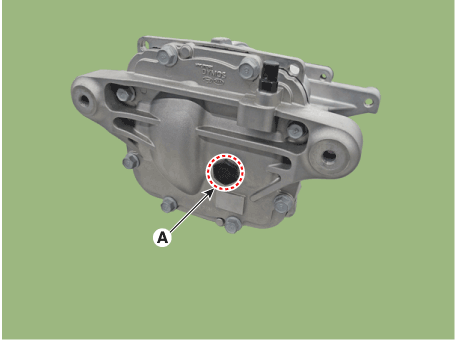
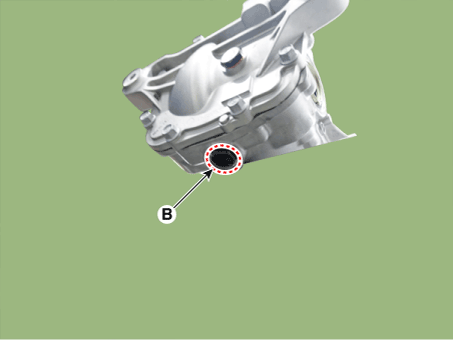
Drain the oil by removing the filler plug (A) and drain plug (B) before removing the rear differential carrier assembly.
When installing, use new drain and filler plugs.
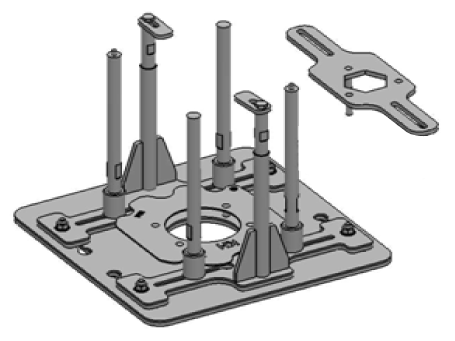
Using SST (09530-3T300), hold the differential assembly securely.
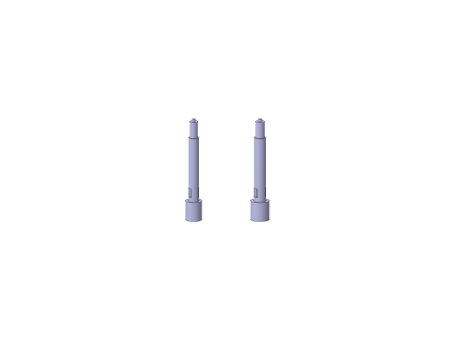
09530-3T340
09530-3T350
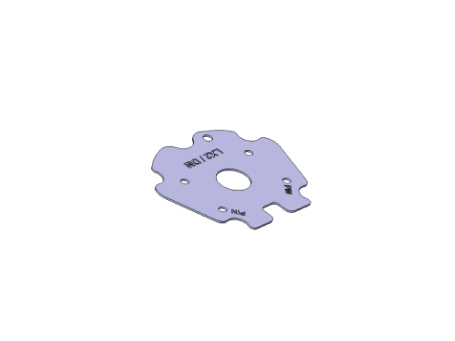
09530-3T360
Remove the breather plug (A).
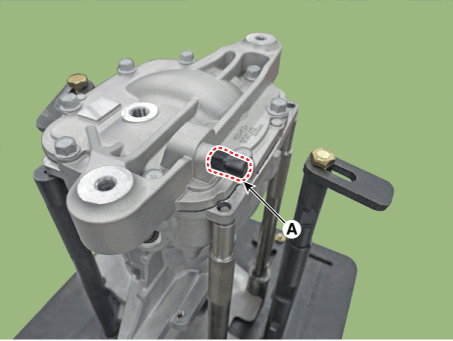
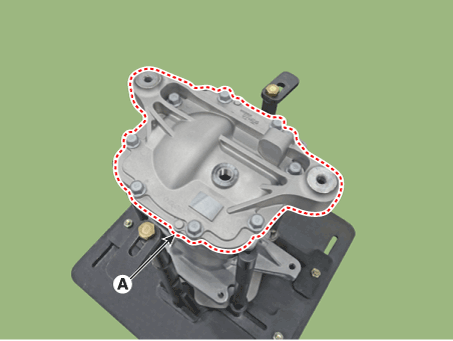
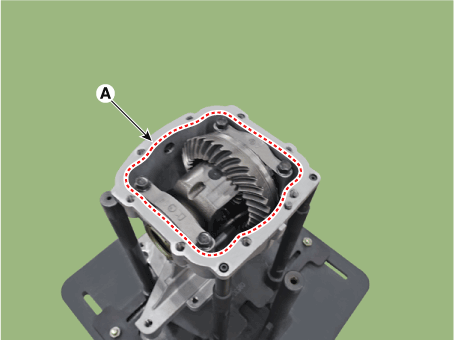
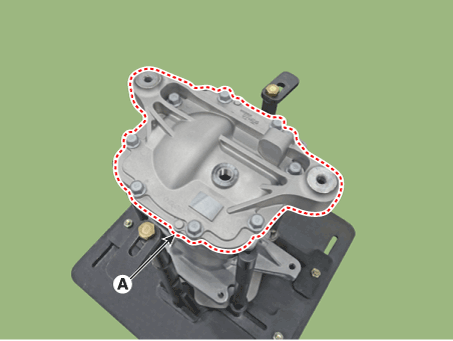
Loosen the cover bolts and remove the cover (A).
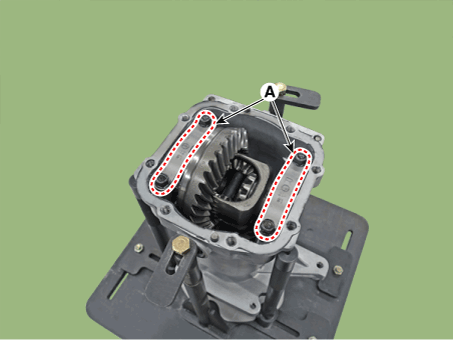
Loosen the bolts and remove the bearing cap (A).
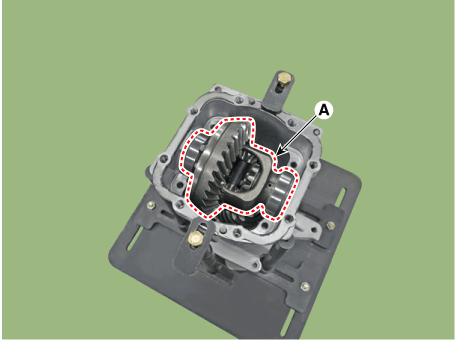
Remove the carrier assembly (A).
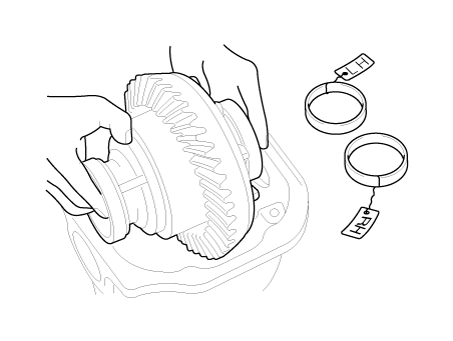
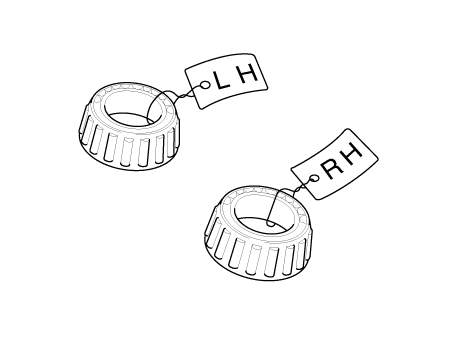
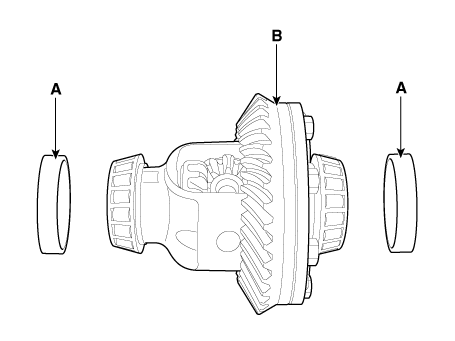
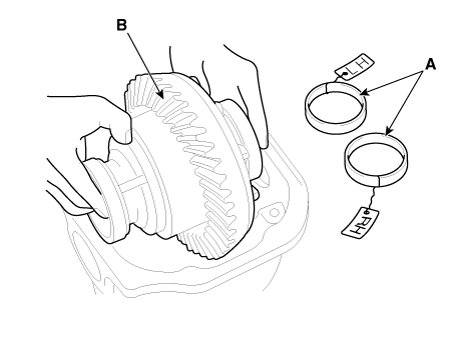
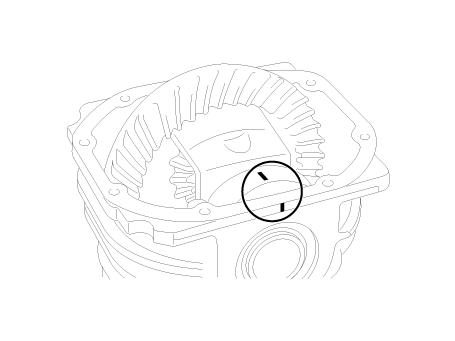
Mark the left and right bearing outer races as shown below when removing the differential assembly to distinguish the sides.
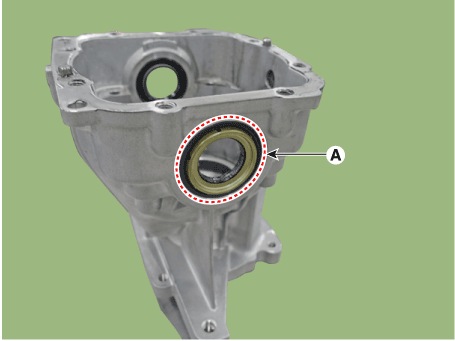
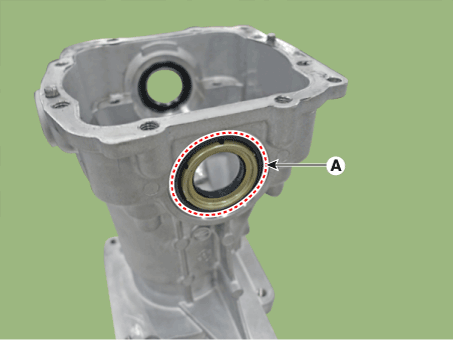
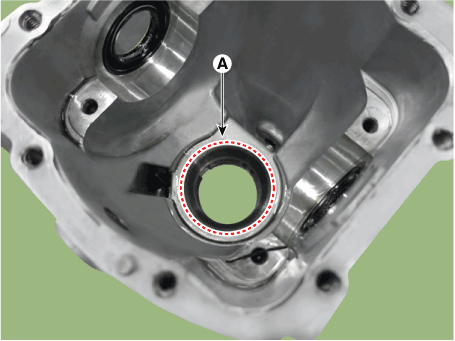
Using a screwdriver, remove the left and right seals (A).
When installing, use a new seal.
[LH][RH]
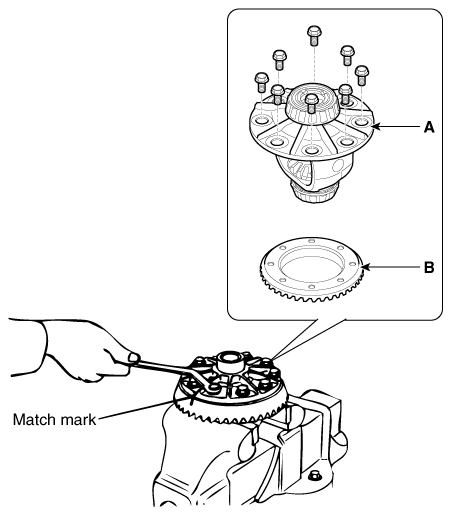
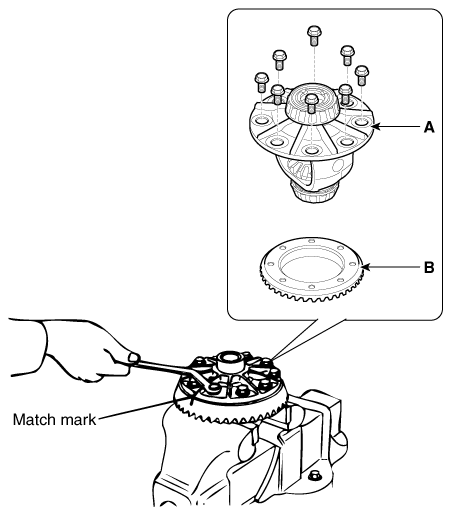
Loosen the seal bolts, then remove the gear carrier (A) and ring gear (B).
Make alignment marks on the carrier and ring gear.
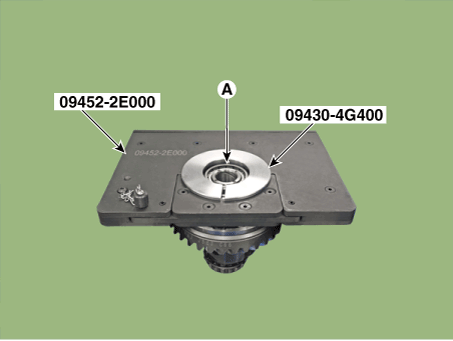
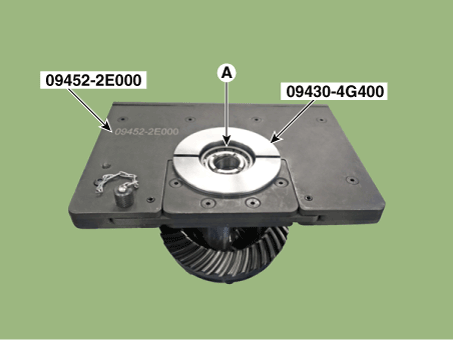
Using SST (09452-2E000, 09430-4G400), remove the front and rear bearings (A).
Mark the left and right bearings as shown below when removing the bearings to distinguish the sides.
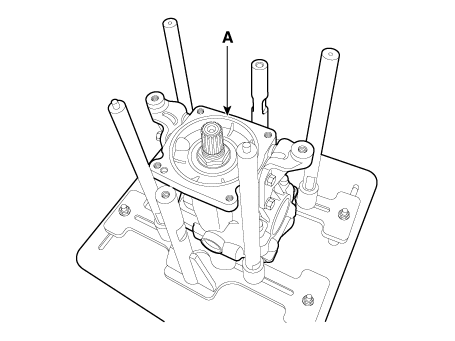
Using SST (09530-3T340, 09530-3T350, 09530-3T310), secure the differential carrier assembly (A).
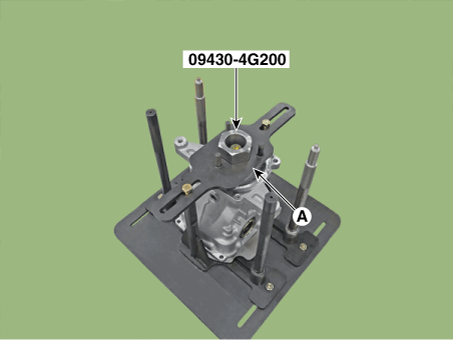
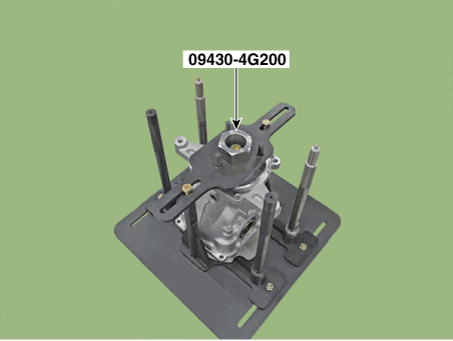
Install SST (09430-4G200) on the lock nut.
Secure the flange holder (A) with SST (09430-4G200).
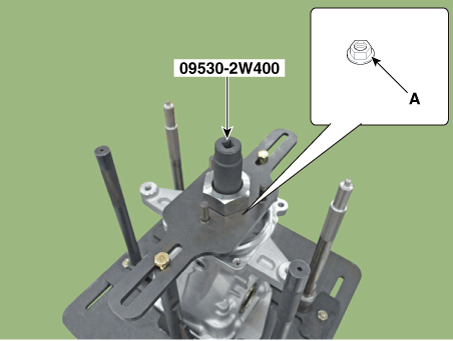
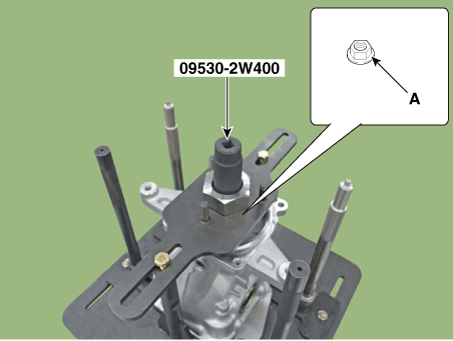
Insert SST (09530-2W400) into the hexagon hole and remove the lock nut (A).
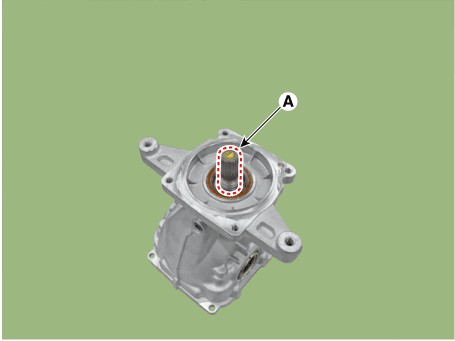
Using a press, remove the pinion shaft (A).
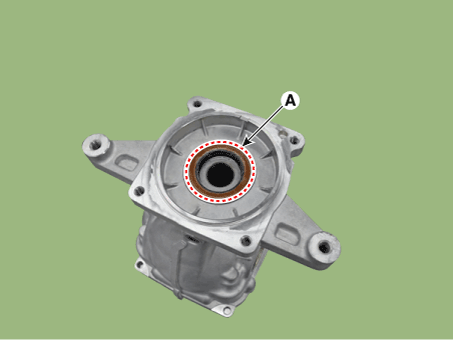
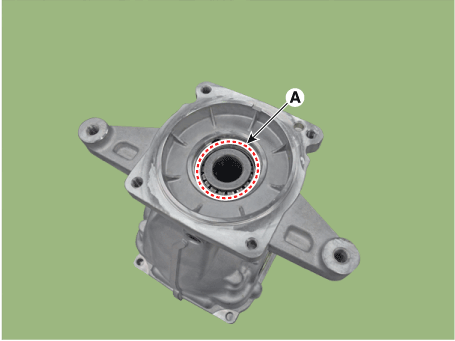
Using a screwdriver, remove the pinion seal (A).
Remove the front pinion bearing (A).
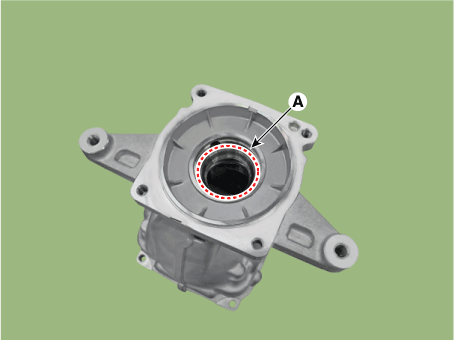
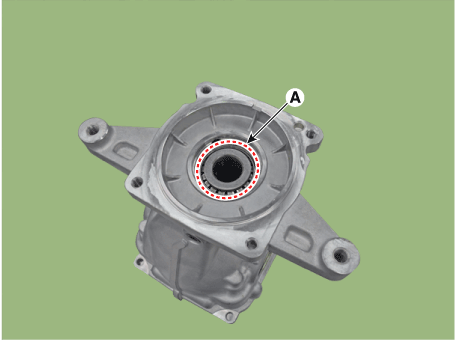
Using a hammer and chisel, remove the pinion bearing outer race (A).
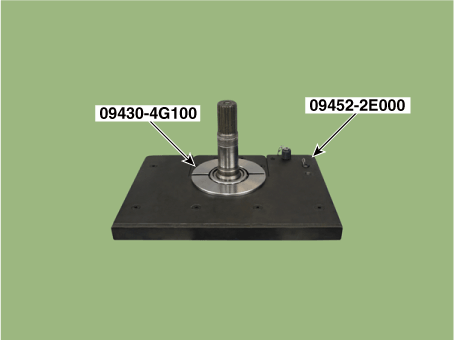
Using SST (09452-2E000, 09430-4G100), press on the pinion shaft, then remove the front bearing.
Disassembly of Carrier Assembly: Disassemble the carrier assembly.
Installation
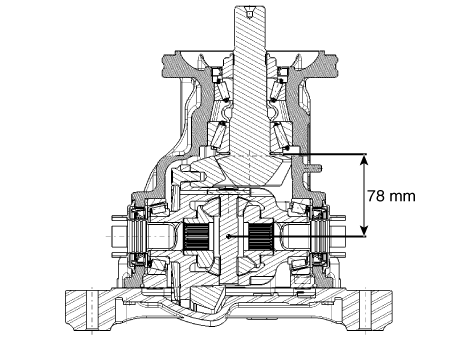
Pinion Height Adjustment: Adjust the pinion height in the following order.
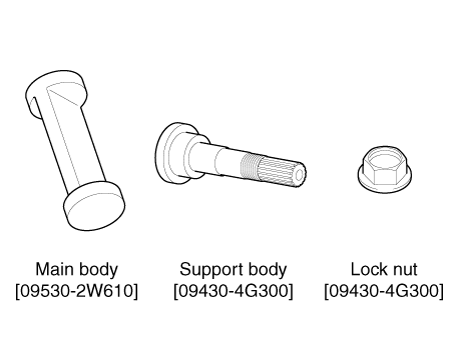
The following special tools are used to measure gear height.
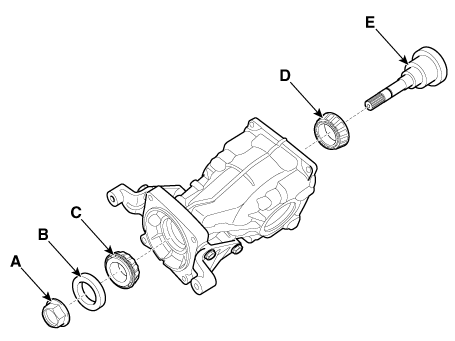
The special tool lock nut (A), pinion seal (B), front pinion bearing (C), inner bearing (D) and special tool support body (E) are installed as follows.
Tightening torque: 88.3–137 N·m
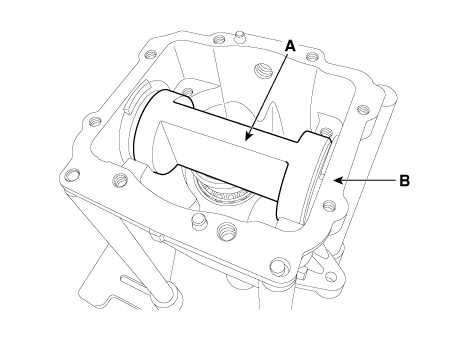
Place the main body (A) on the differential case (B).
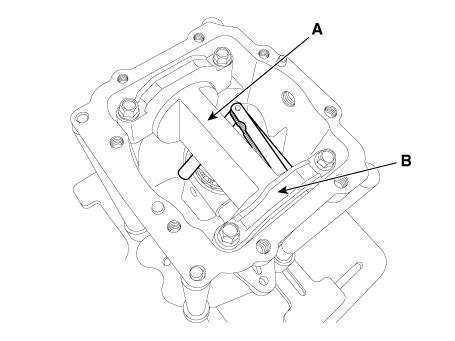
The bearing cap (B) is installed on the main body (A).
Tightening torque: 54.0–64 N·m
Using a feeler gauge, measure the clearance between the main housing (A) and the bearing cap (B). Then select the inner bearing adjusting shim.
Select the shim that satisfies the specified total preload and the hypoid gear backlash.
Measure the drive pinion rotating at 60 rpm. (Total preload = pinion preload + 2.0 - 7.0 kgf·m)
Hypoid gear backlash: 0.07–0.15 mm
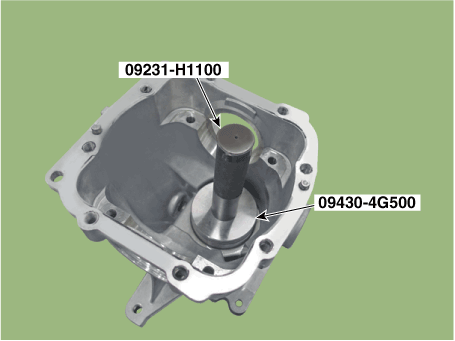
Using the SST (09430-4G500, 09231-H1100), install the inner pinion bearing outer race (A).
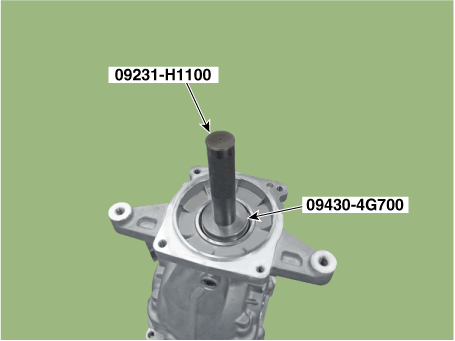
Using the SST (09430-4G700, 09231-H1100), install the outer pinion bearing race.
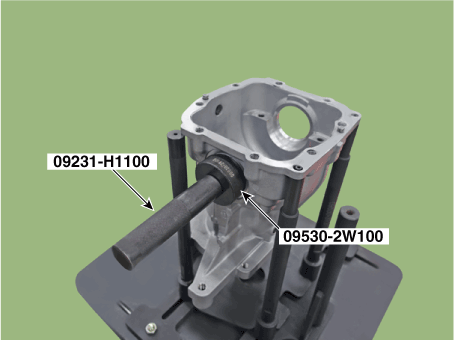
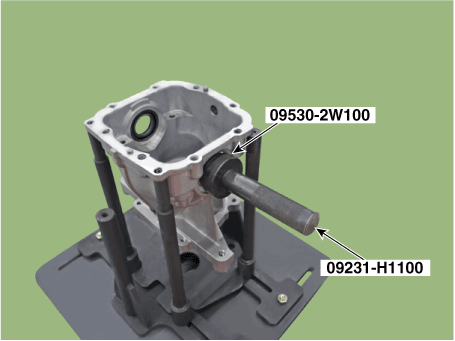
Using the SST (09530-2W100, 09231-H1100), install the left and right side oil seals.
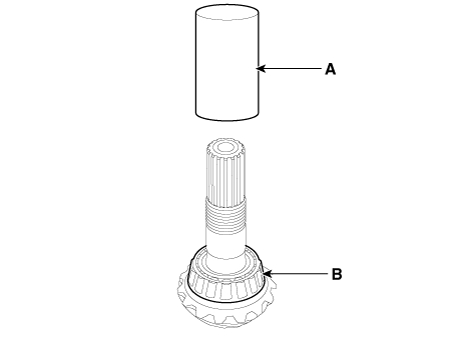
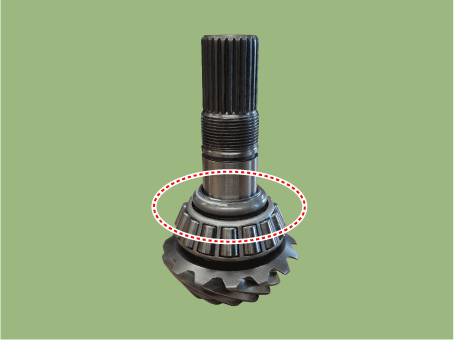
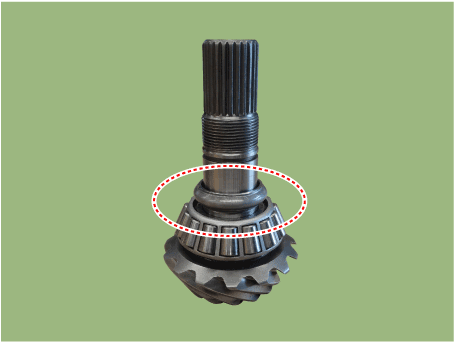
Using a round pipe (A), press in the rear pinion bearing (B).
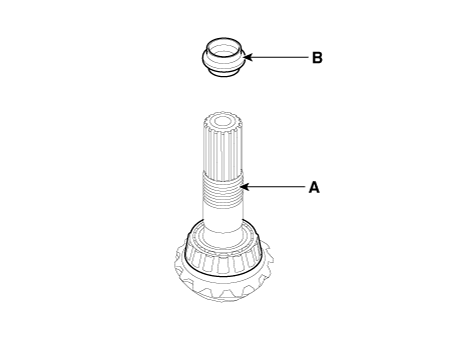
Using a round pipe (A), press in the front bearing (B).
A new spacer must be used.
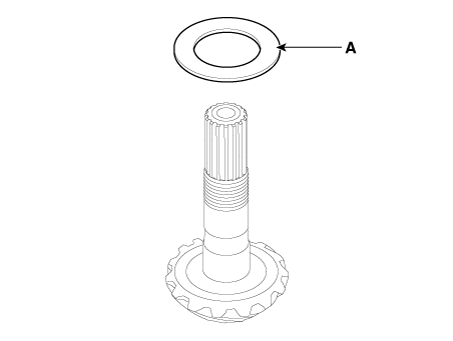
Be careful not to deform the shim (A) during installation.
Normal Installation
Non-standard Installation
Install the front bearing (A).
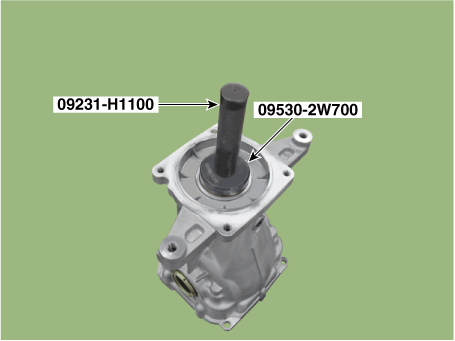
Using the SST (09530-2W700, 09231-H1100), install the pinion oil seal.
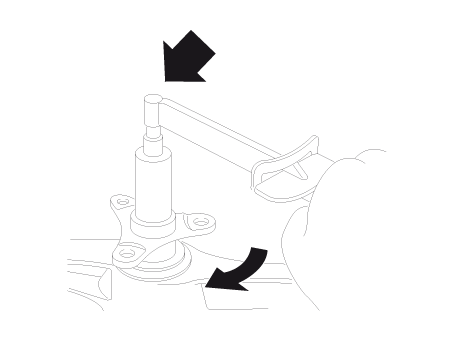
Using the SST (09430-4G200, 09530-2W400), install the pinion lock nut (A).
Tightening torque: 215.7–490 N·m
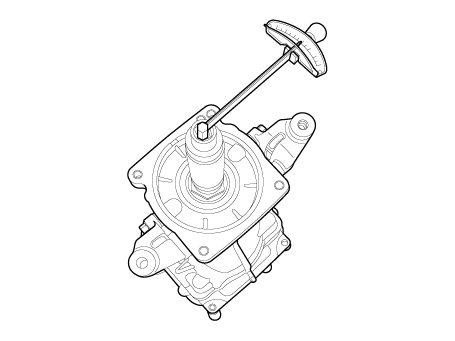
Tighten the lock nut.
Standard: 90.2–180 N·m
Maintain a constant rotation speed (60 rpm).
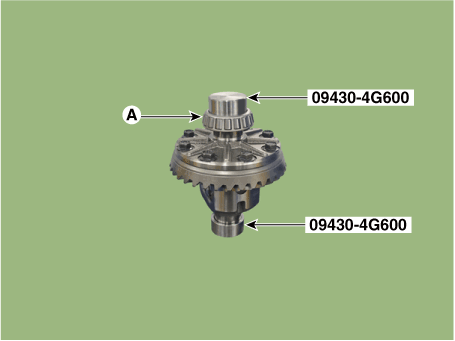
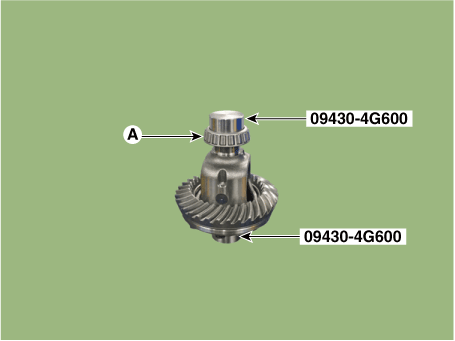
Using the SST (09430-4G600), install the front/rear bearing (A).
Install the drive pinion carrier and ring gear.
Tightening torque: 78.5–88 N·m
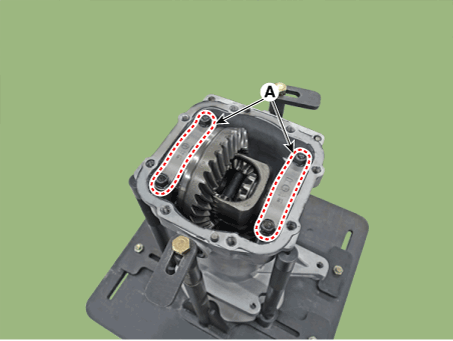
When tightening the sealing bolt, tighten it diagonally.
Install the left and right side bearing outer races (A) onto the drive pinion carrier.
Hold the left and right side bearing outer races (A) with both hands and install them onto the differential carrier.
Insert the left and right adjusting shims between the differential side bearing and the carrier. Then install the bearing cap (A) with the alignment mark.
Tightening Torque: 44.1–54 N·m
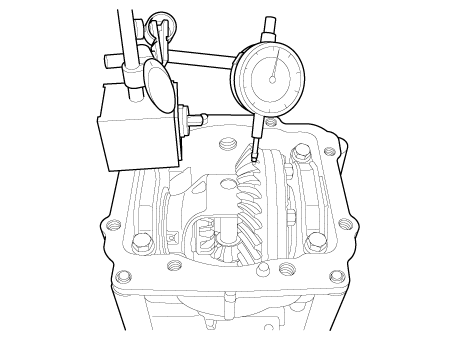
Adjust the adjusting shim and confirm the backlash specification.
Standard: 0.07–0.15 mm (0.002–0.006 inch)
Adjust the thickness of the adjusting shim if the backlash is small.
Decrease the thickness of the left differential side shim and increase the thickness of the right differential side shim by the same amount.
Measure the free play. Standard off-road gear: 0.25–0.8 N·m
Apply sealant (A) to the rear cover surface.
Sealant: equivalent to LT #5060
Remove residual sealant before applying. Apply sealant evenly, 2–3 mm thick, to the rear surface of the cover.
Install the rear differential cover (A).
Torque: 39.2 – 49 N·m
Install the strut plug (A) and drain plug (B). Strut plug: 39.2–59 N·m Drain plug: 49.0–69 N·m
Install the rear differential assembly on the vehicle and fill with oil. Oil type: API GL-5 hypoid gear oil, SAE 75W/85 (equivalent to SK HCT-5 75W/85 gear oil). Oil capacity (L): 0.70 ± 0.05
Reassembly of Rear Differential Carrier: Assemble the carrier assembly.
Inspection
After cleaning, inspect the parts for damage or wear. Follow the method below if any is found.
Item
Identify
Gear Set (Drive Pinion and Ring Gear)
Replace the gear set with a new one if the gear teeth are damaged (cracks/pits/dents).
Bearing
Replace the bearing with a new one if the roller or race is damaged (cracks/pits/dents).
Seal
Replace the seal with a new one whenever the differential is disassembled.
Differential Case
Replace the carrier with a new one if the inner bearing bore is damaged (cracks/pits/dents) or if a crack is found inside or outside.
Companion Flange
Replace the pinion seal with a new one if the contact surface is damaged (cracks/pits/dents).
Open Type
Differential Gear Set (Differential Side Gear and Differential Pinion Gear)
Replace the gear set with a new one if the gear tooth or tooth surface is damaged (cracks/pits/dents).
Differential Washer (Differential Side Gear Washer and Differential Pinion Gear Washer)
Replace the washer with a new one if the washer surface is damaged (cracks/pits/dents).
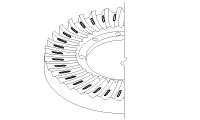
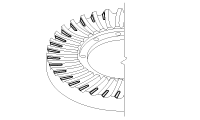
Check the gear tooth contact pattern.
Tooth Contact
Contact Condition
Solution
Standard Contact
1. Heel contact
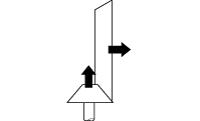
Increase the thickness of the pinion height adjusting shim to move the drive pinion closer to the ring gear. Also, to adjust the backlash, move the ring gear farther away from the drive pinion.
2. Face Contact
3. Toe Contact
Decrease the thickness of the pinion height adjusting shim to move the drive pinion farther from the ring gear. Also, to adjust the backlash, move the ring gear closer to the drive pinion.
4. Flank Contact
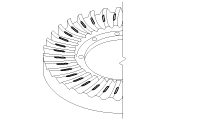
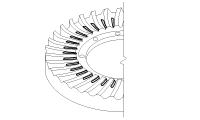
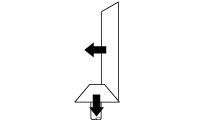
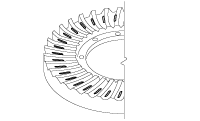
The gear tooth contact pattern is a method of evaluating the result of adjusting the drive pinion height and the ring gear backlash. Repeat the drive pinion height and ring gear backlash adjustment until the tooth contact pattern matches the standard tooth contact pattern.
If the correct pattern cannot be obtained, the ring gear and drive pinion are out of their limits. Both gears must be replaced as a set.
?
Test yourself
A quick Hyundai Palisade quiz: every answer comes with an explanation and a link to the manual page.