Body (Interior and Exterior)
Glove Box Upper Cover Assembly Repair Procedures
In this manual: Body (Interior and Exterior)
13steps
~78min
3/5difficulty
Done 0 of 13
Replacement
|

|

- Disconnect the plug (B) from the glove box (A).

- Disconnect the air duct (A) from the glove box (B).
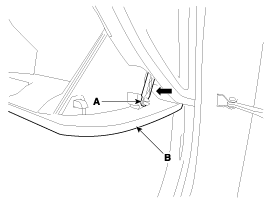
- Disconnect the pins (A) and remove the glove box (B).
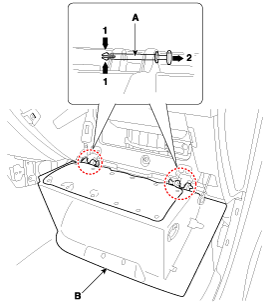
- Using a screwdriver or remover, remove the front door garnish [RH] (A).
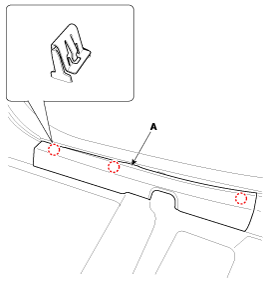
- Using a screwdriver or remover, remove the hood side garnish [RH] (A).
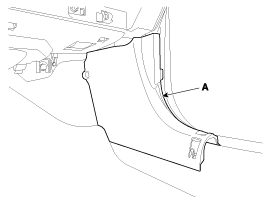
- Using a flat-tip screwdriver or trim removal tool, remove the under cover [RH] (A).
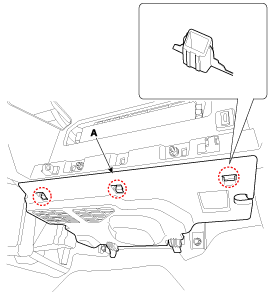
- Disconnect the under lamp connector (A).

- Using a flat-tip screwdriver or trim removal tool, remove the crash pad side cover [RH] (A).
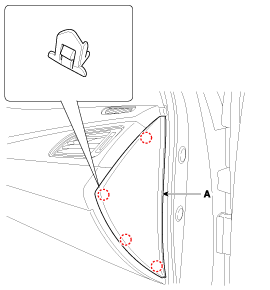
- Loosen the mounting screws, then remove the passenger side garnish (A).
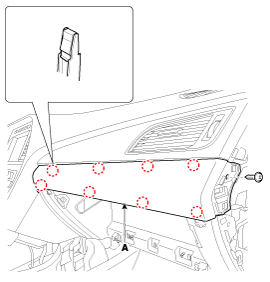
- Loosen the mounting screws, then remove the side garnish assembly [RH] (A).
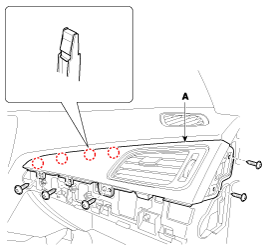
- Loosen the mounting screws, then remove the glove box upper cover assembly (A) using a screwdriver.
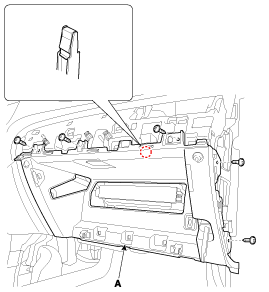
- Disconnect the glove box lamp connector (A).

- Install in the reverse order of removal.

- Make sure the connector is properly connected.
- Replace any damaged clips.
Test yourself
A quick Hyundai Sonata LF quiz: every answer comes with an explanation and a link to the manual page.
Was this page helpful?