Ambient Temperature Sensor
Components
COMPONENTS
ILLUSTRATION
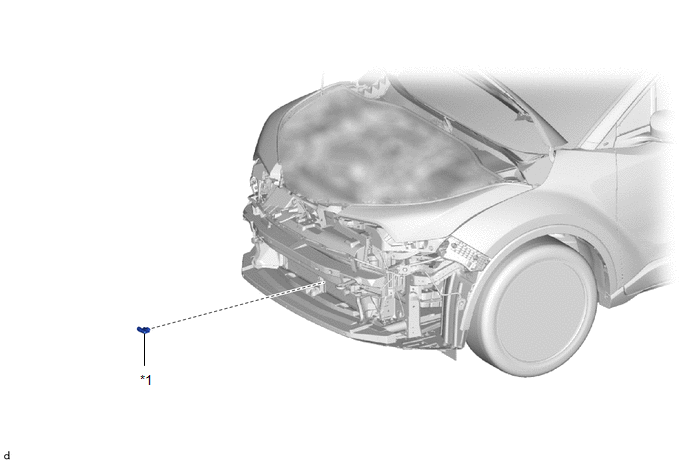
*1 |
THERMISTOR ASSEMBLY |
- |
- |
Removal
REMOVAL
PROCEDURE
1. REMOVE FRONT BUMPER ASSEMBLY
Click here
2. REMOVE THERMISTOR ASSEMBLY
(a) Disconnect the connector. |
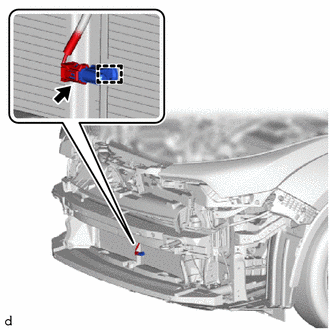 |
(b) Release the clip to remove the thermistor assembly.
Installation
INSTALLATION
PROCEDURE
1. INSTALL THERMISTOR ASSEMBLY
(a) Engage the clip to install the thermistor assembly. |
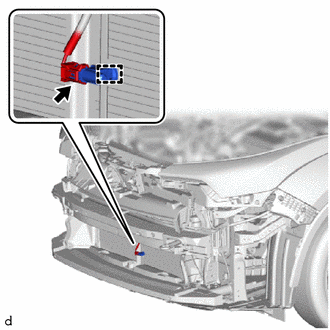 |
(b) Connect the connector.
2. INSTALL FRONT BUMPER ASSEMBLY
Click here
Inspection
INSPECTION
PROCEDURE
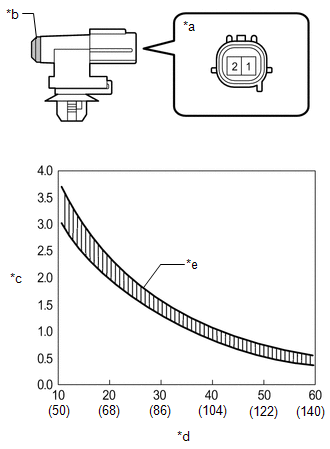
1. INSPECT THERMISTOR ASSEMBLY
(a) Check the resistance.
(1) Measure the resistance according to the value(s) shown in the table below. Standard resistance:
NOTICE:
HINT: Resistance decreases as temperature increases (see graph). If the specified condition is not met, replace the thermistor assembly. |
|