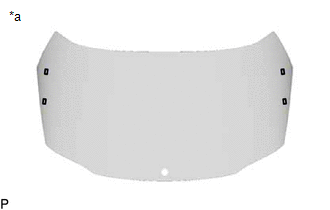
Removal
REMOVAL
PROCEDURE
1. REMOVE REAR SPOILER
Click here
2. REMOVE REAR WINDOW WIPER MOTOR ASSEMBLY
Click here
3. REMOVE REAR COMBINATION LAMP ASSEMBLY (bulb type)
Click here
4. REMOVE REAR COMBINATION LAMP ASSEMBLY (LED type)
Click here
5. DISCONNECT BACK DOOR CABLE NO. 1
(a) Disconnect the 2 back door glass connectors. |
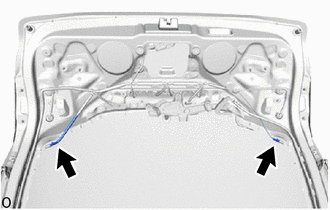 |
6. REMOVE BACK DOOR GLASS
(a) Apply protective tape to the area around the back door glass installation position on the back door panel to prevent scratches.
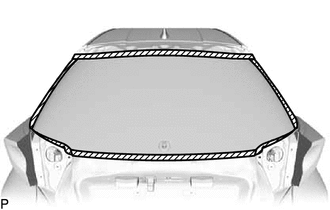
 |
Protective tape |
(b) Make alignment marks on the back door glass and the back door panel at the locations shown in the illustration. HINT: Alignment marks are not necessary if the back door glass is not going to be reused. |
|
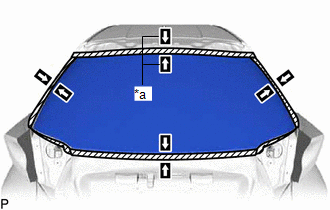
(c) Insert a piano wire between the back door panel and the back door glass from the inside. |
|
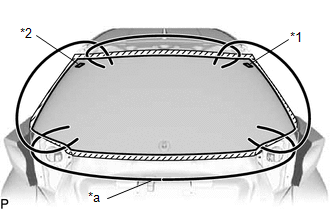
(d) Attach both ends of the wire to wooden blocks or similar objects that can be used as handles.
(e) Cut the adhesive by moving the piano wire around the perimeter of the back door glass.
NOTICE:
- When removing the back door glass, be careful not to damage the paint or the interior and exterior moldings.
- When cutting the adhesive tape, be careful not to damage the connectors on the back door glass.
- Do not pull the piano wire vertically. Pull it horizontally.
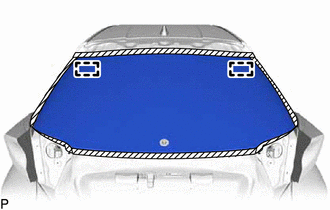
(f) Using suction cups, release the back door glass spacer No. 1 and the back door glass spacer No. 2, then remove the back door glass. NOTICE:
|
 |
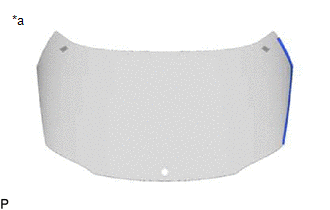
7. REMOVE REAR WINDOW OUTSIDE MOULDING LH
(a) When reusing the back door glass:
(1) Using a scraper, remove the rear window outside moulding LH. NOTICE:
|
|
8. REMOVE REAR WINDOW OUTSIDE MOULDING RH
HINT:
Perform the same procedure as for the left side.
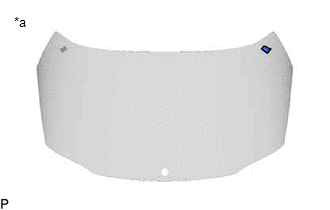
9. REMOVE REAR WINDOW SPACER NO. 2
(a) When reusing the back door glass:
(1) Using a scraper, remove the rear window spacer No. 2. NOTICE:
|
|
10. REMOVE REAR WINDOW SPACER NO. 1
HINT:
Perform the same procedure as for the rear window spacer No. 2.
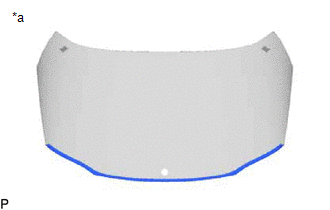
11. REMOVE REAR WINDOW LOWER MOULDING
(a) When reusing the back door glass:
(1) Using a scraper, remove the rear window lower moulding. NOTICE:
|
|
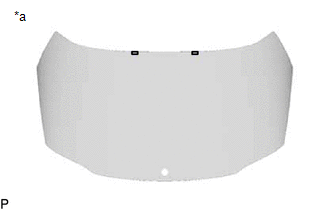
12. REMOVE BACK DOOR GLASS SPACER (for upper portion)
(a) When reusing the back door glass:
(1) Using a scraper, remove the 2 back door glass spacers. NOTICE:
|
|
13. REMOVE BACK DOOR GLASS SPACER (for side)
(a) When reusing the back door glass: (1) Using a scraper, remove the 4 back door glass spacers. NOTICE:
|
|