Removal
REMOVAL
PRECAUTION / NOTICE / HINT
The procedures required (adjustment, calibration, initialization or registration) after parts have been removed and installed or replaced during air conditioning amplifier assembly removal/installation are shown below.
Procedure Required After Replacing / Removing / Installing PartsReplaced Part or Performed Procedure | Required Procedure | Effects / Inoperative Function When Necessary Procedure Not Performed | Link |
|---|---|---|---|
Air Conditioning Amplifier Assembly |
Initialize Servo Motor (Air Conditioning System) |
DTCs are stored |
VALEO manufacturer:  DENSO manufacturer: |
PROCEDURE
1. REMOVE LH FRONT DOOR SILL PLATE
Click here
2. REMOVE LH FENDER APRON SIDE PANEL
Click here
3. REMOVE NO. 1 INSTRUMENT PANEL LOWER COVER SUB-ASSEMBLY
Click here
4. REMOVE AIR CONDITIONING AMPLIFIER ASSEMBLY
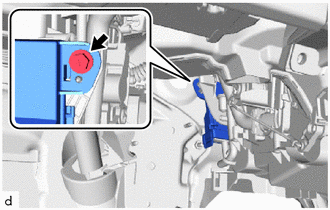
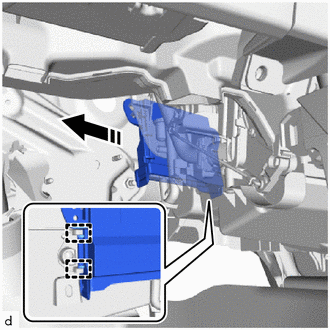
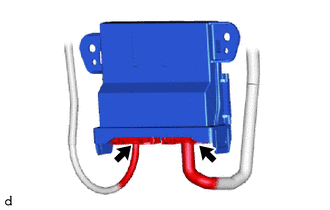
(a) Manufactured by VALEO:
(1) Remove the screw. |
 |
(2) Release the guides to remove the air conditioning amplifier assembly, as shown in the illustration.
 |
Remove in this direction |
(3) Disconnect each connector. |
 |
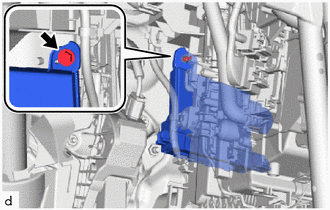
(b) Manufactured by DENSO:
(1) Remove the screw. |
 |
(2) Release the guide to remove the air conditioning amplifier assembly, as shown in the illustration.
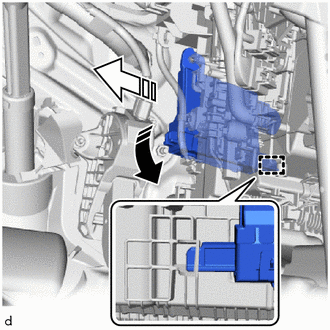
|
Remove in this direction (1) |
 |
Remove in this direction (2) |
(3) Disconnect each connector. |
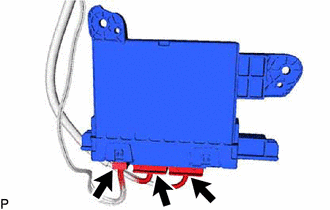 |