Inspection
INSPECTION
PROCEDURE
1. CHECK PRELOAD
(a) Secure the steering column assembly in a vise between aluminum plates, rags and wooden blocks. NOTICE:
|
|
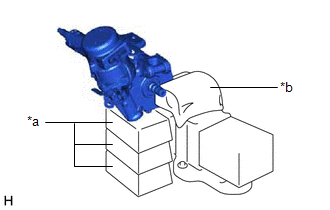
(b) Reinstall the 2 lock nuts on the steering main shaft. Recommended lock nut: Thread diameter 12.0 mm (0.472 in.) Thread pitch 1.25 mm (0.0492 in.) |
|
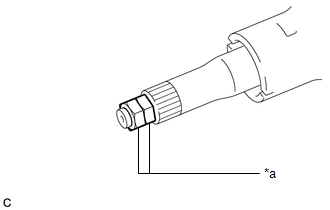
(c) Turn the lock nut that was installed first counterclockwise while turning the lock nut that was installed next on the lock assembly clockwise.
NOTICE:
Do not apply excessive torque to the lock nuts using a tool such as an impact wrench.
HINT:
The lock nuts are used to rotate the steering main shaft during the steering main shaft rotating torque check.
Remove the lock nuts after performing this check.
(d) Using a torque wrench, rotate the steering main shaft at a constant rate of approximately 1 rotation every 4 seconds and measure the preload. Preload: 1.2 to 2.4 N*m (13 to 24 kgf*cm, 11 to 21 lbf*in.) If the preload is not as specified, replace the power steering ECU assembly or the electric power steering column sub-assembly with a new one. |
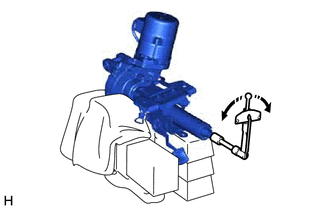 |
(e) Remove the 2 lock nuts.
2. INSPECT STEERING COLUMN ASSEMBLY
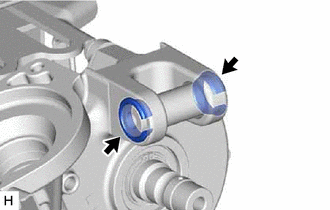
(a) Make sure that the 2 bushings are firmly installed on the steering column assembly. If the bushings are deformed, missing or damaged, replace the electric power steering column sub-assembly with a new one. |
 |